I have to say the RAK documentations are written for a seasoned developer with ARM/ ST MCU background.
The whole coIDE / ARM Keil / J-Link / Flash Loader toolchain is particularly painful to configure as there’s not a lot of quality guides/ documentations in the Internet, at least comparing to Arduino IDE and other popular MCUs like NodeMCU, ESP32 and ESP8266.
I know too little about various MCU and development platforms - but is it possible at all to port the whole library and other toolchains to Arduino IDE? That would be awesome.
So much I hoped for a off-the-shelf Lora node - I consumed my whole weekend to get it work and to be honest I still have no clue how to use the J-Link.
Install the templates for STM32L151CB using the package manager
Use the Keil import
Remove startup_stm32l151xb.s from the project as this is in a Keil specific assembly file
Create a new solution using the project template for STM32L151CB. You won’t use this but its a quick way to get the right files
From that solution directory, copy the xml files for flash placement, memory map and registers. Also, copy all the assembly files (.s extension) and the RTT files (see the segger directory in my project)
Add the assembly files to your project
Reconfigure the project options to point the linker etc to the xml files mentioned above
Build and you should be good to go
I’ve pulled together an unmodified version of the Rak software with this at the link below, you’ll find the embedded studio project in the Keil folder. This will build a bin file suitable for the ST Flasher tool
which can be found in /Keil/classA/Output/RAK811_breakboard
Segger Embedded Studio works across Windows, MacOS and Linux. If you don’t have a jlink and want to use the flasher tool, see https://sourceforge.net/projects/stm32flash/ for one that works on Linux and Mac
One thing I missed in that file: In the project build options for printf / scanf you need to turn on support for long integers and float. That means you can uncomment out the line to get the debug output from the gps and you should properly see the device keys
Like @coeus said, this board is a headache for occasional deployment.
I spent the better part of two days figuring out what and how and did not get beyond at-commands yet, which works sort of but is very inflexible.
Very good news indeed, well done! (Only if you did I before I spent my weekend just to configure VirtualBox, get coIDE going, then switched back to Keil and spent ages to get J-Link working… still don’t know how to use it by the way)
Totally overlooked the STM32Flash tool for burning flash, guess I didn’t look hard enough…
Just moved to another hardware for other testings but I will definitely come back to this as I’d like to code it for less update frequency for longer battery life and add additional sensors etc.
Just ordered two tracker boards yesterday, I have the sensor version currently - I am confident of getting things going, as I said before I’ve got the basic led blink code compiled and uploaded to prove I’m on the right track.
RAK’s support on this assumes a lot in terms on knowledge, its taken me a while to work out what the exact breakdown of the board is and how it relates to all the 811 variations. They use the term ‘firmware’ far too much in my view, the ‘at’ code is not firmware in my view.
Maybe I am wrong but I thing I was spoiled by the simplicity of Arduino IDE while Keil and coIDE looks way too complicated… maybe they were catered for a much deeper level of programming and debugging while I am looking at quickly building things.
I’d love to have some quality read of the benefit of using J Link though.
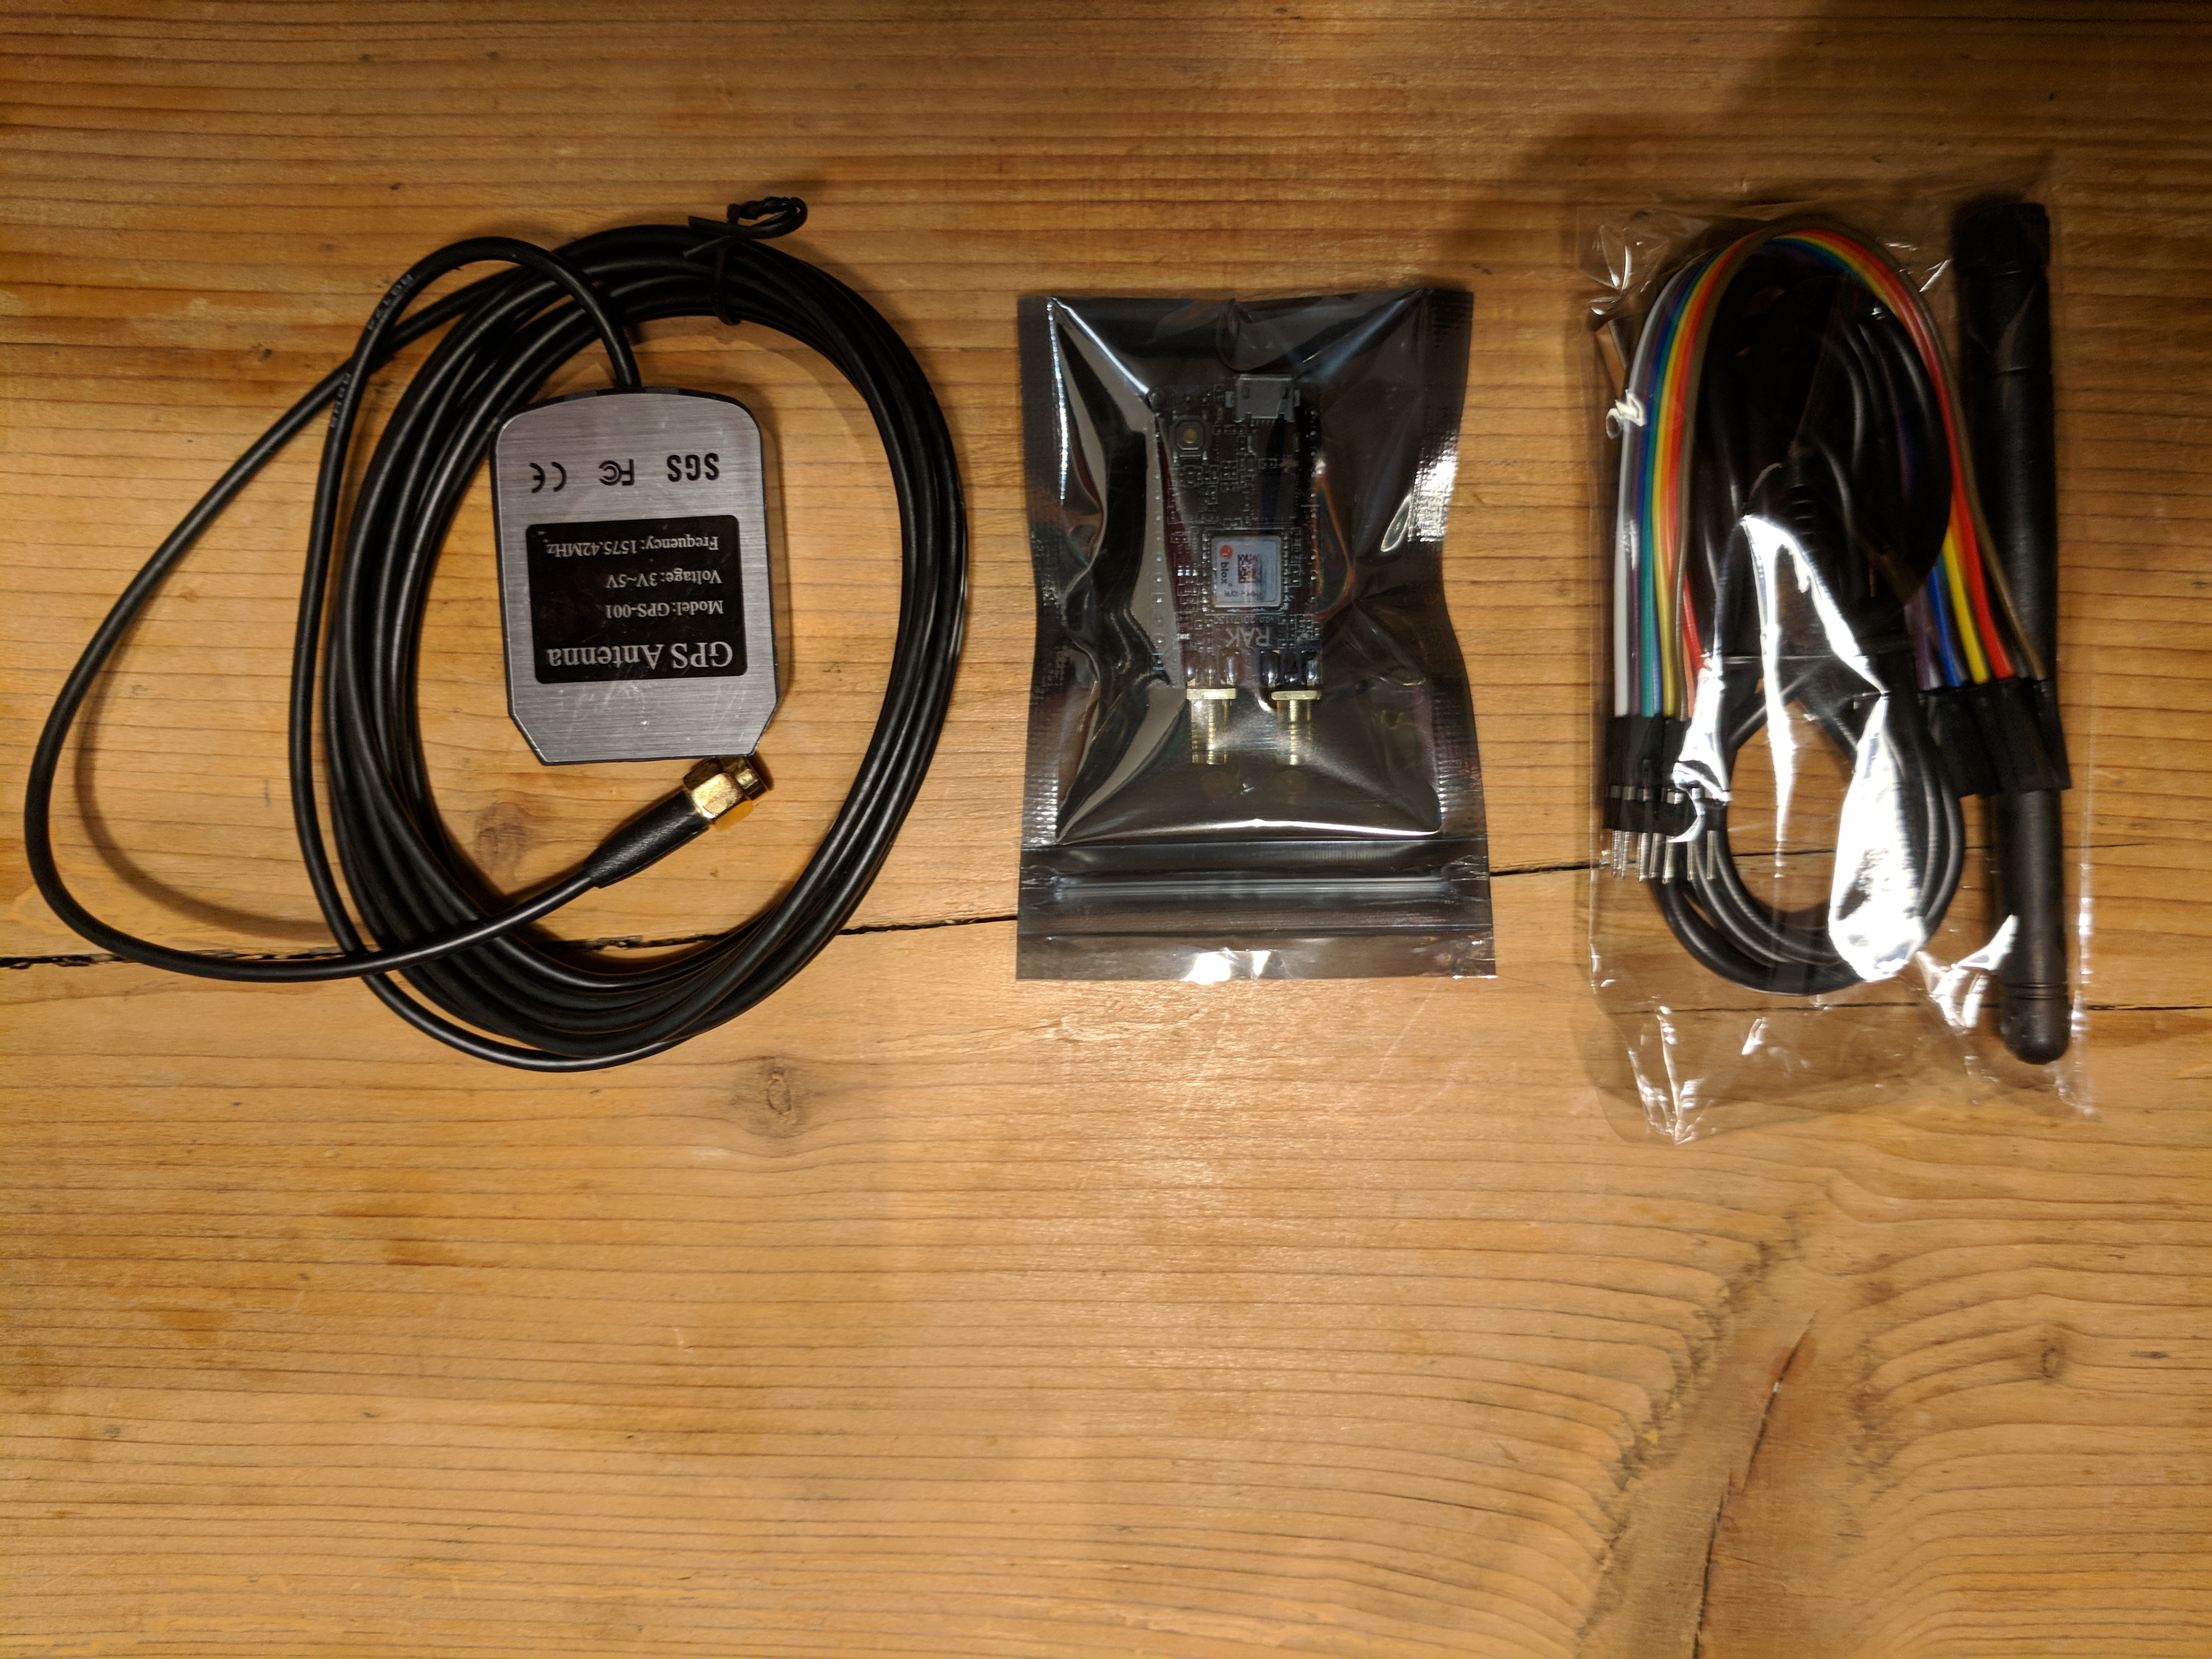
Got my 811 tracker board late last year and had not time to play around with since - would love to have a lab / story providing all the information to get it to run on a mac / linux, maybe @tkerby you can build a little lab/story with some screenshots, etc. here on ttn.org? Would be very appreciated, because i like there hardware design, its pretty compact, with gps/mems and not expensive.
Happy to put together a lab story for this one. There are two things outstanding I need to fix first though
1 - Printf is directed to the Segger real time trace (RTT). Whilst this is generally a good thing while debugging, I would really like to see some output on the serial port too. I may need to write a basic serial routine to handle this.
2 - The code doesn’t run without being connected to the debugger. I suspect this is because Segger is sneaky and adds a breakpoint at the start of the main() subroutine but I’ve not yet figured out how to disable it.
I got my 811_915 a few weeks ago… it was pretty simple to setup, I just grabbed the open source project, installed coocox ide, and loaded it up… then modified the project to compile for AU LoraWAN and it was up and running.
Having to go back and dig into the gateway setup to realise that the github project which looks like it would autoconfig everything I needed but didn’t actually set my frequency plan was probably my biggest hiccup in the whole setup and test project (well, also my original install on the pi somehow stopped saving changes to the SDcard… that was annoying, and just disappeared when I did a second install on a new SDcard)
I did have a go at connecting my jlink, pretty straightforward, but I think the last time I compiled code and programmed it in I just sued the serial bootloader because it was easier and I wasn’t worried about being able to debug.
PS, as far as the JLINK connection list above goes, yes you’re right. But leave SWO alone at least to start. It’s optional (for “realtime” streaming debug out) and additional to the base functionality you get with SWD
PS I’m not really a fan of coocox IDE though it HAS improved markedly since I last used it about 2.5 years ago, if that’s any consolation.
The good news with co-ide is it’s a modified version of eclipse… the one trick is you need to separately install gnu-arm cross compiler and point co-ide at that install, then it mostly works like other eclipse installs, minus a bunch of features… though it has its own unnecessary xml(?) project format and nothing I’ve seen in terms of project export to a plain makefile project, so it’s not trivial to export to something else. even other eclipse variants.
if atollic truestudio hadn’t just been eaten up by st my next step would have been to try importing the project from coocox to atollic as that was my preferred eclipse/gcc for windows, but since that’s been bought, I’m still working out what my main windows embedded dev IDE will be.
pio lib install “mbed-dev”
copy main.cpp to src dir…
pio run
Have not flashed it yet, as I am not sure where the linker script is located…
The mote_l152rc board also has twice the flash
; PlatformIO Project Configuration File
;
; Build options: build flags, source filter
; Upload options: custom upload port, speed and extra flags
; Library options: dependencies, extra library storages
; Advanced options: extra scripting
;
; Please visit documentation for the other options and examples
; http://docs.platformio.org/page/projectconf.html
Hi,
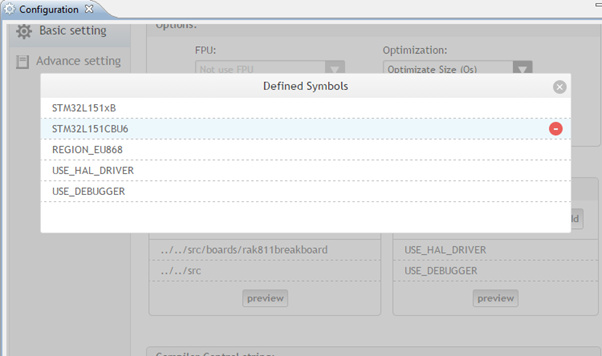
it’s frustrating. I’ve done everything like explained in „RAK811 TrackerBoard User Manual V1.1“, but CoIDE cannot build the project.
Here ist he message:
Here are the defined symbols:
Can anyone help me?
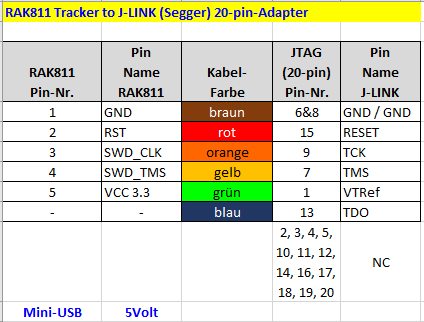
Another question is how to connect the TrackerBoard to the Segger J-Link Interface?!
Here is my connection chart. Did I make a mistake?