@s54mtb I have lots of these built using Charle’s interface card and following his sw repository instructions. Mine mostly use @kersing Jac’s MPPF (use instructions in repository to change the start.sh last line etc.). (I also use same set up for many RAK Pilots and equivalent custom housing builds etc. with the interface card swapped to RAK’s 831 interposer board). Migration is ‘simple’.:
Set up new V3 GW instance and generate an API key allowing GW fn - keep it safe.
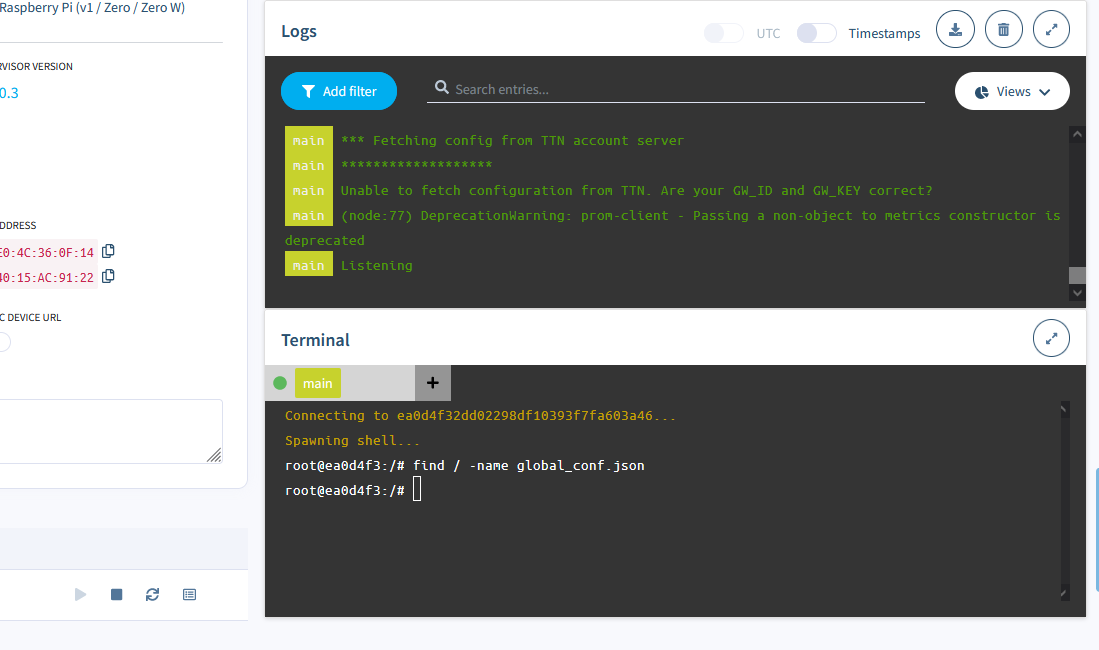
Log into the GW Rpi0W, navigate up the directory tree and head to and edit the global_conf.json file (likely directory if you follow standard build is /opt/loragw (or your equivalent)
Scroll down to the “gateway_conf” section of the file and tidy up/edit to reflect your version of this set up:
Note add the 1881 port to server address if using the MPPF (Thanks to Jac for hand-holding & pointing out the gotchas when I missed that during my 1st set up of such a config)
If there are other servers called out (e.g. 127.0.0.1 simply check to see if set as false, also as you will see the version above tidies up and removes some listed ‘back-up’ servers which no longer apply.
In addition lower down the file if not already populated you might want to update the latitude and longitude details if using fixed GPS data in console etc.
Save your edits (over write existing), reboot the GW (shutdown -r now) and with a following wind after approx 5 mins you should see an active GW in V3 - having local node Txing helps speed up traffic capture and recognition by NS/Backend…
Any problems come back here and detail (please dont make us guess!) what you have done of what has gone wrong/problems seen…
You didnt say you were doing a Balena install! My suggestions and experience was based on Charles/ch2i (see link posted by Bluejedi) build and board you called out and modifying for V3… if Balena you will need to look elsewhere and get help from others - I believe Jac @kersing uses this and has done own builds using his MPPF & Balena…He did ask 10 days ago what Sw you were using!..