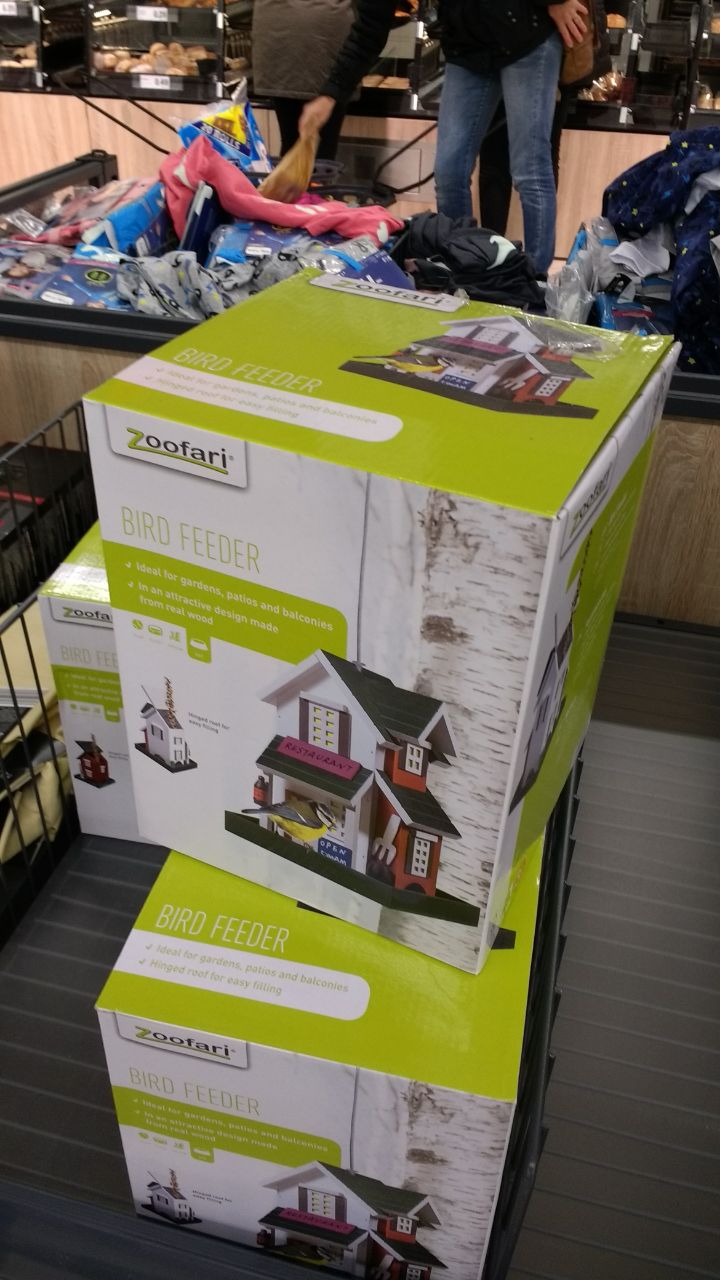
During my Monday shopping routine I found a birdfeederhouse at the Lidl.
The price was right so could resist to by it for a side project.
!
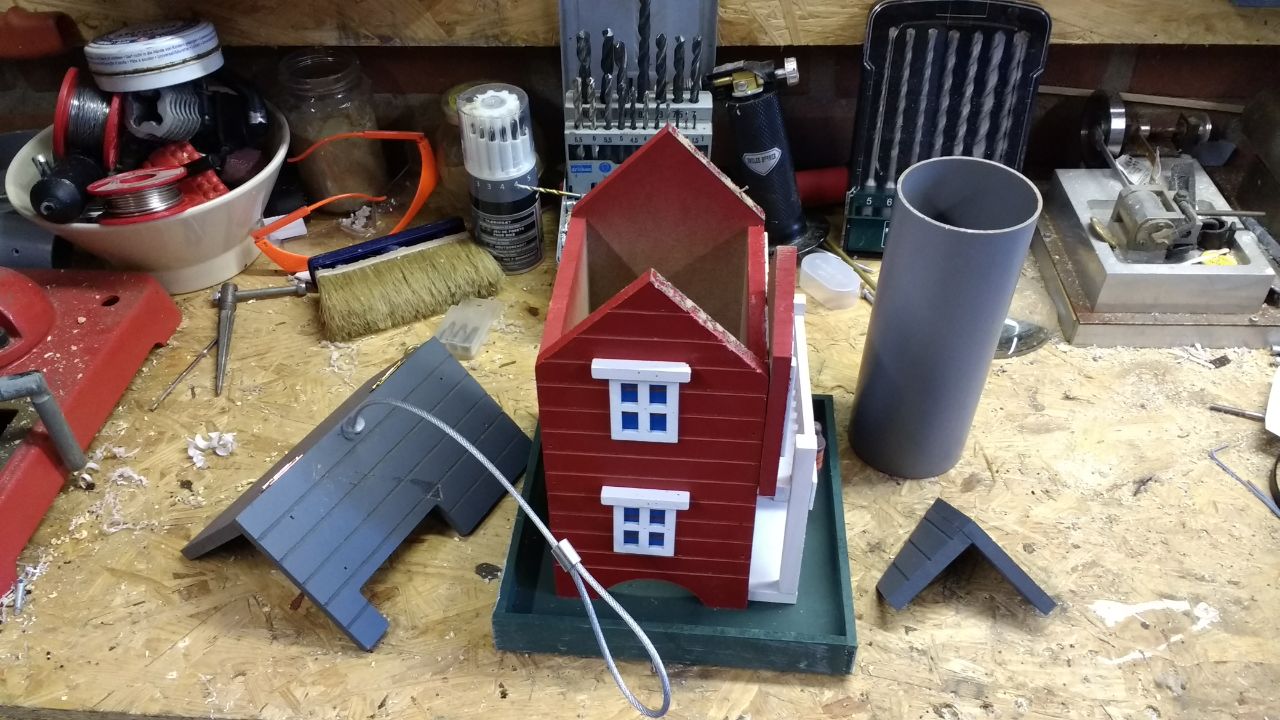
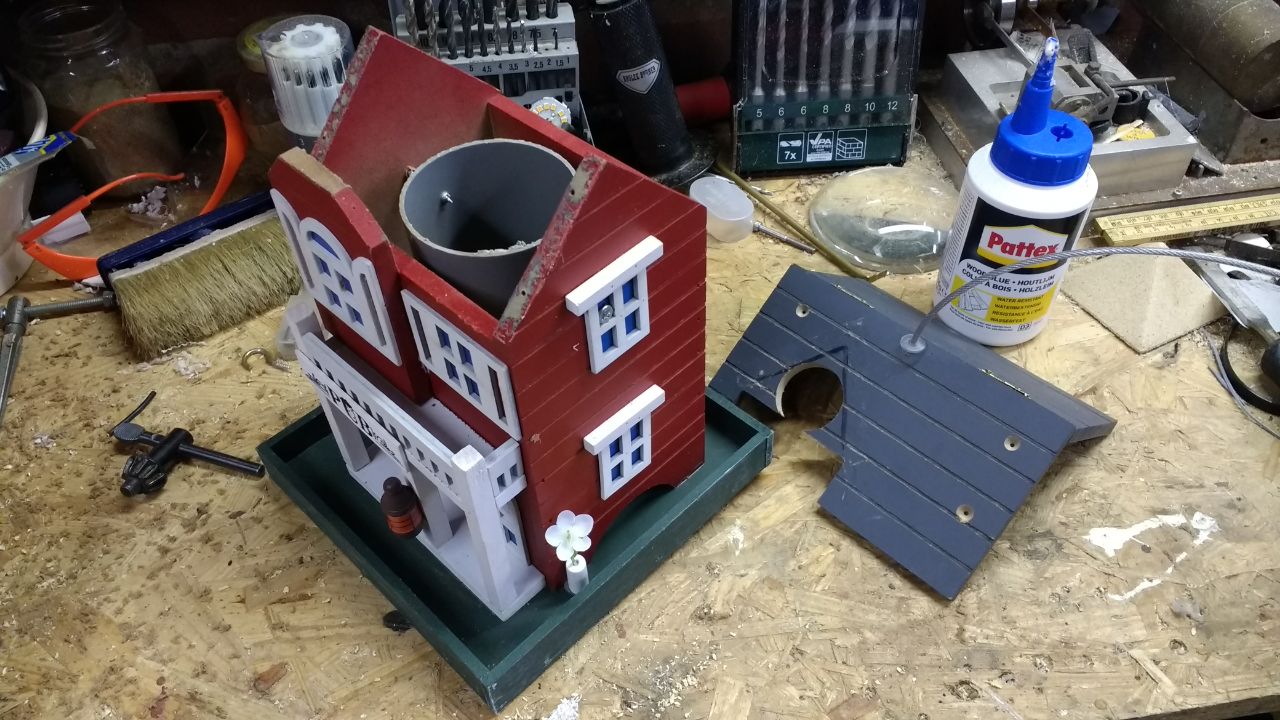
Step 1 : remove the roof to get access to the internals of the house (and cut a PVC pipe)
!
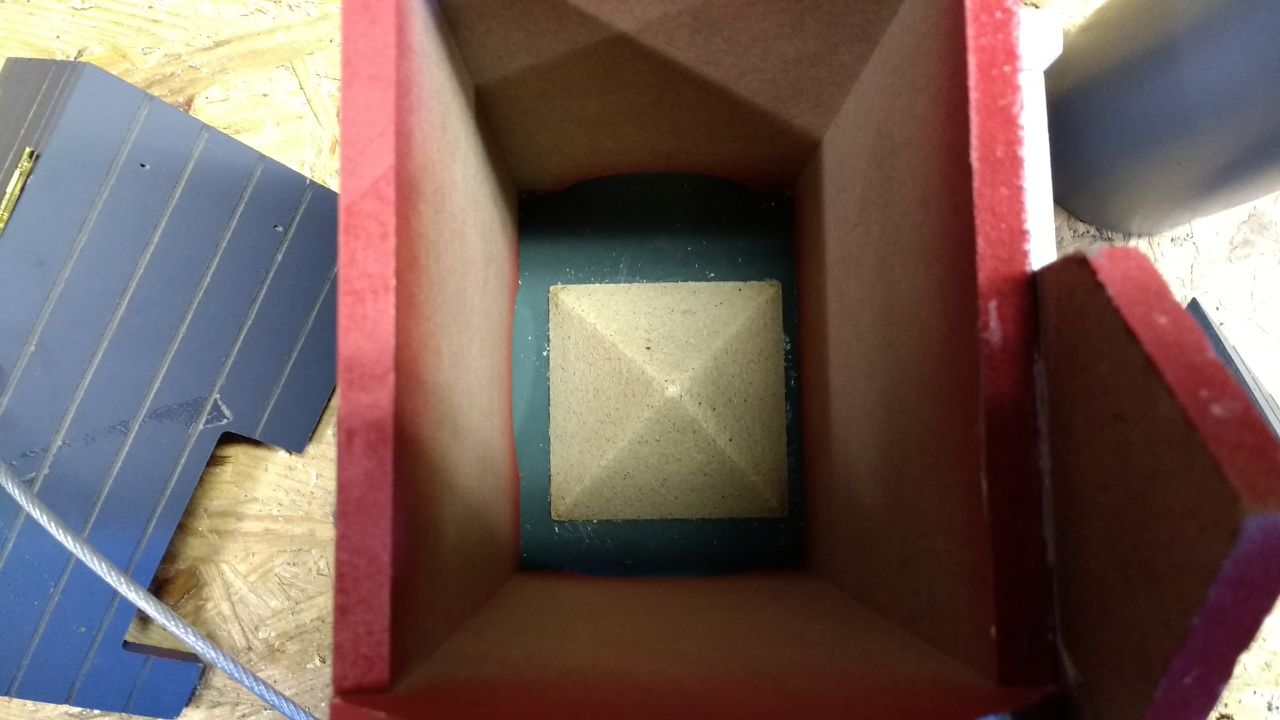
Step 2 : Remove the food dispensing pyramid.
!
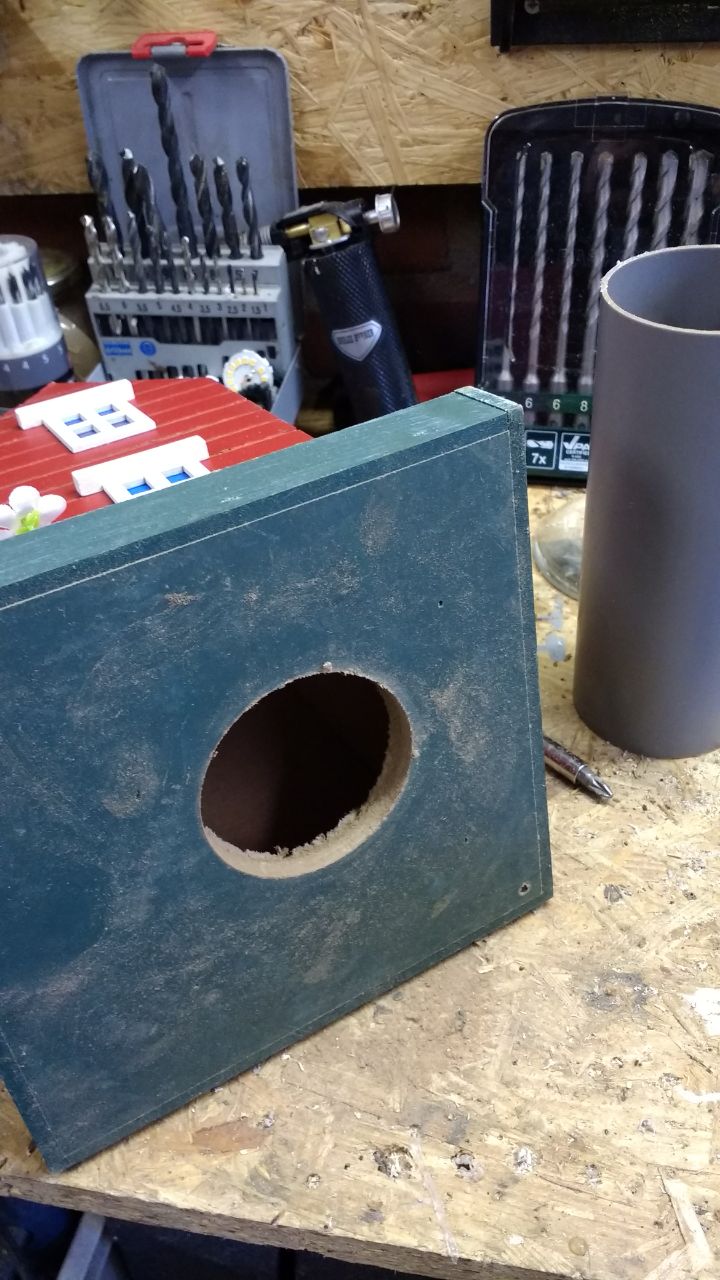
Step 3 : Cut the large air hole on the bottom.
!
Step 4 : Add extra air hole in the roof and cut a part of the dormer to allow the air to flow.
!
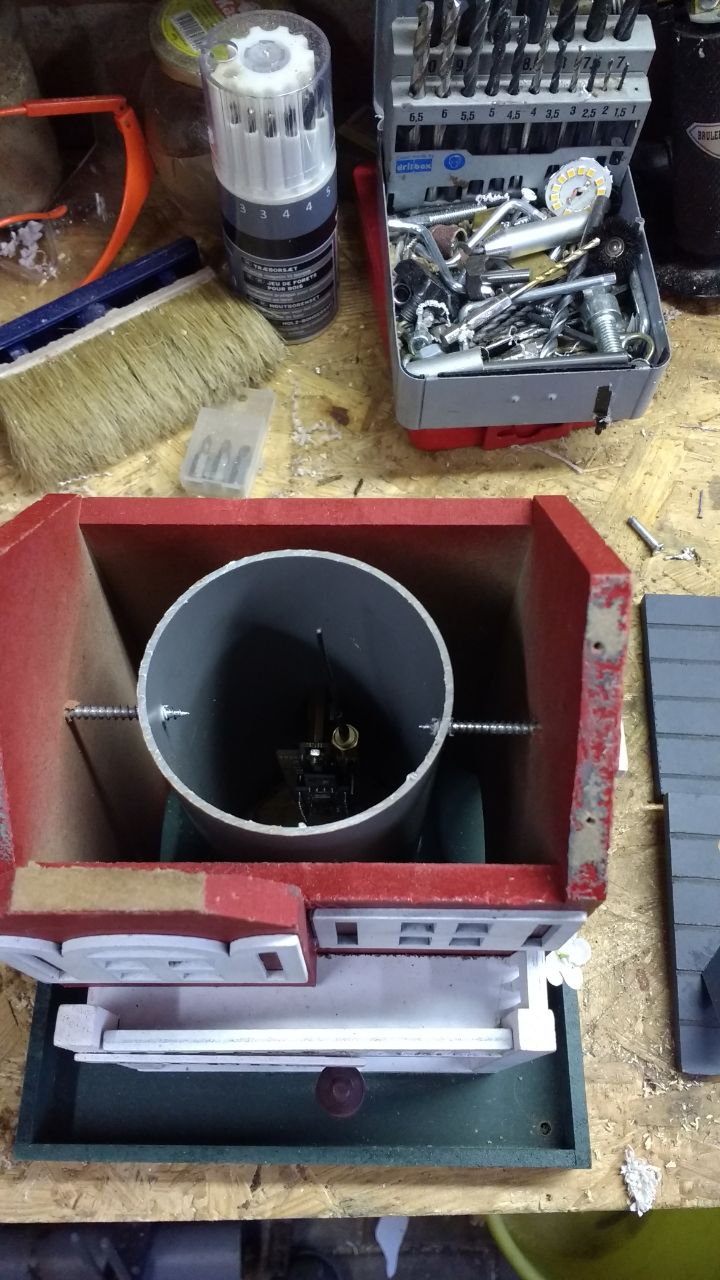
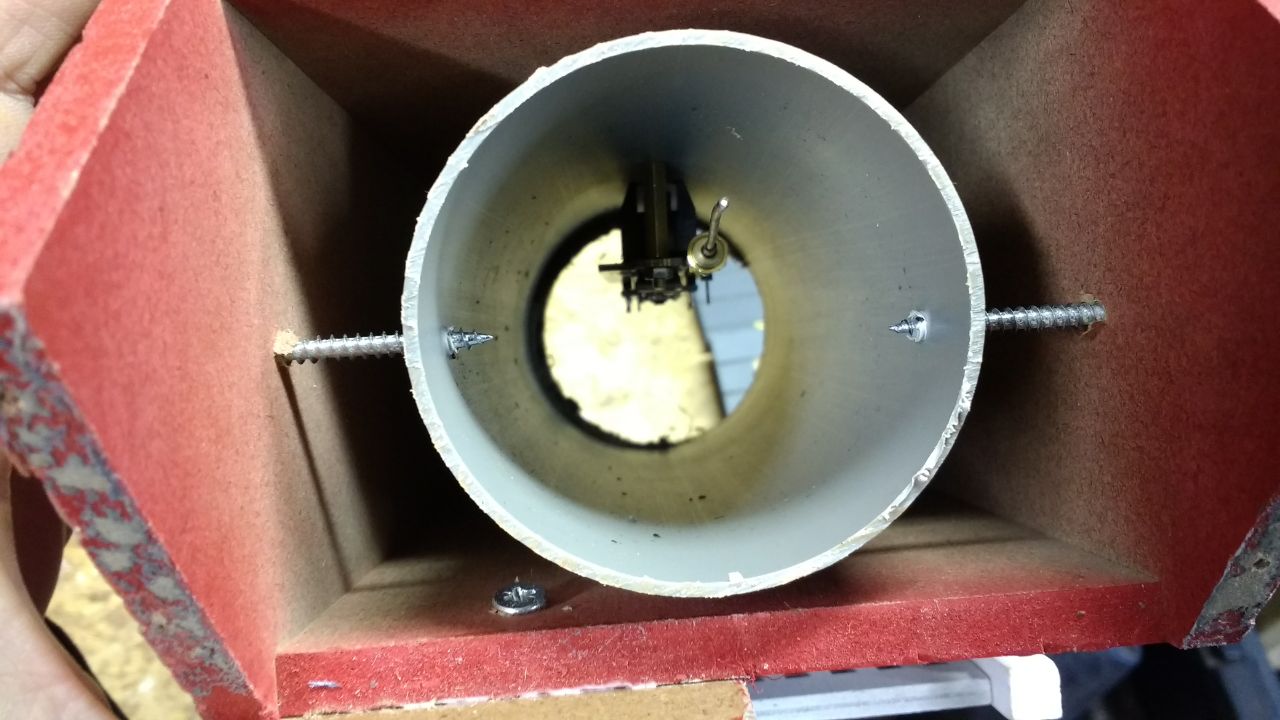
Step 5 : Install PVC pipe and add screws to hold in in place (and still there is enough room for bird food around it ).
!
Step 6 : remove PVC pipe and install the TTN LoraWAN ENV Node (and check if it still works).
!
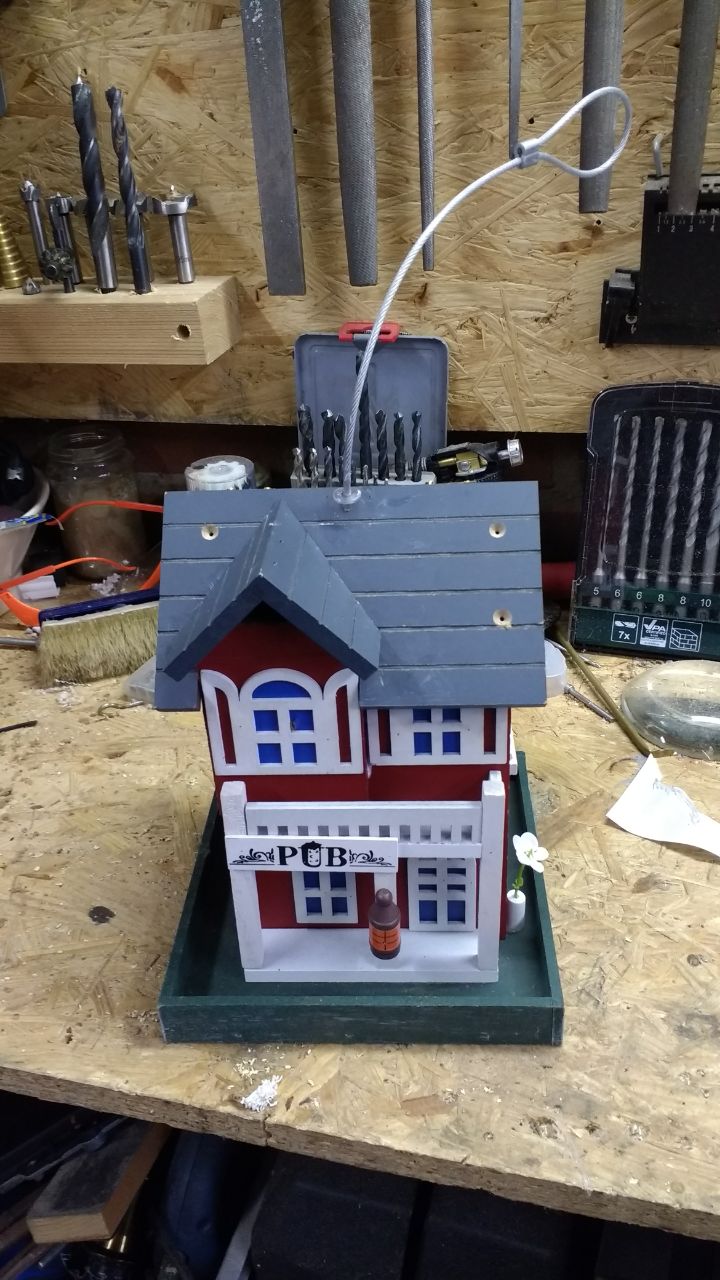
Step 7 : Put it all together again.
!
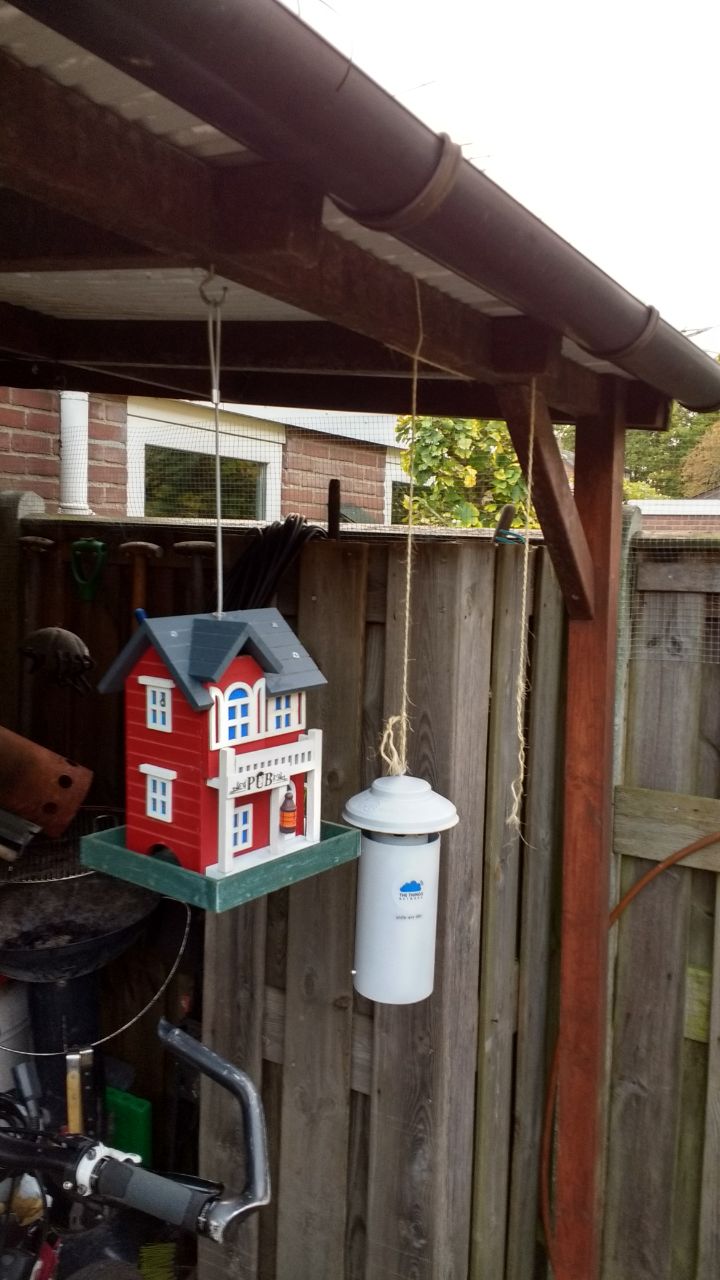
Step 8 : Hang it outside next to a existing node to check out the measurements.
!
Step 9 : send girlfriend (E) a picture and wait for response.
E> “WTF? What did you made? A bird house?”
Ik > “Yep, bought one and modified it. Even has as bird food feeder in it. "
E > “Onnie?” (translation : Really? you kidding me aren’t you ?”
Ik > “Yep and it even has a lora env node in it”
E > "LOL, could have seen that coming. Now lets see if it works as good as the other one. If so, the ugly PVC construction has to go. "
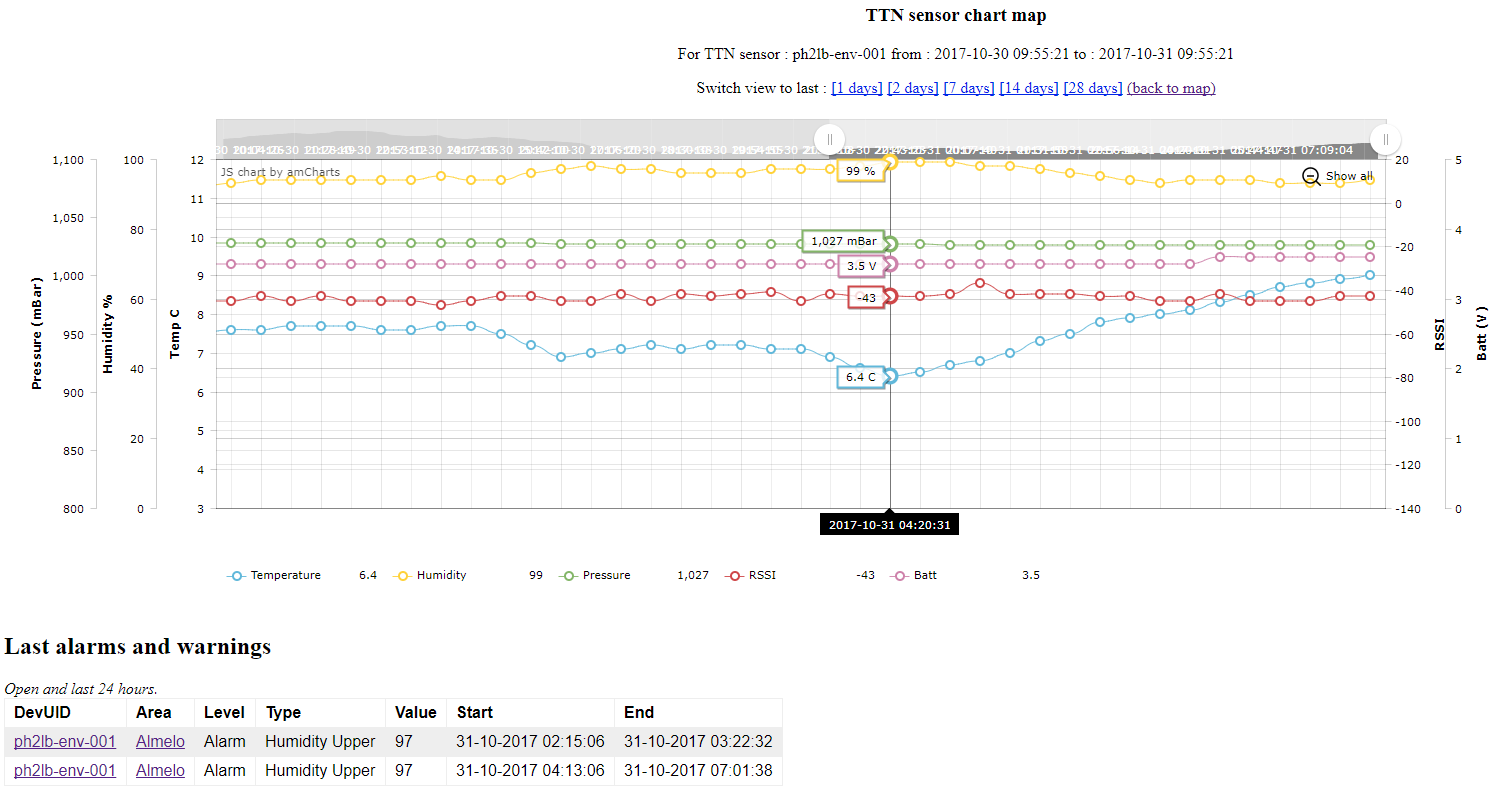
Then the result of the birdfeeder node. It seems to work but there is a big difference between them in the humidity. Maybe there isn’t enough air flowing throw the birdfeeder (needs a extra chimney) or maybe the wood is absorbing the humidity. Or maybe even the sensor isn’t working well. This may needs a deeper look into it.
So for now the ugly PVC construction is there for the stating.
are you happy with that BME280 sensor ?
and what happends to the components and PCB’s in the open air after a while, did you protect the board with an (anti condens) spray or something ?
Yep quite happy with the BME280. THe components holding out nice, but I’m going apply a layer of clear varnish on one of them for a test. For but for now all seems good.
Hi,
the BME280 is connected to A4 and A5 on the Arduino pro mini and did you remove the power LED from the Arduino? I want to use your setup for an indoor monitor to detect water damage from the level above the holiday home. Last time there was a undetected water damage above so the water runs in the walls for 4 week down, you can image what trouble it was… I hope with the BME280 i can detect higher humidity as indicator there is something wrong.
Hello Stefan, sorry to hear about your holiday home damage, that really sucks.
Indeed I removed the power LED but also the Power regulator from the Arduino. That drops the deepsleep current bigtime.
Using the BME280 as a higher humidity indicator should work when you have base line.
Iḿ thinking that a humidity of aprx. 50 to 60 would be normal (but that depends on you’re home).
For that I have added alarm/warning rules in the back-end. For example I have a alarm rule for low temperature in the garden. and one for a lower RSSI.
i use this nodes for about three months now without any drop in voltage. So i think they will work a little bit longer I also removed the power LED and the voltage regulator.
It’s been a while that I posted something of a status update in this topic, but here it comes.
Last week I followed a Angular 5 course for my work and one thing we had to do was to work out and implement a case. Well what better way to do that then to rebuild my webbased backed
There are still some small things to do (CSS just isn’t my thing) but the base is there and it’s LIVE :
Finally all parts had arrived, i have build a test setup on a breadboard and measured the power consumption. It uses round about 50mA while sending and 27,3μA in deep sleep. A battery calculator says that the battery (ER14505) should run 5 years .
Next step design and print a case and than installing it.
By the way, i use Cayenne LPP to visualize the data, if you wish i can make a pull request to add my changes to your code. It is implemented via #ifdef statements so it can be easily changed between Cayenne and your data format by setting a #define.
I’ve been working with Pro Mini, RFM95 and BME280 to build a low-power monitoring node. I can get it all working OK< but I’m struggling with the LP side of it. This looks exactly like what I’m after - and I also use Cayenne at the back end, so I’ll be keeping a close eye on you as well @biermi !
I’m literally in the middle of adding a lux and UV sensor - the code’s easy enough, designing a case which is small and contains all the electronics is a little trickier, but I’m getting there.
 !
! !
! !
! !
! !
! !
! !
! !
! !
!

 Maybe there isn’t enough air flowing throw the birdfeeder (needs a extra chimney) or maybe the wood is absorbing the humidity. Or maybe even the sensor isn’t working well. This may needs a deeper look into it.
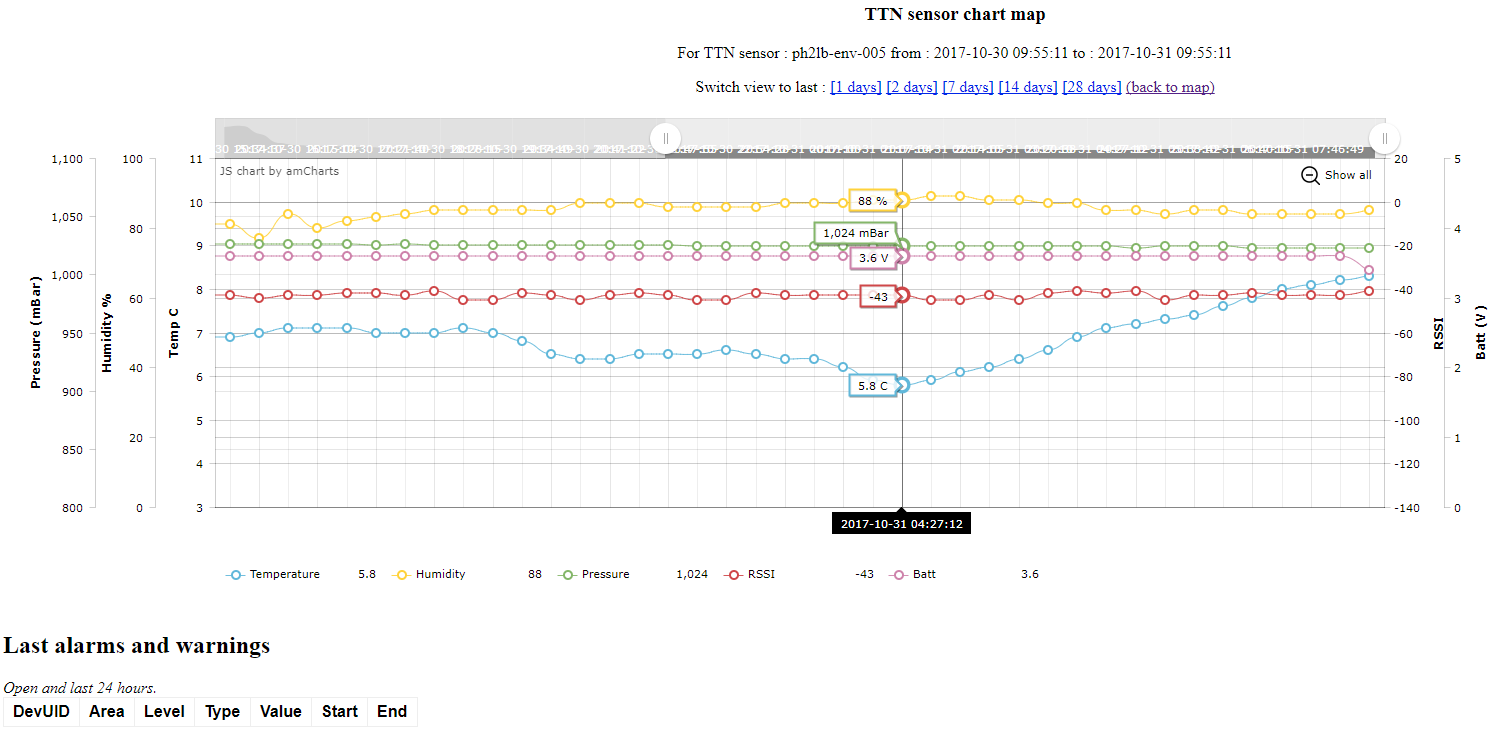

 I also removed the power LED and the voltage regulator.
 .
.