I have a new TTIG Indoor gateway. I have set up the WiFi and the LED is green.
How do I register using the console? TTN login goes to TTIG V3 where I registered the gateway but there’s no ‘I’m using the Legacy Packet Forwarder’ option. Reading Gateway status v2 console and The Things Indoor Gateway (TTIG) v3 migration implies TTIG is not supported yet. Registering on V2 says ''Could not register gateway - Registrations of new gateways in The Things Network V2 have been disabled".
You are in the gap between v2 gateway registrations being turned off and the v3 web console providing the UI for TTIG claiming.
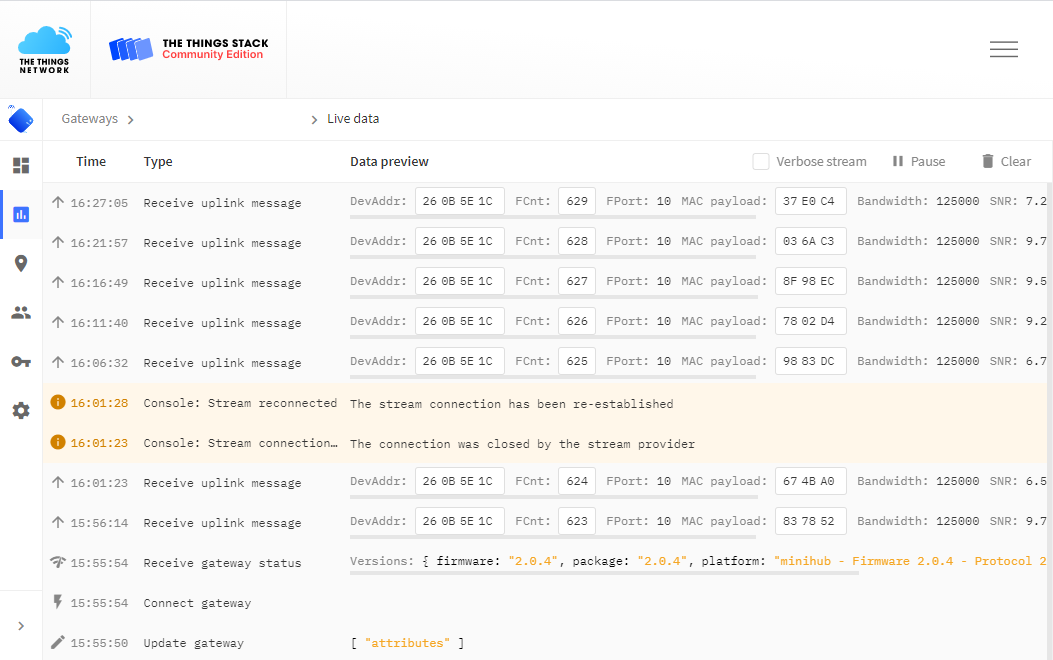
The TTIG should be routing packets but you can’t see that. Whilst that’s all you get, a console log, no buttons to push for remote detonation etc, it is still a bit unsettling.
The instructions for using the command line interface are available here:
This was indeed a misconfiguration; that should be fixed now.
New registrations will be disabled tomorrow.
If you don’t want to wait for the V3 Console to support claiming TTIGs (we’re working really hard on that) and you feel comfortable with a command-line, you can indeed already try claiming your TTIG on V3 with ttn-lw-cli. That works like this:
Make sure your TTIG is not yet registered on V3. The claiming process will register it for you.
Find the EUI of your TTIG. This should be printed on the sticker on your gateway. The EUI starts with 58A0CB, then on some stickers there’s FFFE (if it’s not, just imagine it’s there), and the EUI ends with 80****.
Find the WiFi password of your TTIG. This should also be printed on the sticker.
Use the following commands to claim your TTIG on The Things Stack (V3):
If you want your gateway on the nam1 or au1 cluster instead of eu1, you’ll need to change the target URI/address. If you want a different frequency plan than EU_863_870, then you can list the available frequency plans with ttn-lw-cli gateways list-frequency-plans.
Either wait (up to 24 hours) for your gateway to reload or unplug your gateway, wait a couple of seconds and then plug it back in.
When migrating a TTIG using the command line tool you need to make sure the destination gateway ID is not in use yet. If you try to migrate and get the error ‘no rights for gateway’ you need to use a different gateway ID as the one you tried is already in use.
Also, the EUI should not be in use in V3 already. That should of course not be the case unless you manually added the gateway previously. In that case, delete the gateway and use the command line tool to claim your TTIG. Make sure to use a unique gateway ID (not the ID of the gateway you just deleted, that ID can not be reused.)