Hi Batilan. At the moment a usb wifi adaptor but want to combine it with a M590E gsm module to make it a completely standalone gateway (only some power needed then).
Hi ursm,
Used the board from here https://oshpark.com/shared_projects/36EsiJqR. Found out today that RST is not linked to pins. Gateway does run however. Don’t know if RST is really needed for functioning.
1 Like
Hi Thomas,
Please can you provide a break down of what can be achieved using the 1 to 1 gateway approach.
I ve been testing RN2483 point to point , driven directly over USB from a PC application that we have written and they work fine in their simplest form , I just curious to how much if any of the LORA network joining procedure can be carried out on a 1 to 1, without a proper gateway?
For instance can a 1 to 1 gateway respond in the time window to a LORA packet ?
At the moment I set one RN2483 to TX one to RX send data back and forth and swap them over, a proper gateway can sit in receive mode and reply with in the time slot to the tag TX.
Will
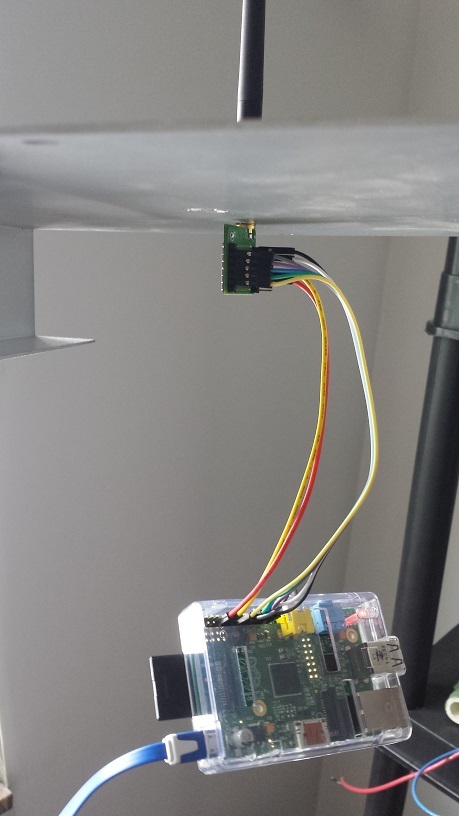
I am upgrading my Raspberries to later models, so I did have an old one available for this project.
As you can see it runs over WiFi connection.
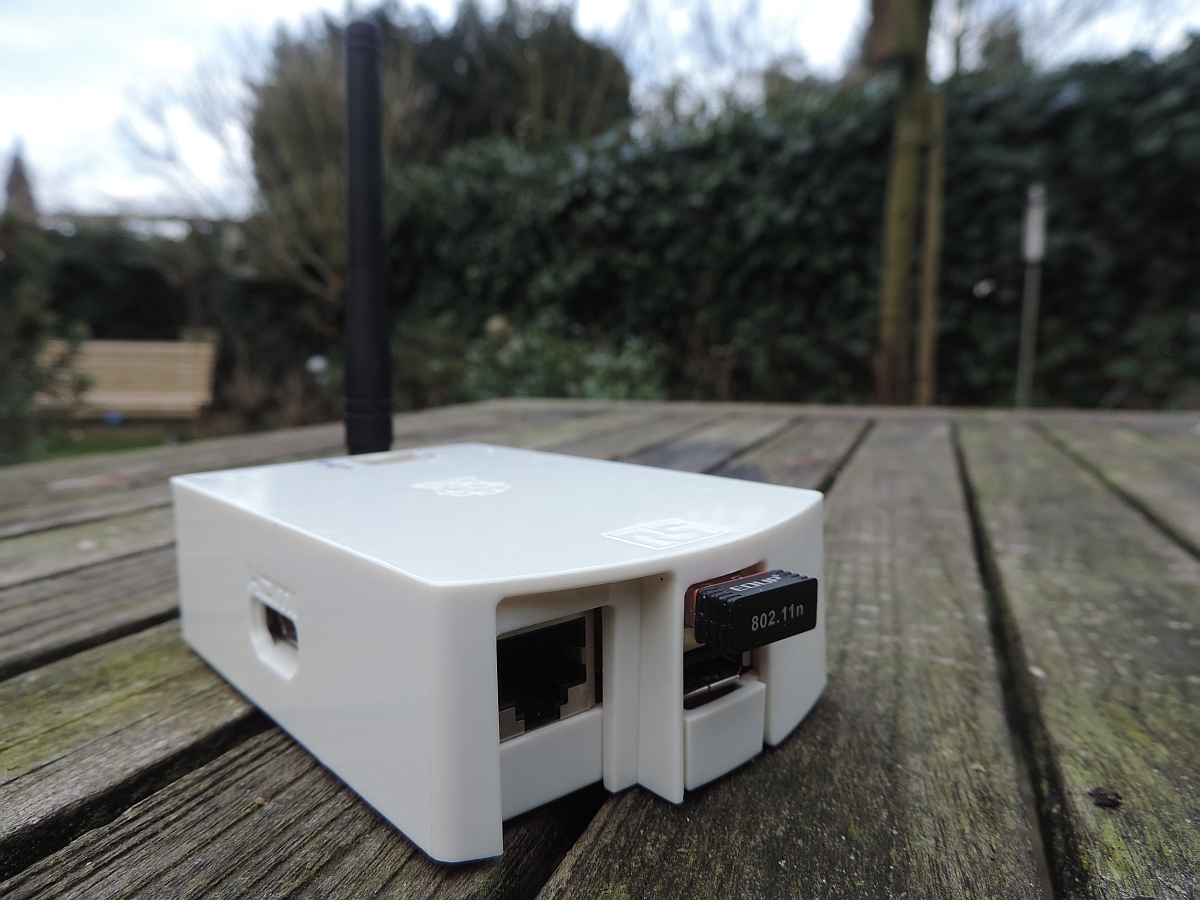
The RFM95 is soldered on one of the ESP8266 adapter boards and then upside down in the Raspberry.

Thanks @Thomas for this project!
3 Likes
I only have experience with the RFM95 board (see picture in previous post) and I did not connect RST. Runs fine now for 2 days and survives reboots and restarts of the software etc.
As you can see it is used during SetupLoRa() startup only.
Maarten
I made another one, and changed the pin-definitions a little.
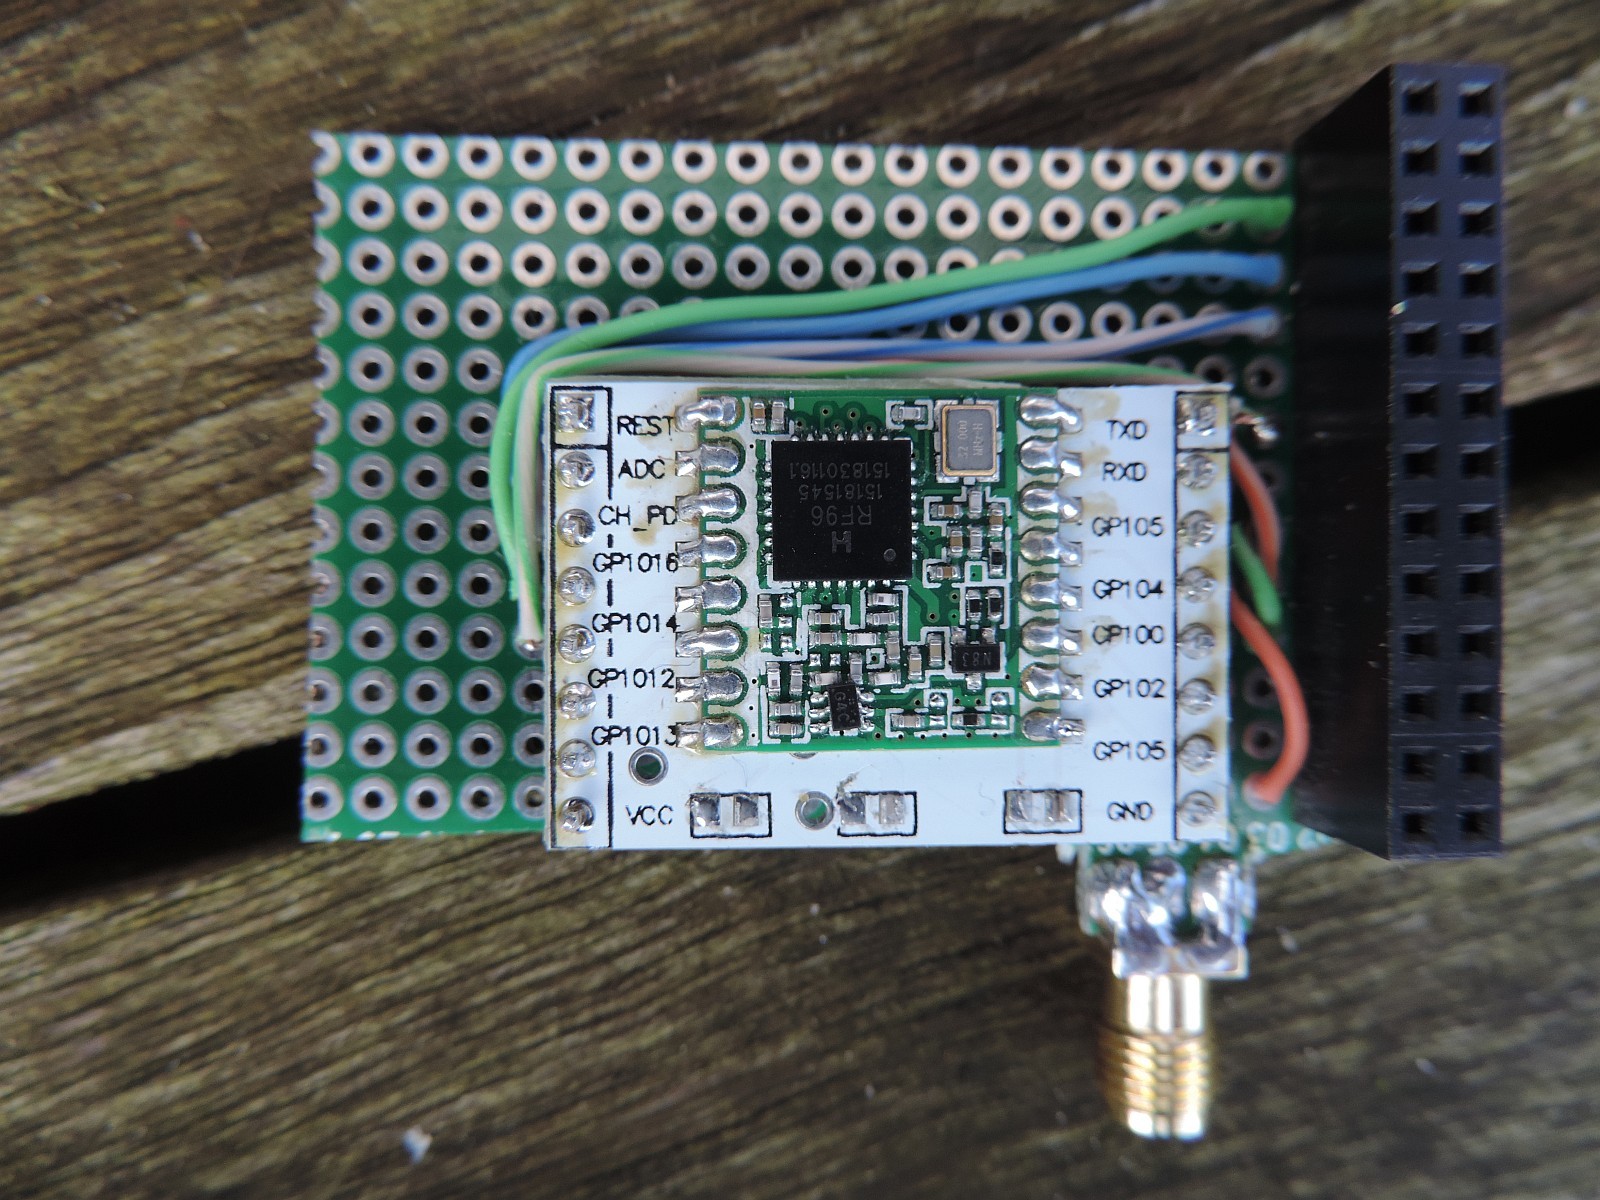
As you can see I mounted the RFM95 upside down on the board as it makes soldering of the RFM95 and the Raspberry connector a lot easier. I also changed the NSS pin to GPIO3, and connected ground to pin 9. As a result, all soldering is done on the odd pins of the P1 connector (and on one side of the interface board while all wiring is on the bottom side).
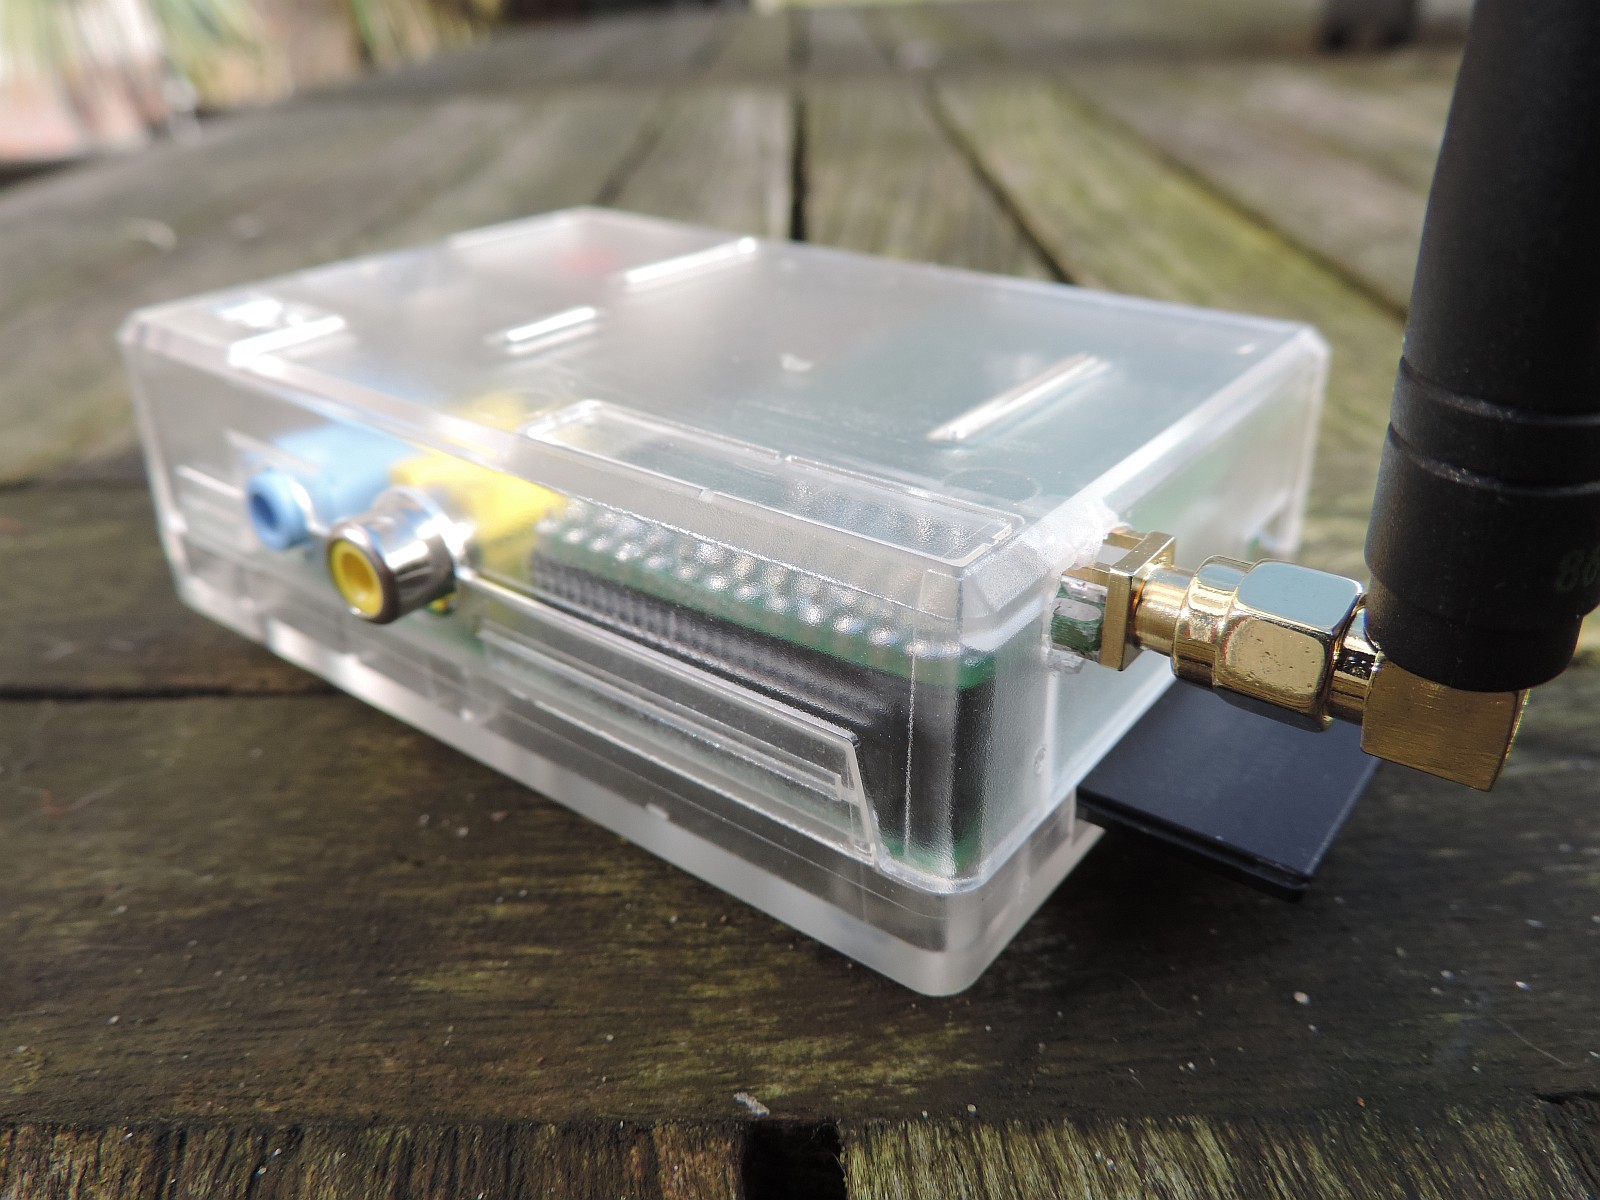
The result is quite OK, with just a minimum of cost. Assuming you have the Raspberry, its case, a memorycard and adapter already, the additional cost for gateway components is just 15 Euros or so.
Btw. I also updated the code of Thomas a little so it accepts DNS names for the MQTT server. Also I added the other TTN channels so this Gateway is working on a different channel than the previous one.
4 Likes
@platenspeler, Nice!
I recently had a discussion because there was some confusion about the frequency range of the HopeRFM96. In the datasheet you will find this information:
1.2. Product Versions
The features of the three product variants are detailed in the following table.
Table 48
RFM96W/RFM98W 433/470MHz 6- 12 7.8 - 500 kHz .018 - 37.5 kbps -111 to -148 dBm
…but I see that you also use the RFM96 …
How do you see it is using the RFM96? I guess you read the text on the chip itself?
Based on what is written on the chip I also thought that it was the RFM96 but it seems it is a RFM95. For the ones that I bought from hoperf.nl I contacted the supplier to ask, but they assured me it was a real RFM95.
Do not understand why hoperf makes things so confusing, but I stopped worrying about it (or looking at it)…
Maarten

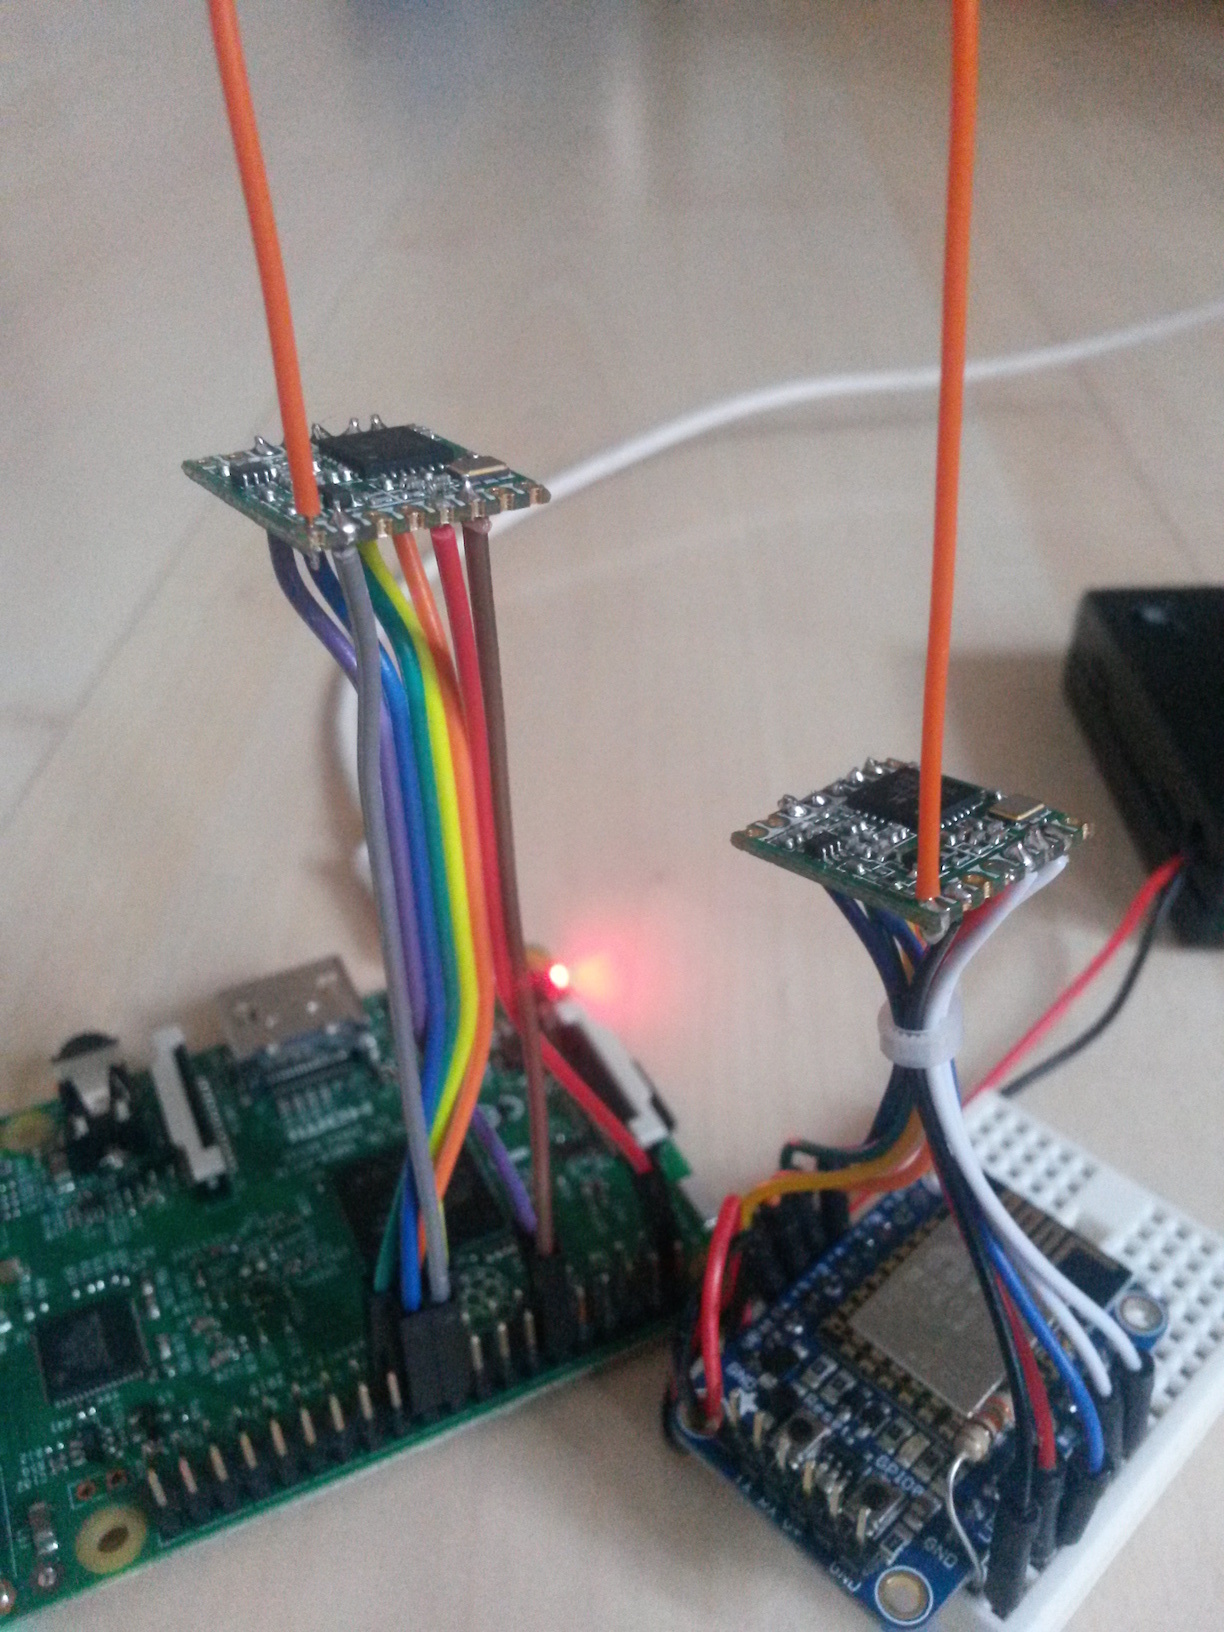
Solder more Single Channel Gateway’s, breadboard en jumper cable keeps everything in position.
2 Likes
For those who still think that a single Channel Gateway is still too expensive: I made one based on an ESP8266 and RFM95. Total cost is about 10-12 Euro’s. It is probably the cheapest and smallest (single channel) gateway around 
Getting the software of Thomas ported to the ESP was way more difficult than I initially thought. And keeping the ESP from going into watchdog resets was another. But it works now…
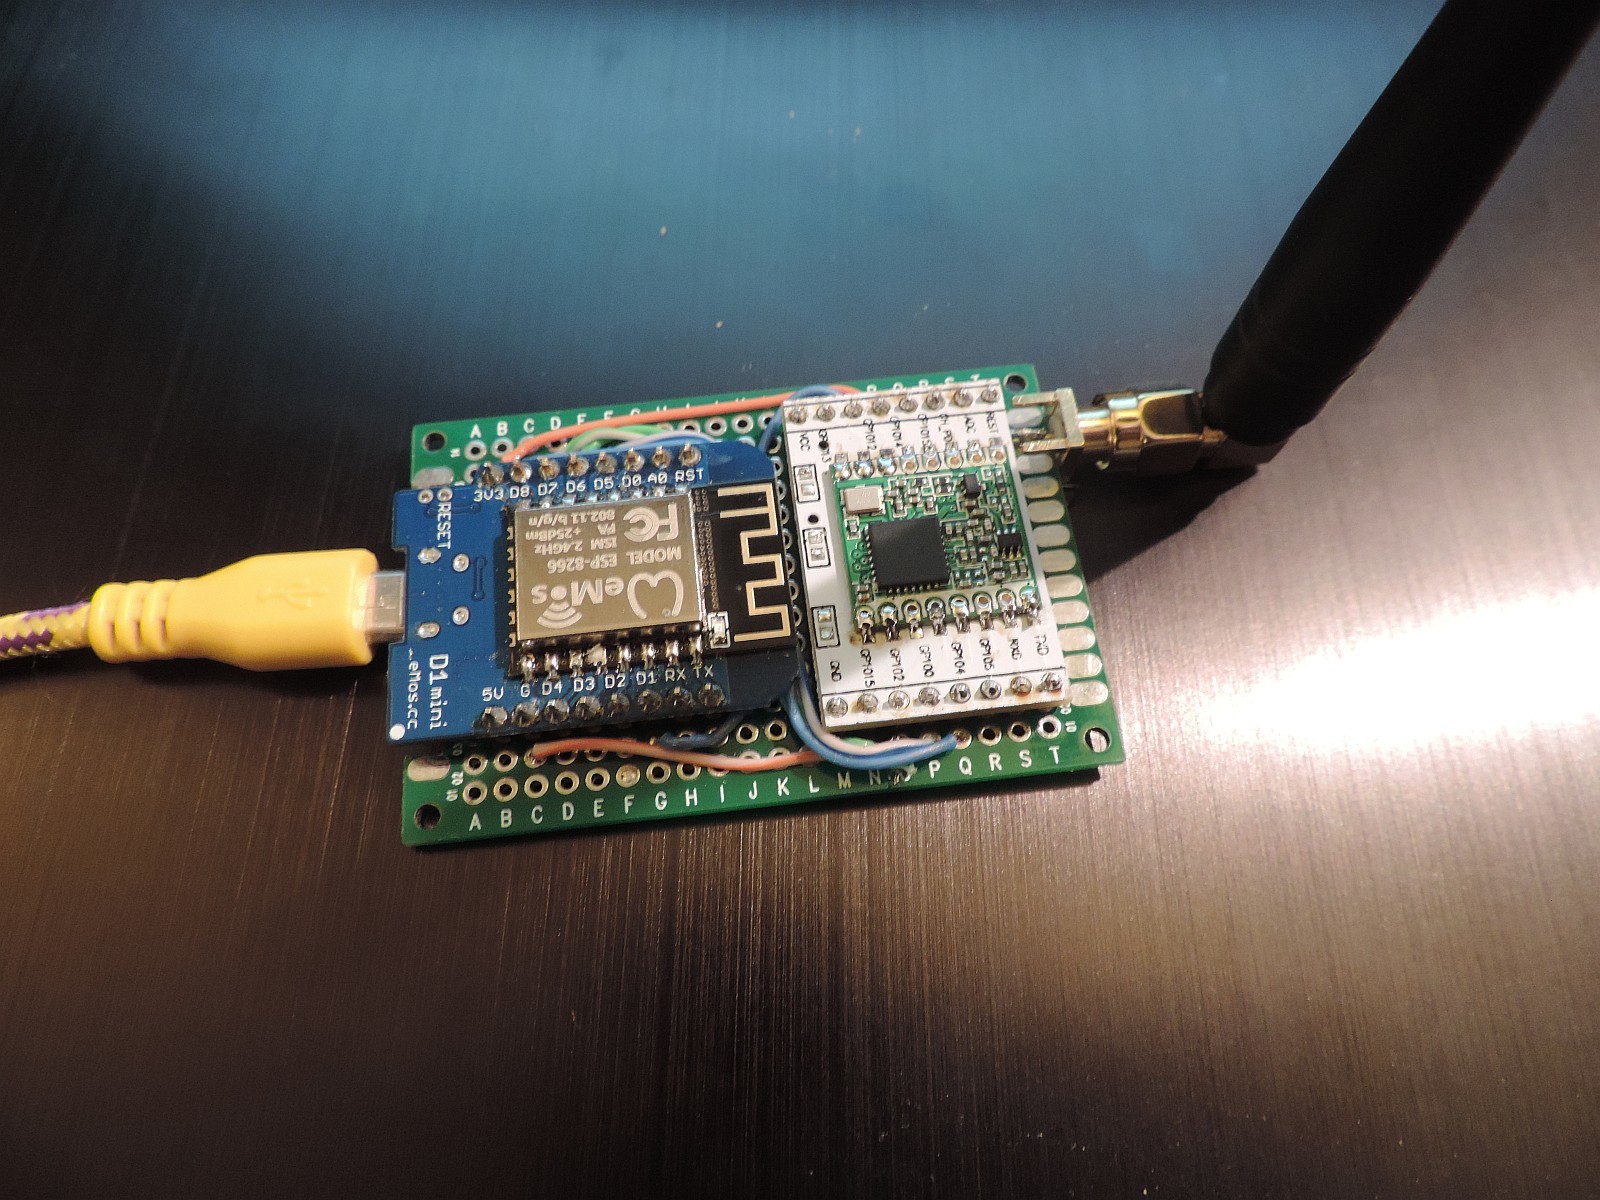
The ESP8266 is not a simple MCU to work with, but it seems to be doing OK. It is running for a few hours now to see if it is reliable … (fingers crossed)
Advantages are clear: No Linux, low power, no memory card, small footprint etc etc.
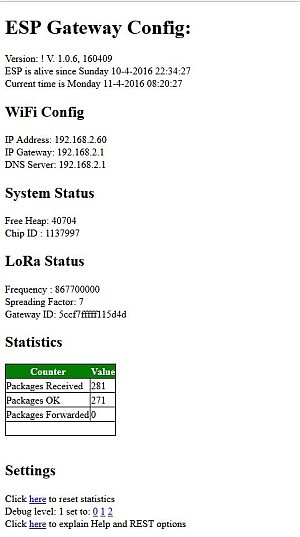
I’ve included a webServer interface, so I can remotely control the gateway (debug level etc.) and read some statistics. Still adding more functions.
todo:
- Add to the webserver interface, for example change channels on the fly, change SF settings etc. (Ongoing)
- Get DNS functions to work (hate to use IP adresses for Croft) (Done)
- Read the internet time in absence of a RTC (Done)
- Reliability testing over a longer period
- etc.
Maarten
9 Likes
Great! I was about to work on the same idea, this saves me a lot of time 
So I guess we should be watching https://github.com/platenspeler for the sources ? 
Do you have a link to the protoboard? It seems a nice fit for this purpose.
Awesome, i will try this as soon as i get some free time!!
Still testing and getting rid of the last watchdog reset messages.
Patience please.
1 Like
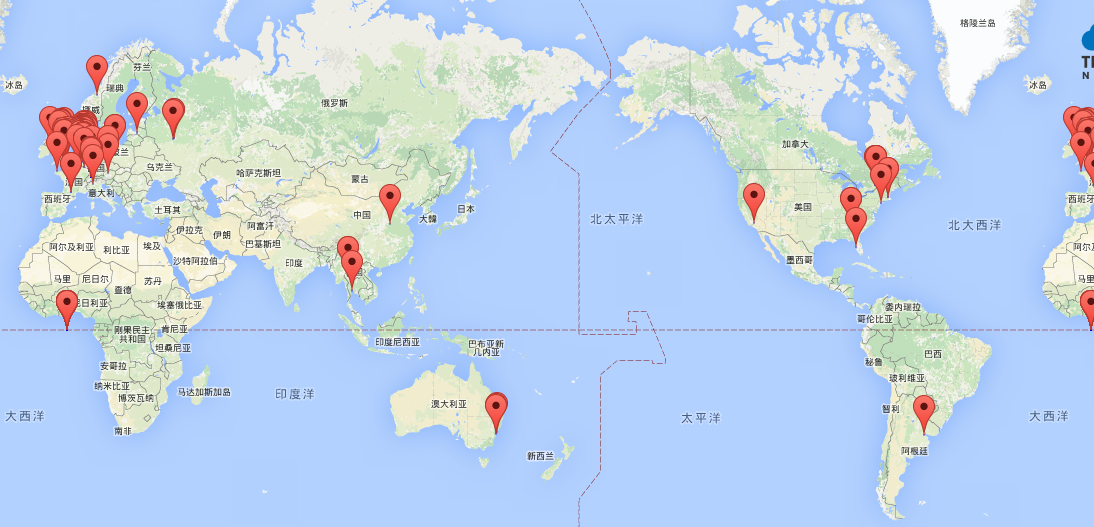
thank you ,I’m in china,now the PI gateway works well,
How does the range of such SX1276-based gateway compare to “true” gateways?
(Lacking any TTN in my area, I’m trying to figure out if the bad range I get is caused by my node or my single channel gateway. I tried many spreading factors, all on channel 0, and both gateway and node are using a HopeRF RFM95W with a solid 8.6 cm wire soldered on the board as an antenna, with no explicit ground plane—which might be bad? All fine when in close range, but the maximum range is some 200 to 250 meters… But maybe that’s all to be expected?)
Just got a single chan gateway up and running (801F02FFFF7E56D1) with one node (02E00201) sending “Hello, world!” for a few test packets then turned off.
Node is a mega2650 w/ a Modtronix inair9b and gateway is a RPi model B rev 2 with another inair9b and the single_chan_pkt_fwd from github. Node will soon have a DHT22 temp/% rel humidity sensor for real data. Eventually hope to collect water quality readings from the nearby major river.
Lessons learned - The damnable RPi wiringPi pins (Actually love the RPi took a while to sort out but ended up using:
// SX1272 - Raspberry connections
int ssPin = 10; // pin24 , SPI_CE0_N is GPIO08 and ‘10’ in gpio readall wPi column
int dio0 = 7; // pin7, GPIO07, 7 in wPi column, also labled GPIO04 in other pinouts
int RST = 0; // pin11, GPIO00, 0 in wPi column, also labled GPIO17 in other pinouts
and had to change ‘eth0’ to ‘wlan0’ in main.cpp and also tcpdump used to verify traffic off to thethingsnetwork. Anyway, getting the proper gpio pins worked out (using the gpio readall and testing with a scope - or an led/limit resistor would work also) was the breakthru in my case.
Hmmm, I did not change that, and uploading to TTN just works fine on WLAN. But I did have an ethernet cable connected at some point in time; maybe that matters.
Hi Arjen,
This depends very much on where the gateway (-antenna) and node are located. Although line of sIght (LoS) is not required for LoRa it does help a lot. My 1ch gateway also using 8,6 cm antenna is placed inside in the attic (about 6 meters above ground level) in a “city area”, also range isn’t that good but I do get up to 2 km when also the node is high (like on a bridge). I now also have an iMST iC800A gateway at the same location with a better antenna. This performs “somewhat” better but not dramatically. I did not get a greater maximum range, but do get little further in some area’s and reception is more reliable in close range (I have put my nodes on 1 channel for comparing this). This limited range is not a limitation of the iMST board, I know it can perform much better with a proper antenna on a good location,
I also see there is some “directional preference” for some area’s (this probably has to do with buildings nearby). My RFM95 based node with wire antenna gets up to 17 km range when talking to a Kerlink gateway (in “almost” LoS conditions).
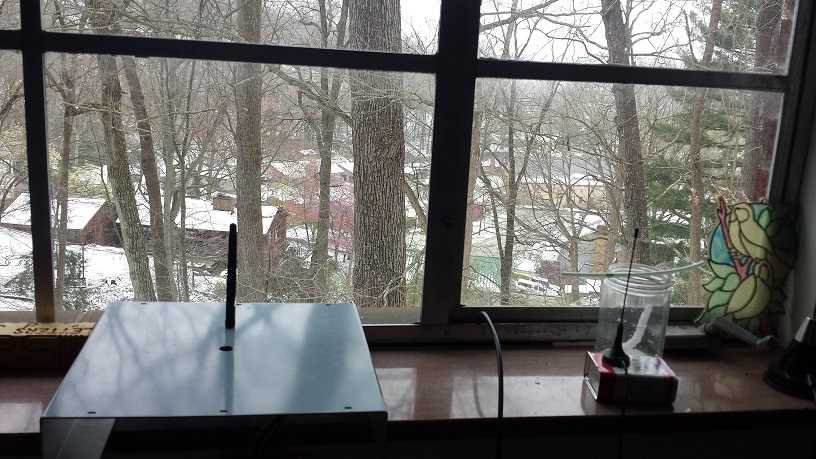
I plan to get an antenna for the gateway up outside in the next weeks and hope to get some better range.
3 Likes
Hi,
I have published the code for the ESP8266 single channel gateway on the Things4U Github.
The draft documentation of the ESP8266 is also on the Things4U github pages.
Do not forget to use the webserver to monitor the server once it is not connected anymore to the Serial Monitor of Arduino IDE
8 Likes
Niice, wil try this weekend!