Using The Things Network website
How to find a community, join it, post, message other members, earn a certificate, and how initiators, core teams, moderators and administrators run the site. Each chapter says which role it is for.
1Roles: who can do what
What you can do on the site depends on whether you are signed in, and on your role in a community. One person can hold several roles: an initiator of one community is an ordinary member somewhere else.
Anyone who is not signed in. Can read everything public: communities, the map, posts, articles, certificates and public profiles.
Signed in with a The Things ID. Has a profile, settings, notifications and an inbox, can message members who allow it, take certification exams and apply to start a community.
A signed-in member who joined a community. Can write posts for it, read its members-only posts, and report an inactive initiator.
The initiator (founder) and the core team of a community. They manage its page, members, posts, invites, partners, media and links, and can message all members.
Staff who write the global articles and the country updates shown on country pages.
The Things Network team. Reviews applications for new communities, handles reports, writes articles, and can manage every community.
Permissions at a glance
| What you want to do | Visitor | Signed in | Community member | Community admin | Moderator | Platform admin |
|---|---|---|---|---|---|---|
| Browse communities, map, posts, articles, certificates | ✓ | ✓ | ✓ | ✓ | ✓ | ✓ |
| Profile, settings, notifications, inbox | – | ✓ | ✓ | ✓ | ✓ | ✓ |
| Message another member (if they allow it) | – | ✓ | ✓ | ✓ | ✓ | ✓ |
| Take a certification exam | – | ✓ | ✓ | ✓ | ✓ | ✓ |
| Join a community, accept an invite | – | ✓ | – | – | ✓ | ✓ |
| Write a post in a community | – | – | ✓ | ✓ | – | – |
| Read members-only posts | – | – | ✓ | ✓ | – | ✓ |
| Report an inactive initiator | – | – | ✓ | ✓ | – | – |
| Manage a community (console, members, invites, broadcast) | – | – | – | ✓ | – | ✓ |
| Apply to start a new community | – | ✓ | ✓ | ✓ | ✓ | ✓ |
| Write global articles and country updates | – | – | – | – | ✓ | ✓ |
| Approve new communities, resolve reports | – | – | – | – | – | ✓ |
“Community member” and “Community admin” are per community. In this manual the example community is Amsterdam.
2Getting started and signing in
The homepage and the menu
The menu at the top is the same on every page, and also on the documentation, the device repository and the forum:
- Learn
- The documentation: LoRaWAN fundamentals, getting started, guides.
- Hardware
- The device repository and gateways.
- Forum
- The community forum (separate site, same account).
- Community
- Communities, the coverage map, updates and starting a community.
- Conference
- The Things Conference.
- Enterprise
- The Things Industries, for commercial deployments.

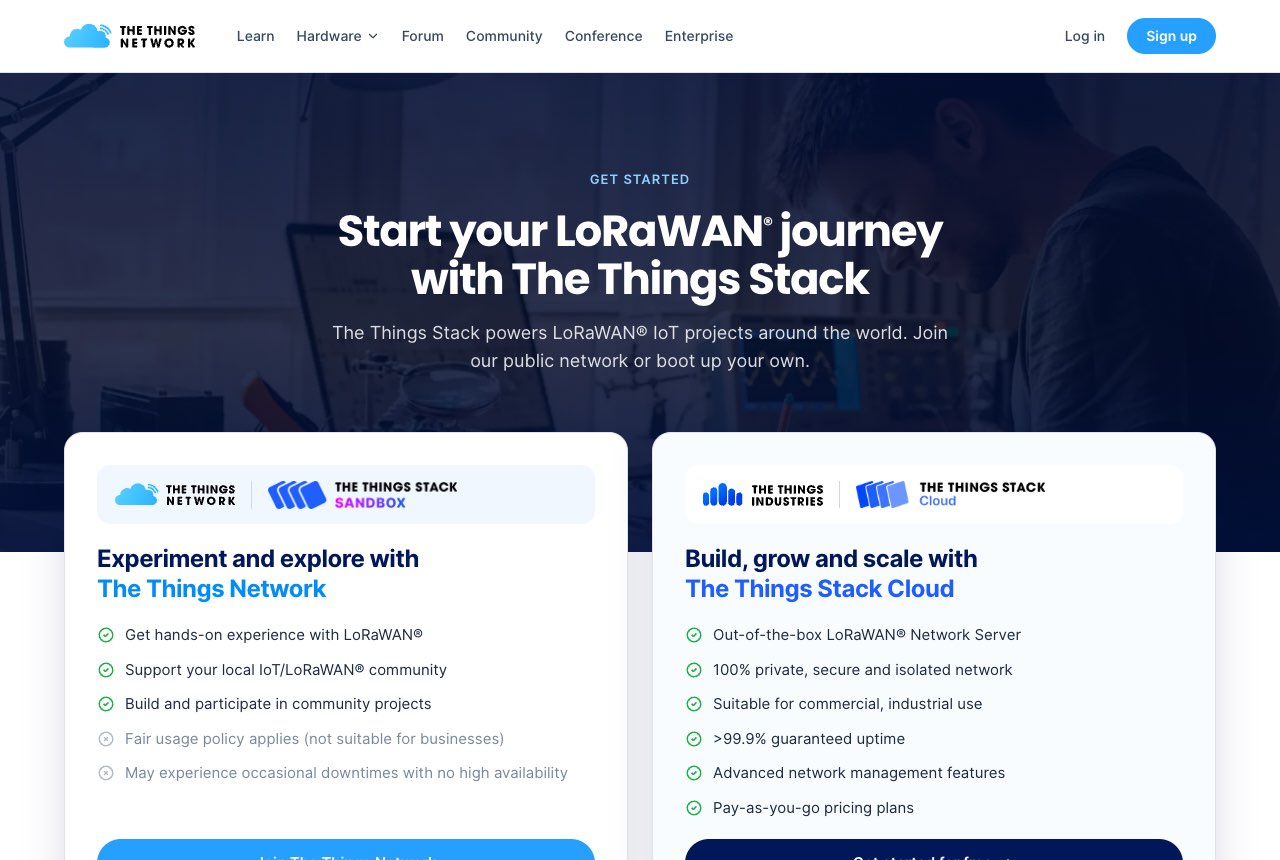
Get started
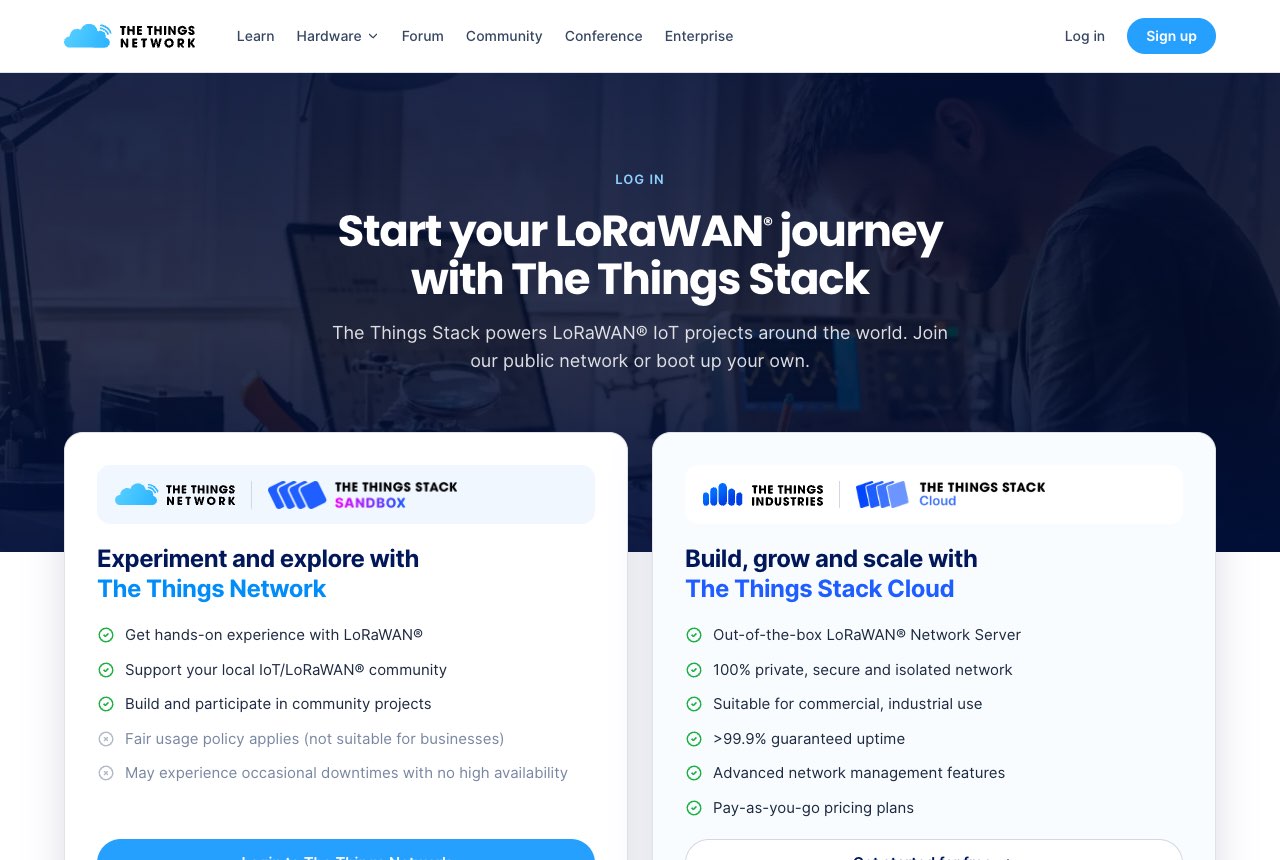
Log in and Sign up (top right) both open the getting-started page. It explains the two ways to use LoRaWAN: The Things Network (free, community, fair use) and The Things Industries’ The Things Stack Cloud (commercial, with an SLA).
Signing in with The Things ID
- Click Log in, then choose Login to The Things Network.
- Sign in on The Things ID’s page with the same account you use for the forum and The Things Stack.
- You come back to the page you were on, signed in. Your first visit creates your profile on this site automatically, using your The Things ID username.
No account yet? Create a The Things ID on the sign-in page. Your password and e-mail address are managed by The Things ID, not by this website.
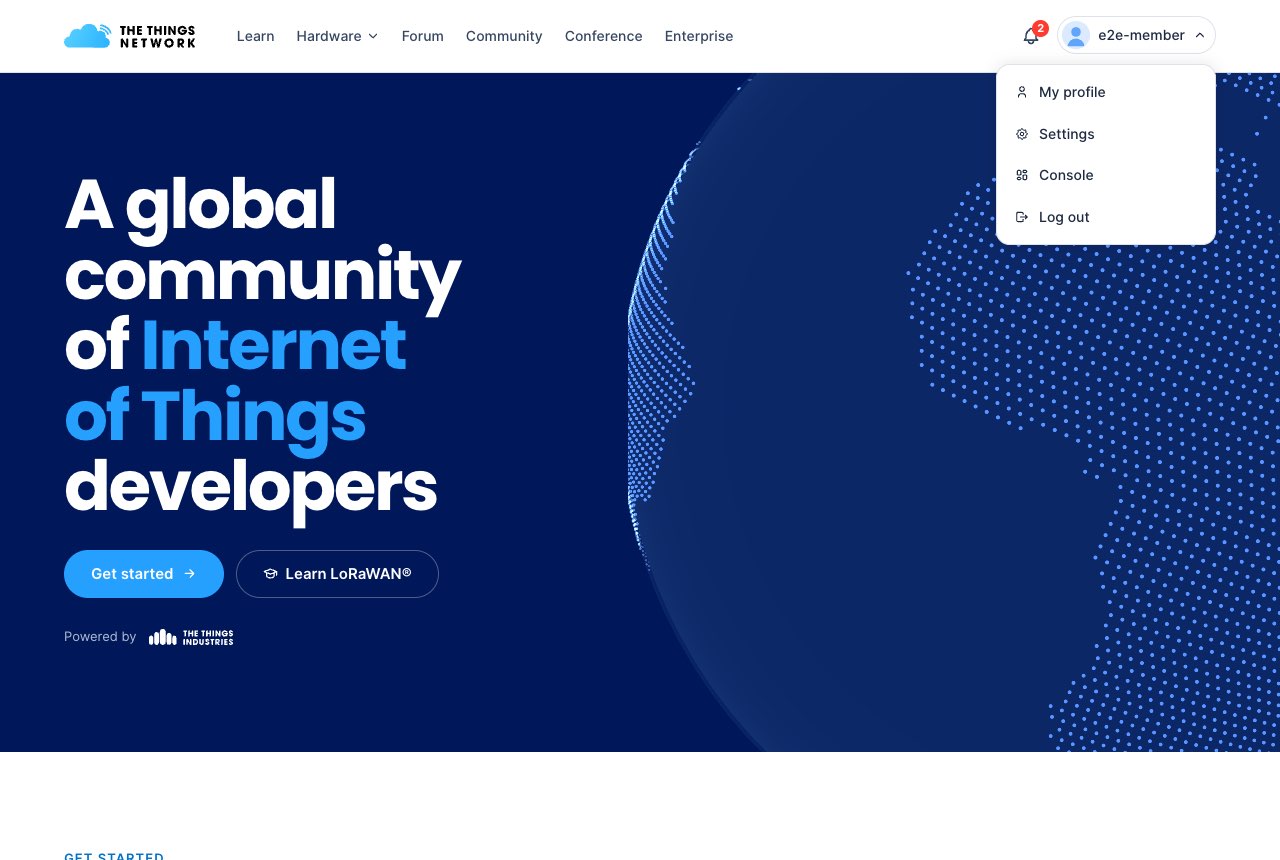
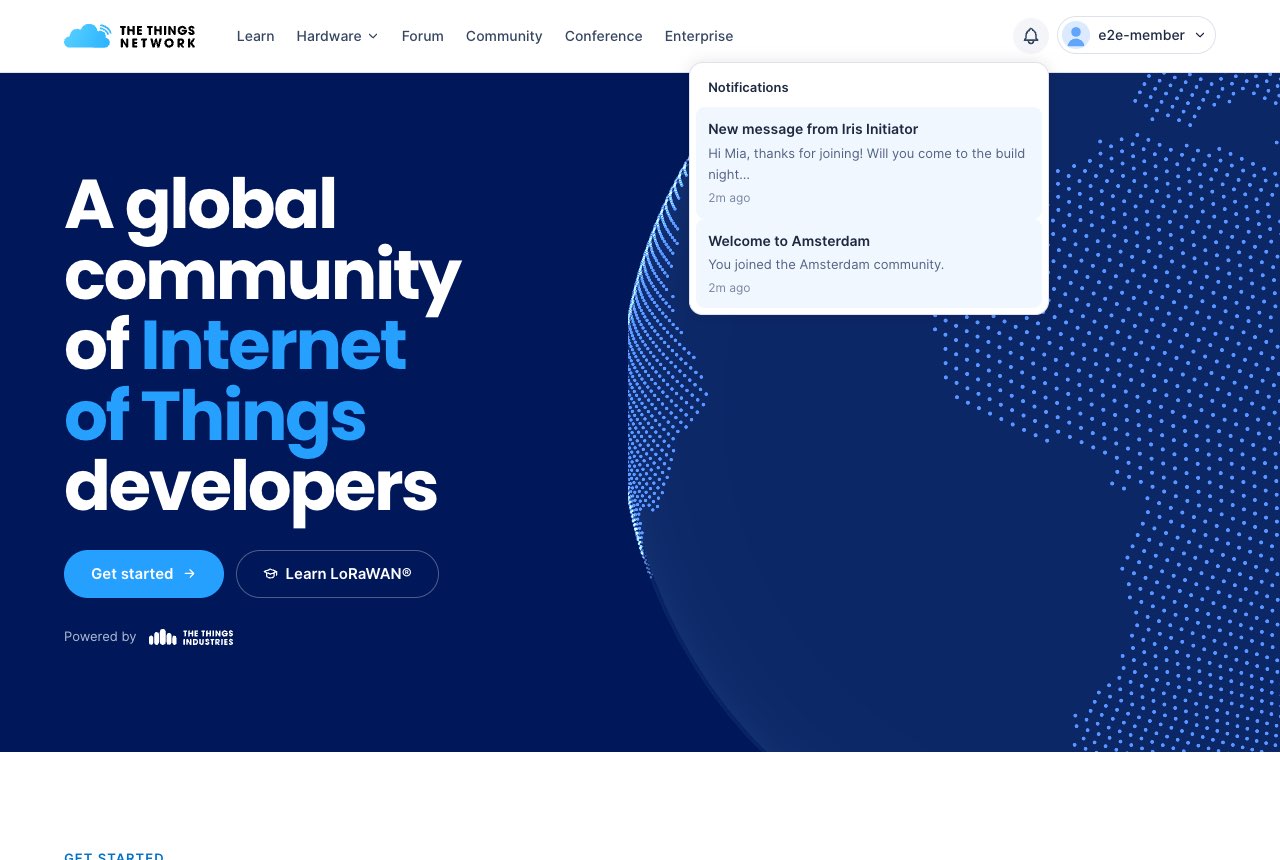
Your account menu and notifications
Once you are signed in, the top right shows a bell and your username.
3Exploring communities
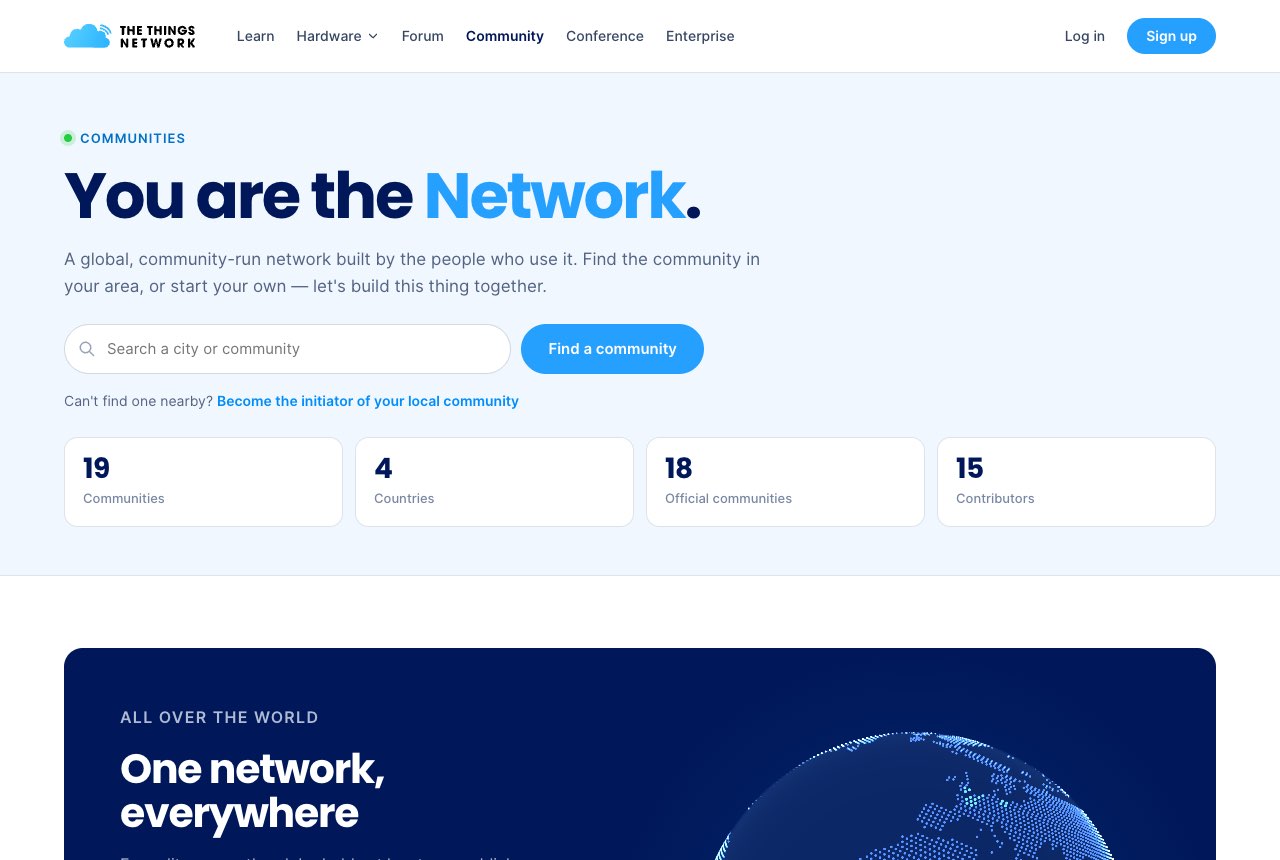
A community is a local group that builds and maintains LoRaWAN coverage in a city or region. Every community has its own page with its story, members, posts and links.
Find a community
Go to Community in the menu. Search for a city or community name, or browse by country.
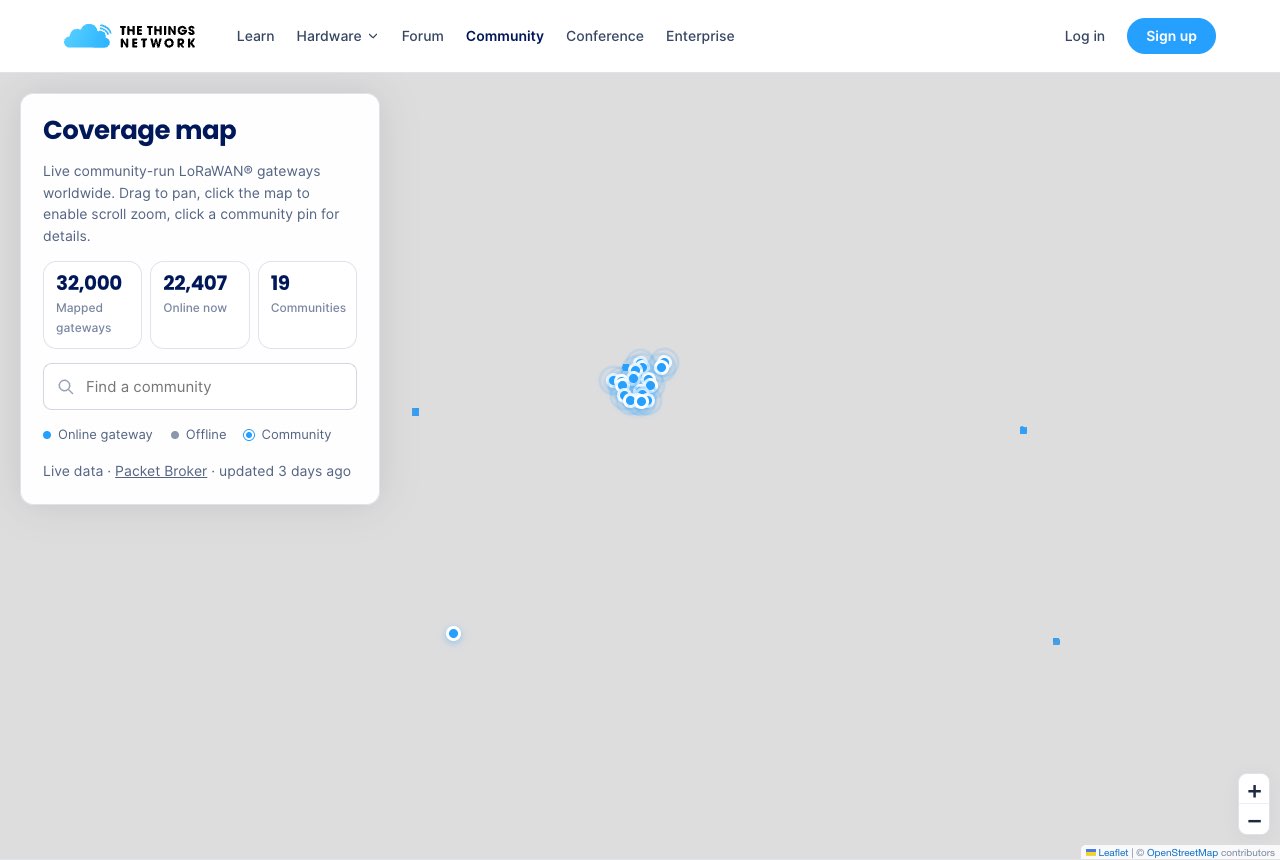
The coverage map
The map shows real, publicly listed gateways (from Packet Broker) and all communities. Drag and zoom; click a community pin to open its page.
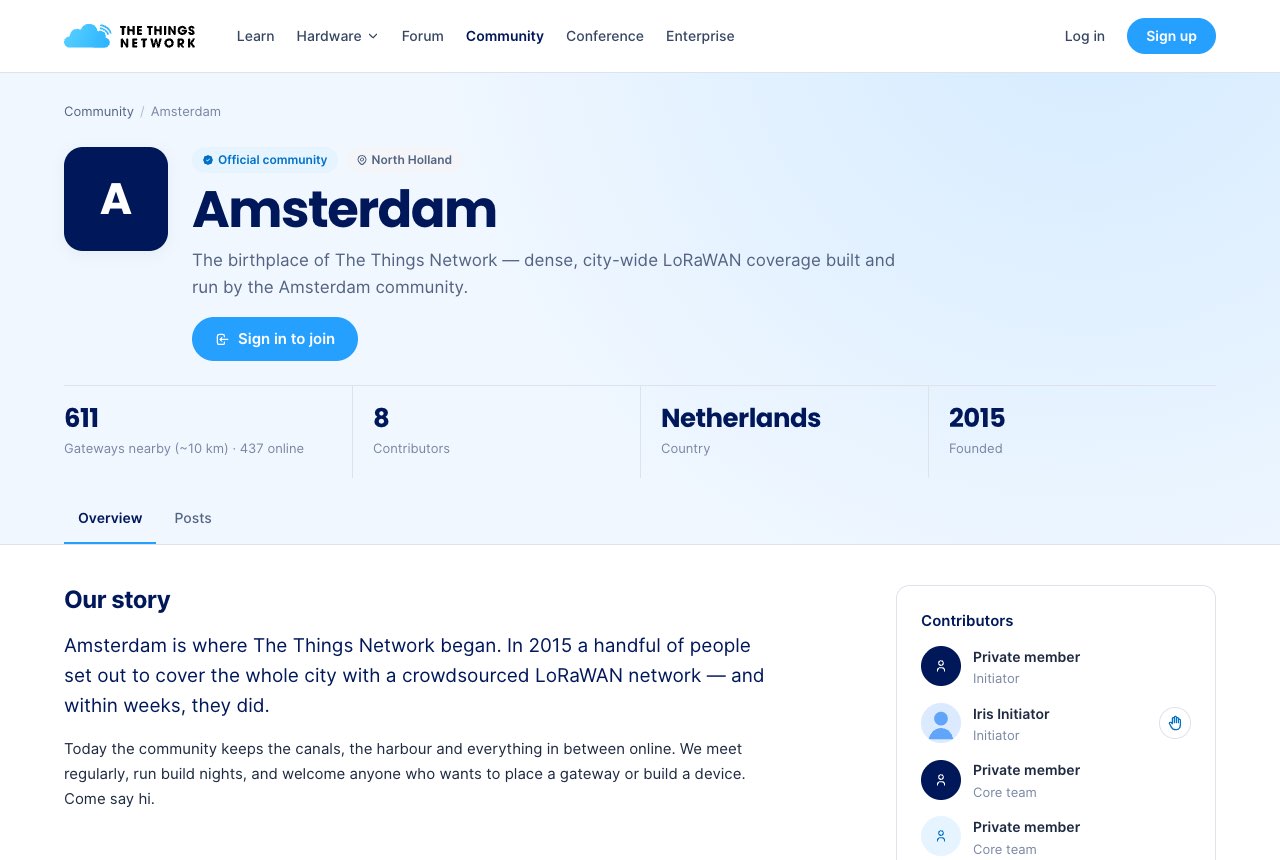
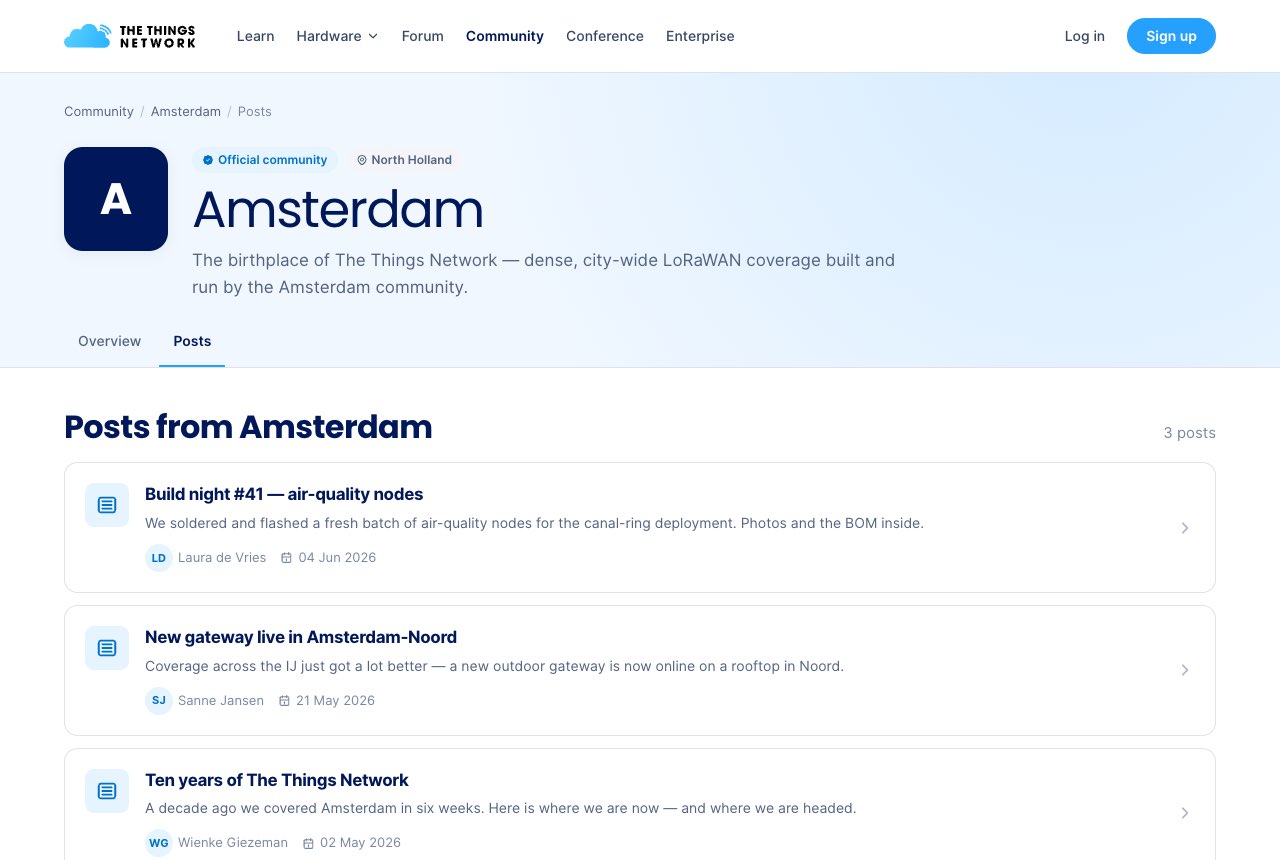
A community page
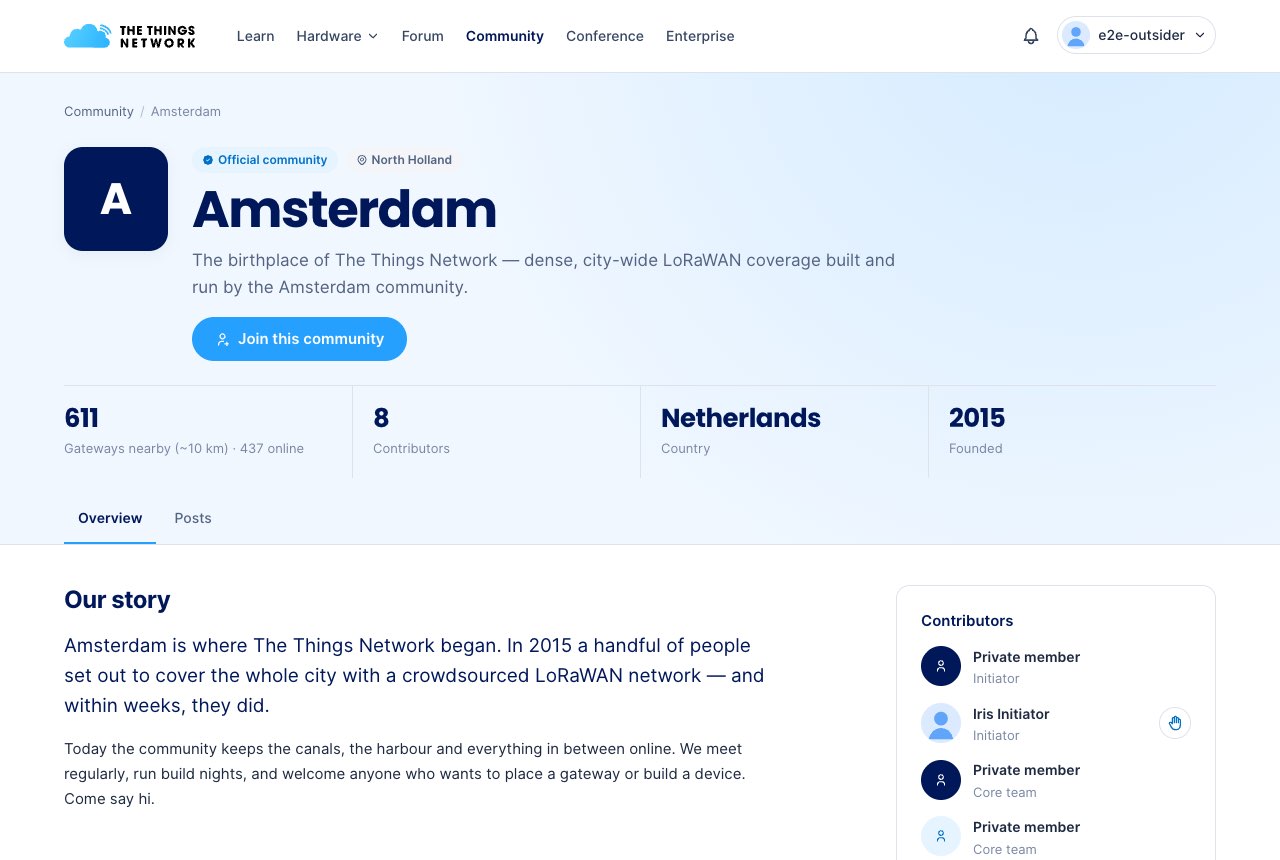
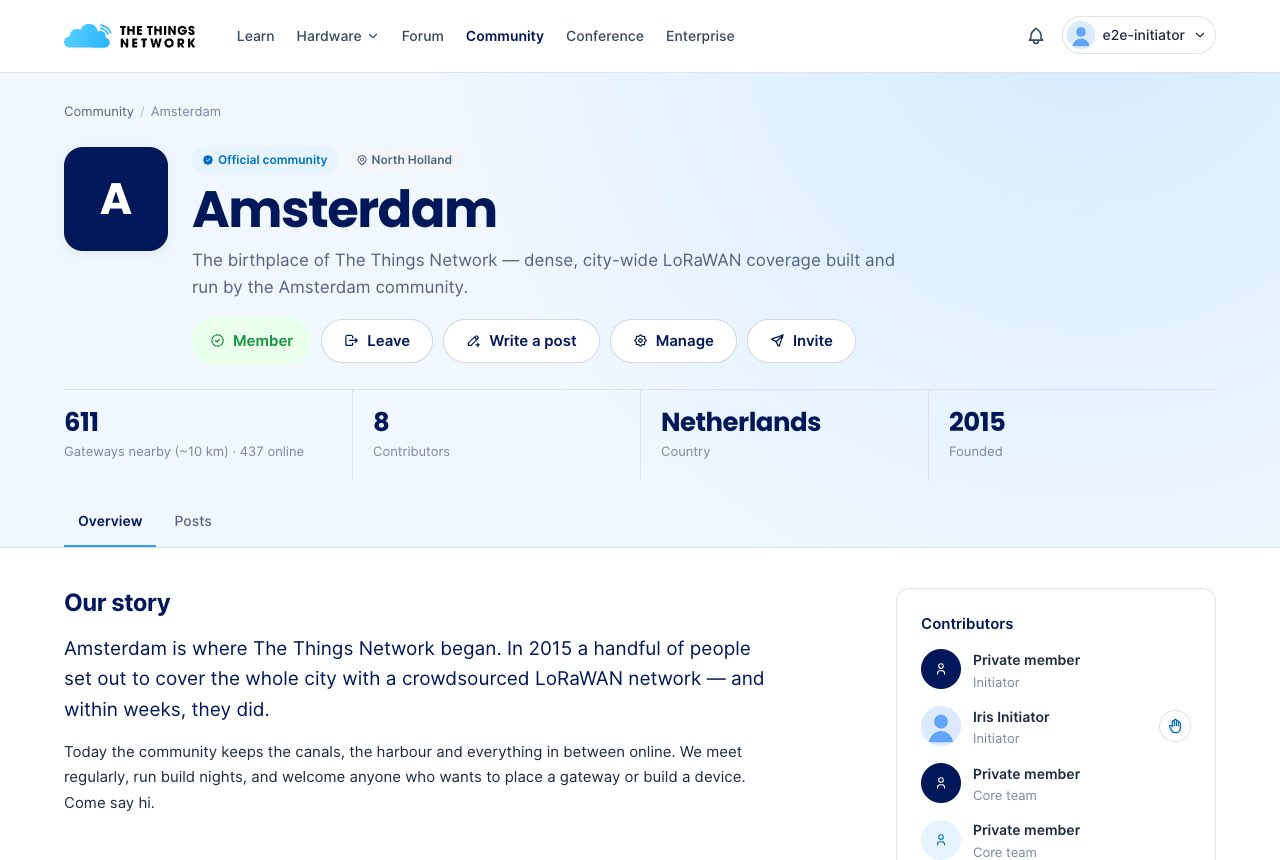
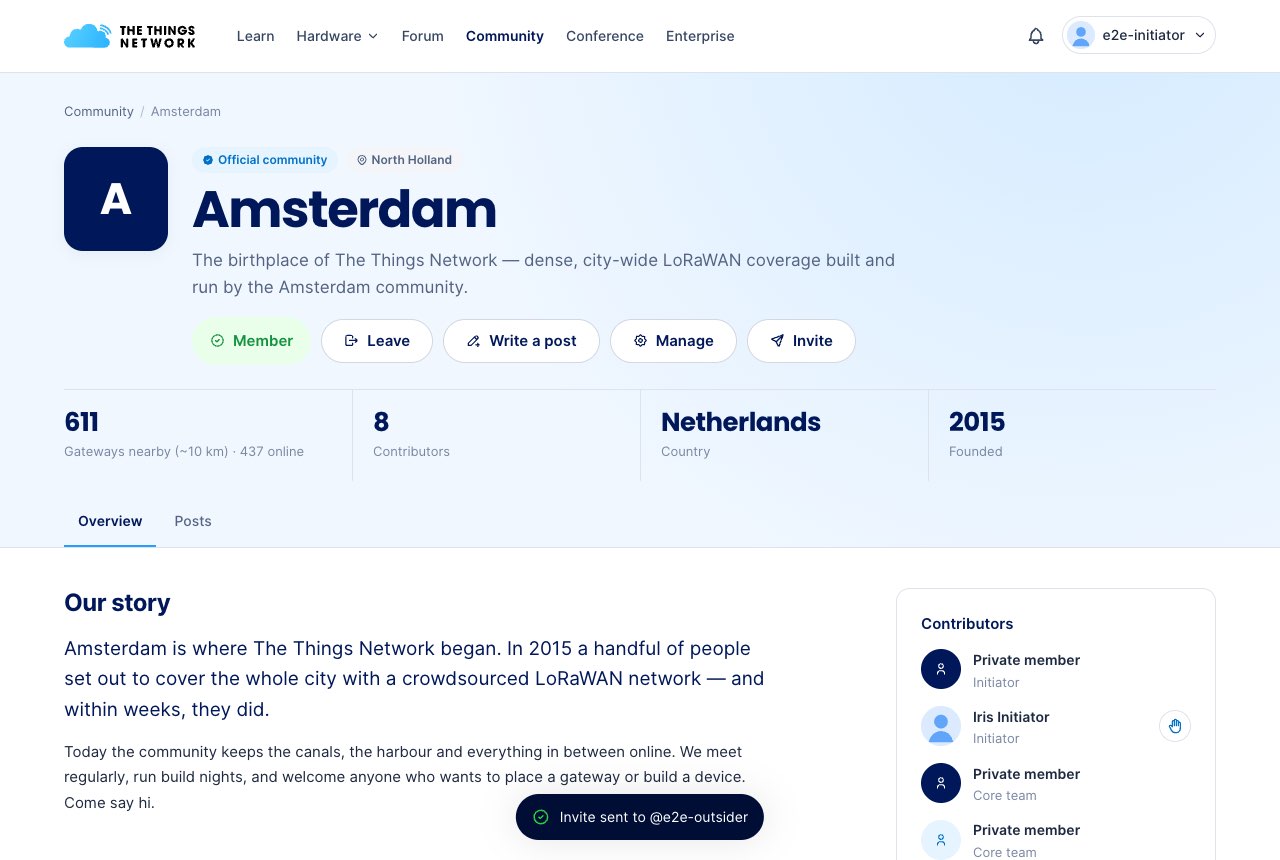
The community page shows the community’s story, nearby gateways, its contributors, the latest posts, partners, media and useful links. The buttons under the name change with your role: visitors see Sign in to join, members see Write a post, community admins also see Manage and Invite.
Country pages
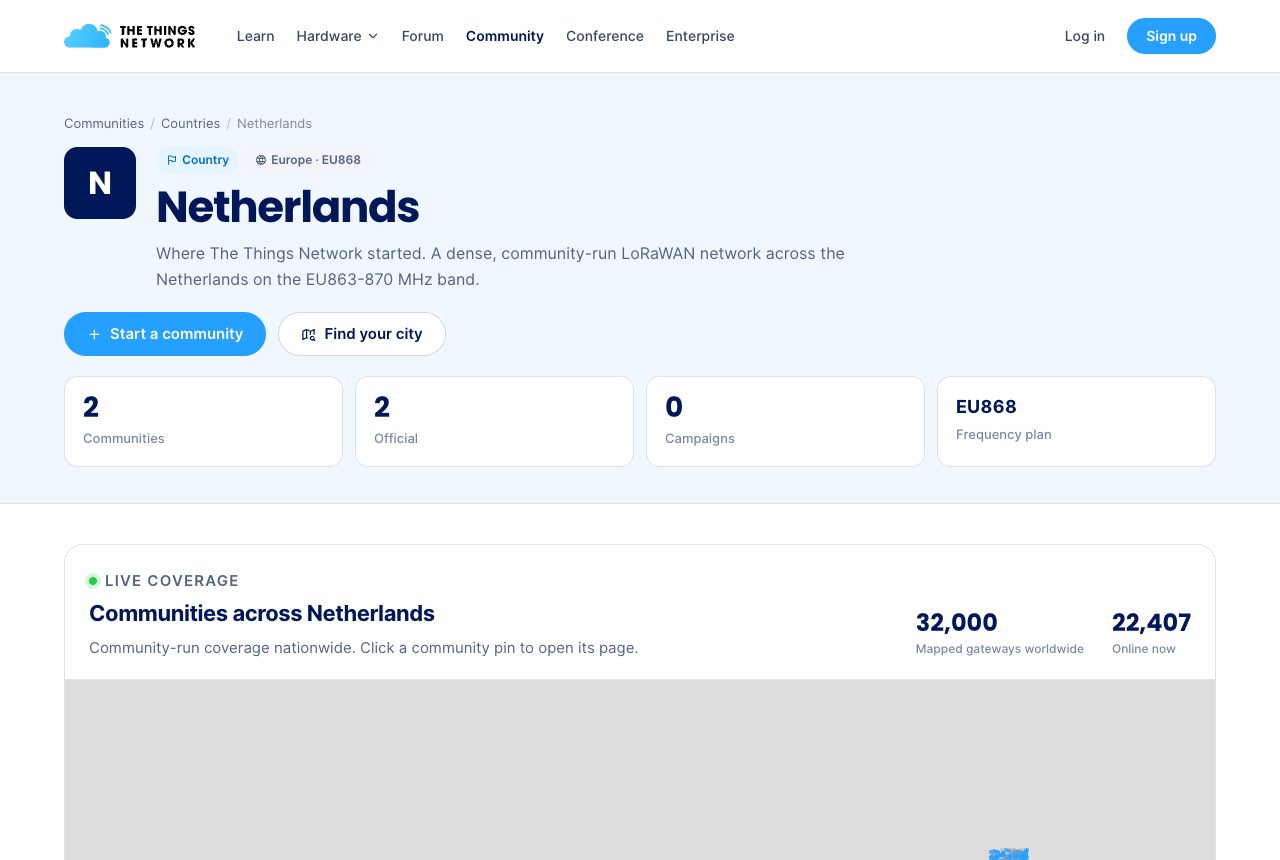
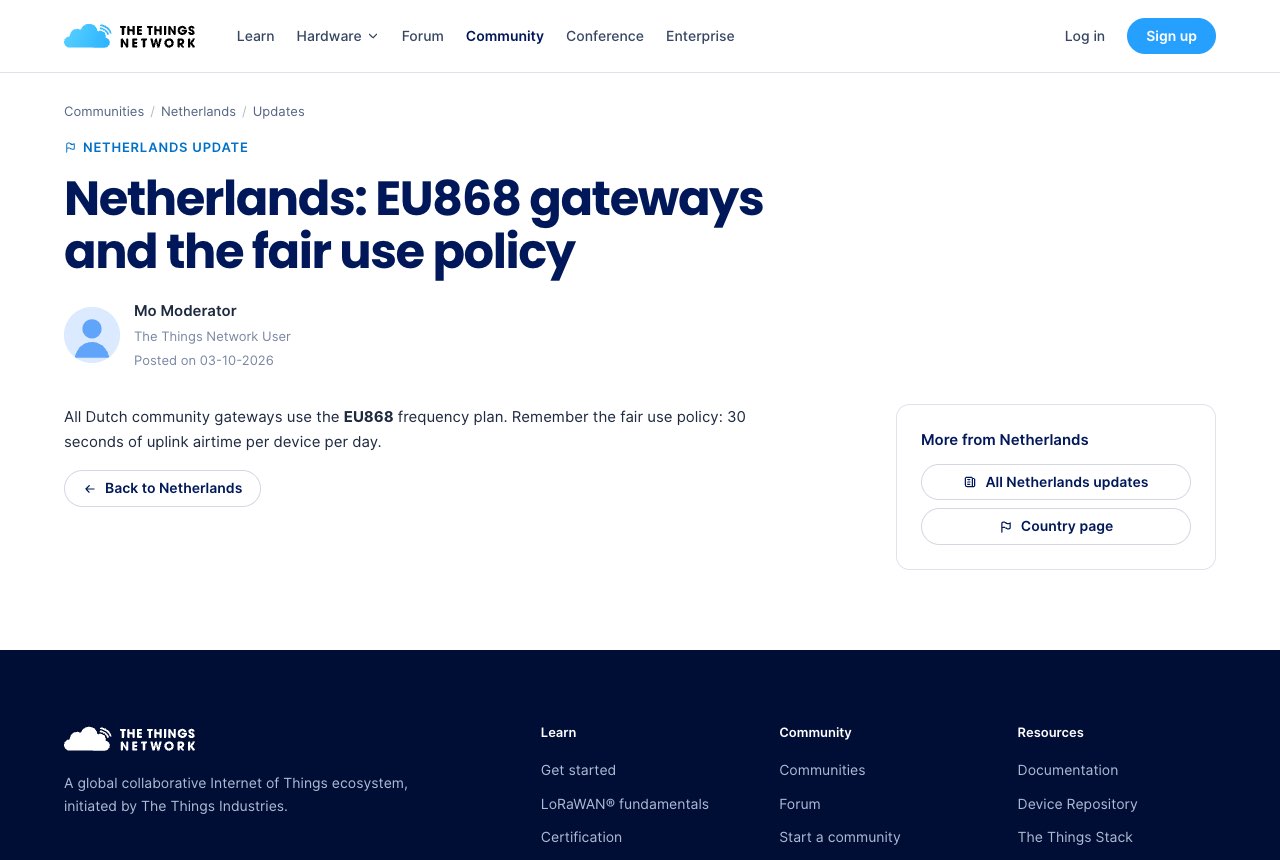
Each country has a page with its communities, the frequency plan used there (for example EU868), live coverage, and country updates from The Things Network team.
4News and updates
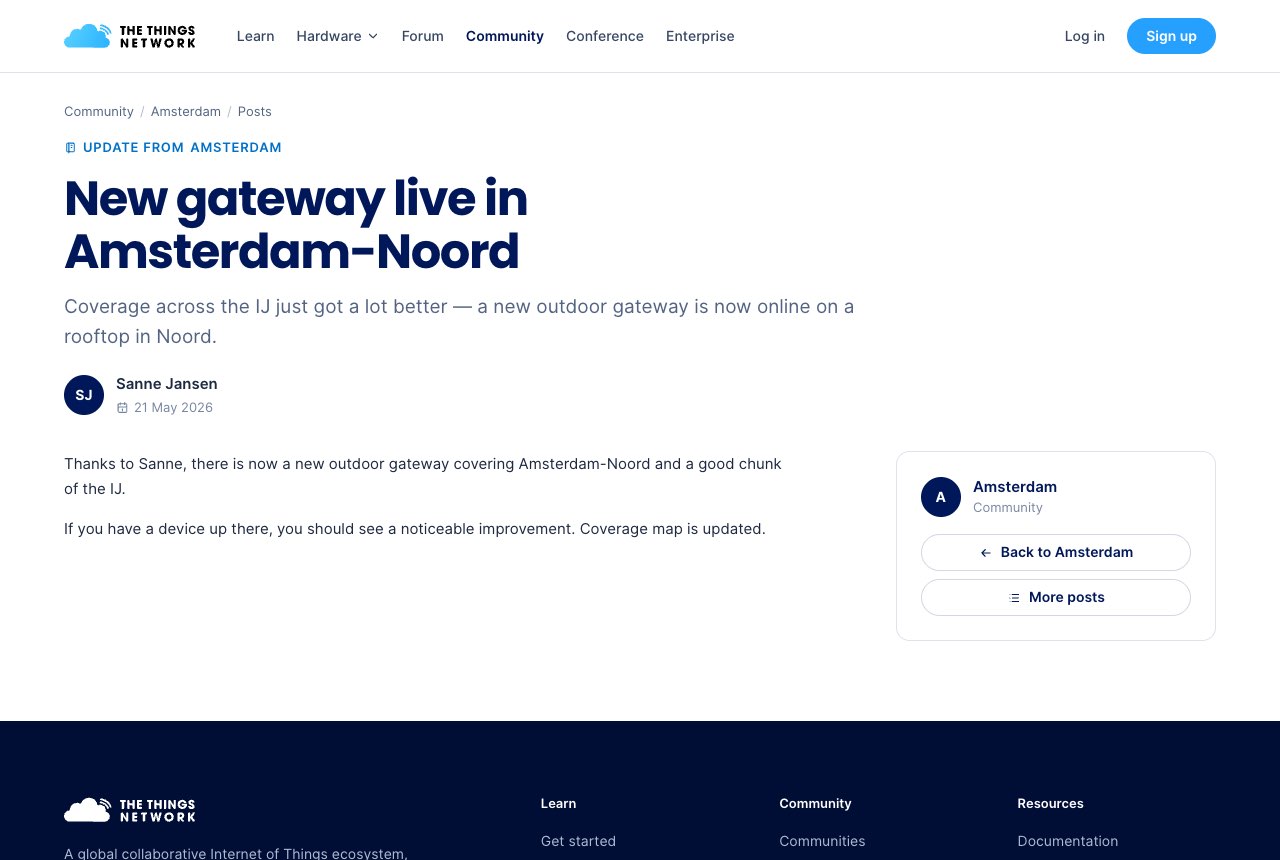
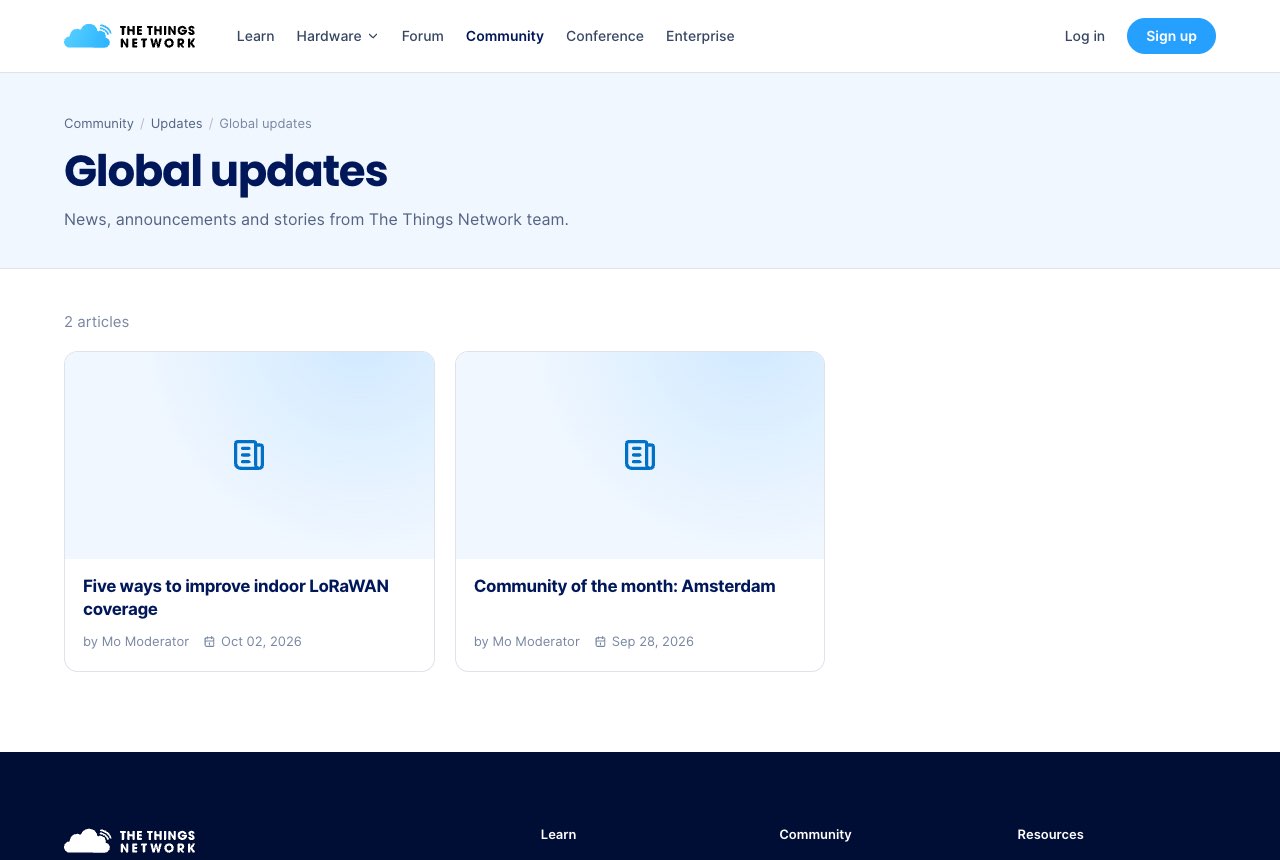
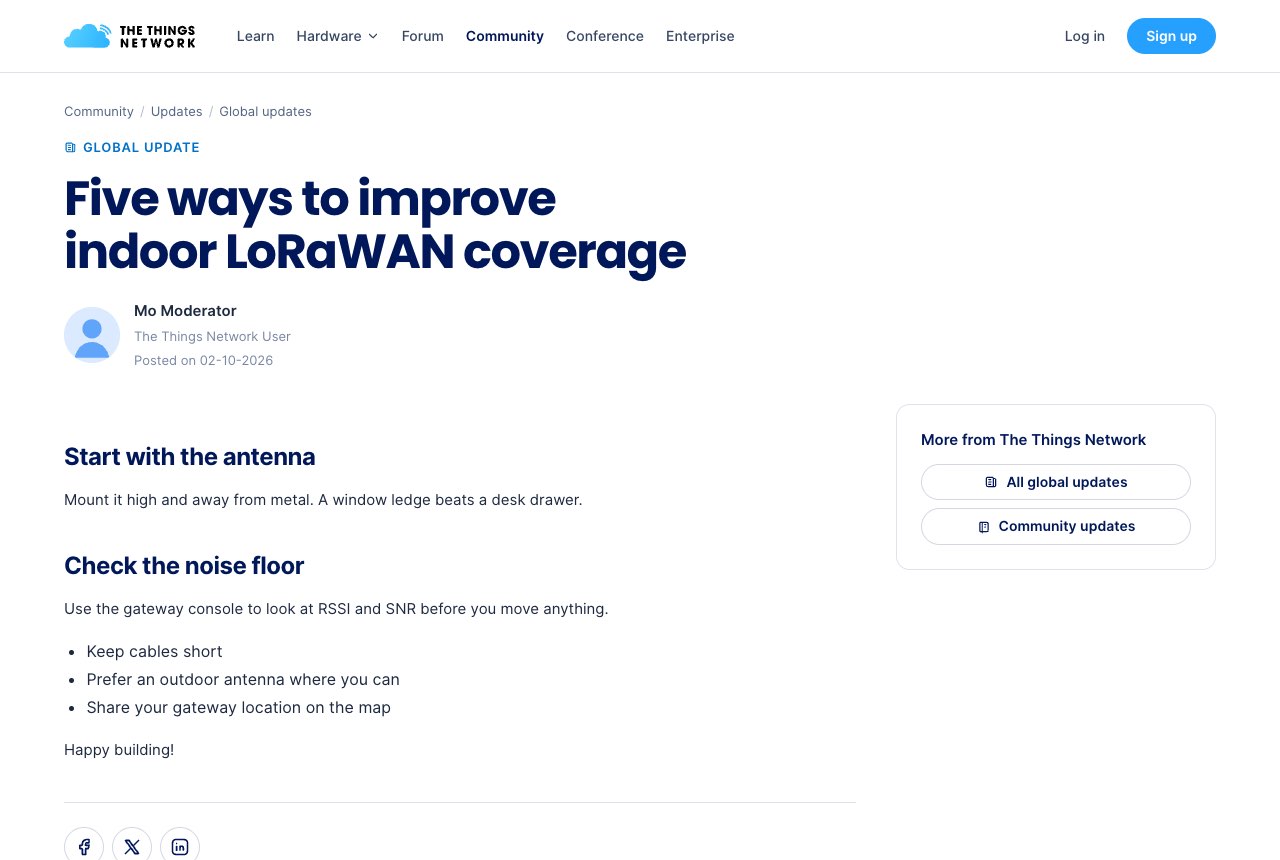
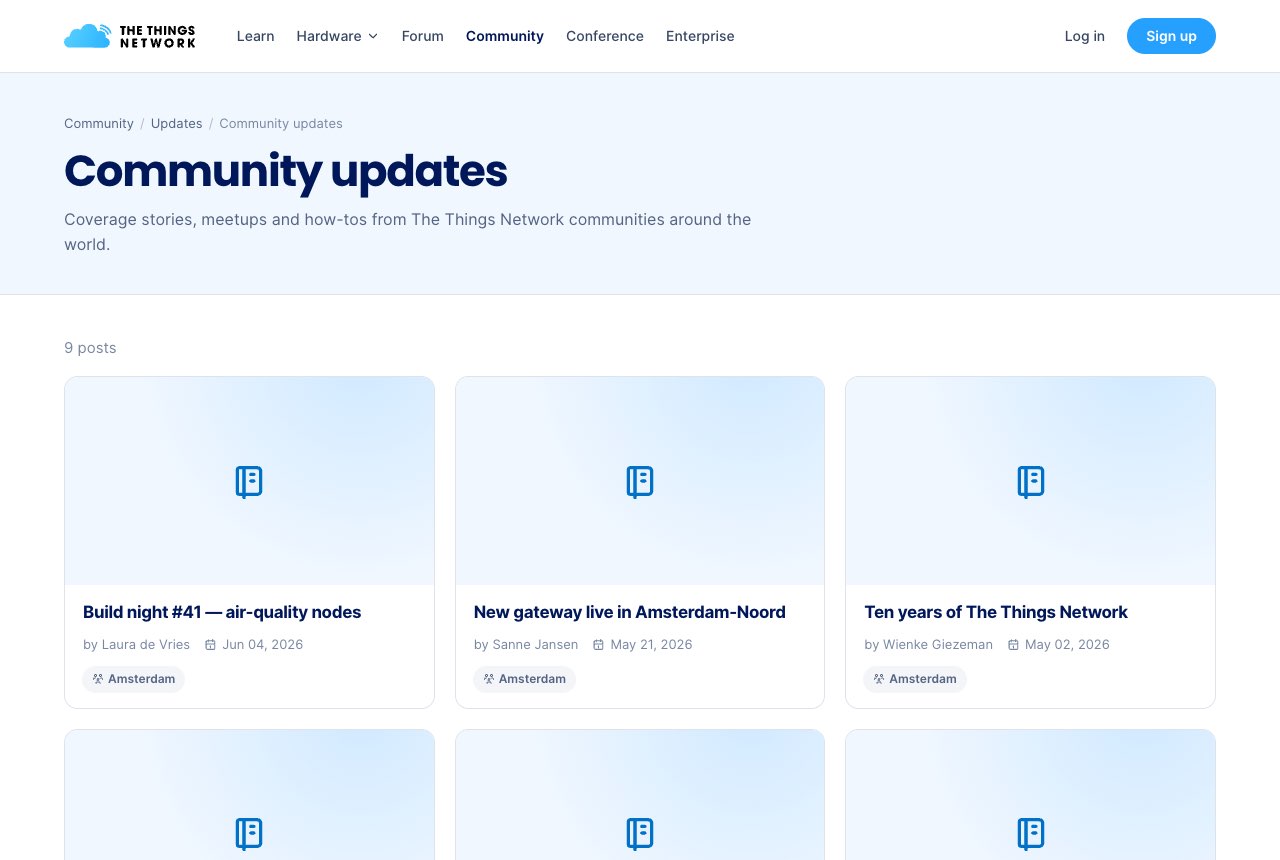
There are two kinds of news. Global updates (articles) come from The Things Network team. Community updates are the posts members write in their communities.
5Joining and taking part
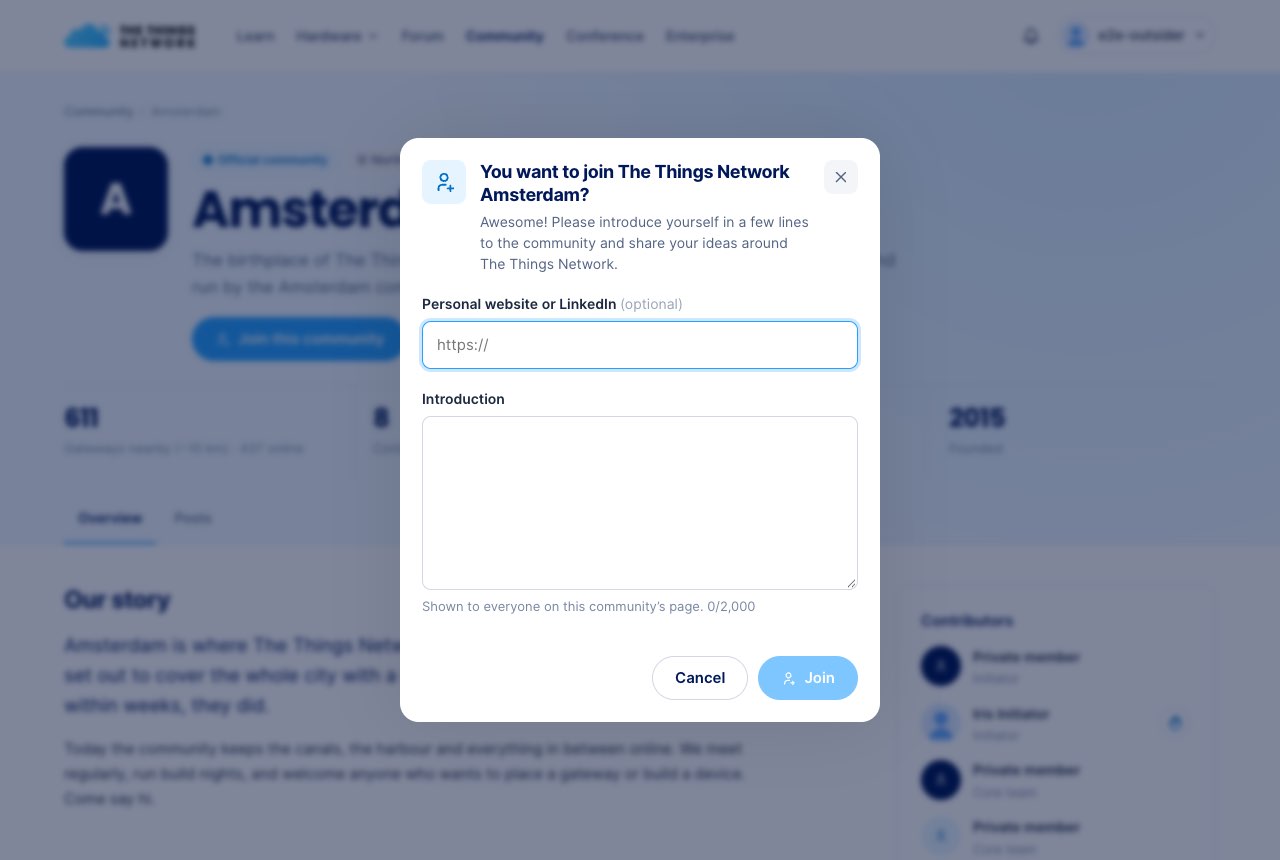
Join a community
Joining is instant: there is no approval step.
- Sign in and open the community page.
- Click Join this community.
- Optionally add your website or LinkedIn and a short introduction. Both are shown to everyone on the community page.
- Click Join. The community admins get a notification that you joined.
Accept an invitation
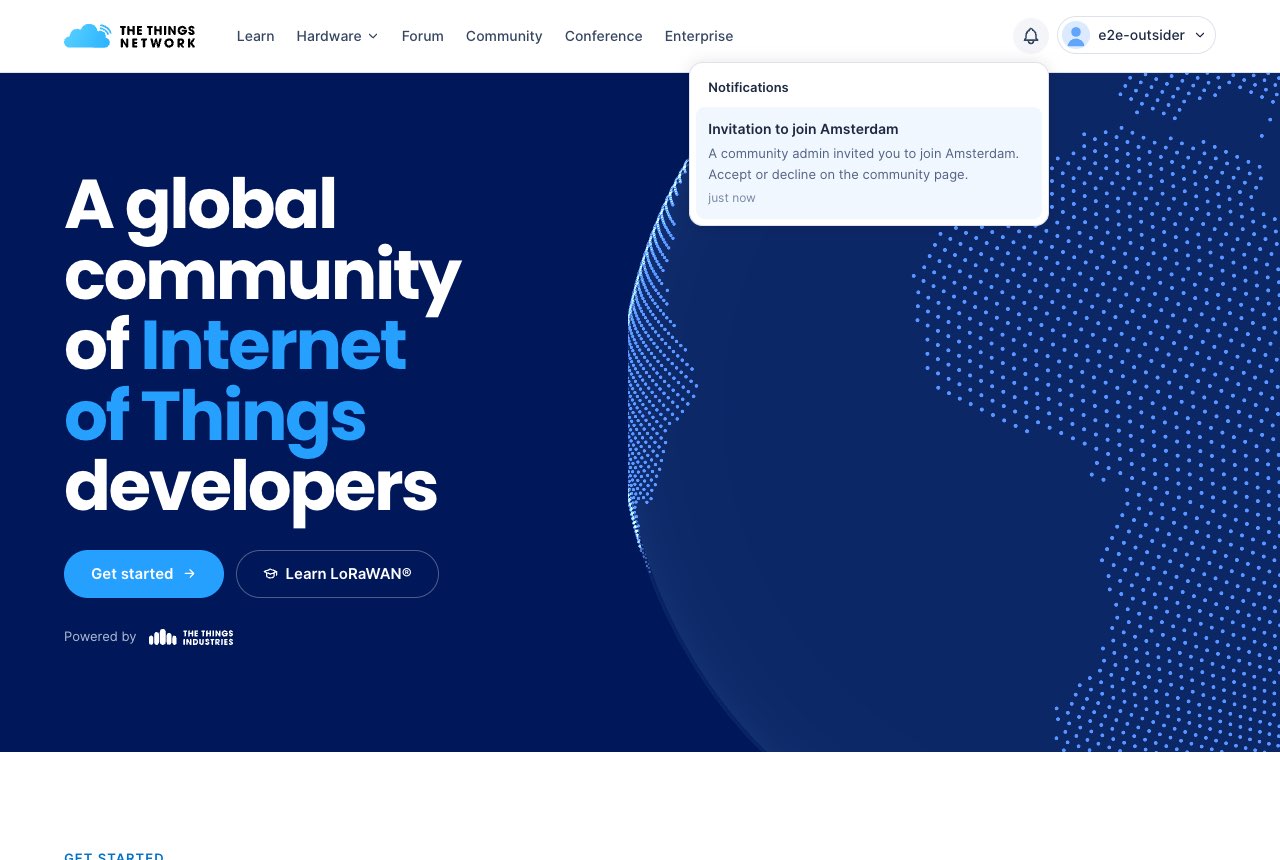
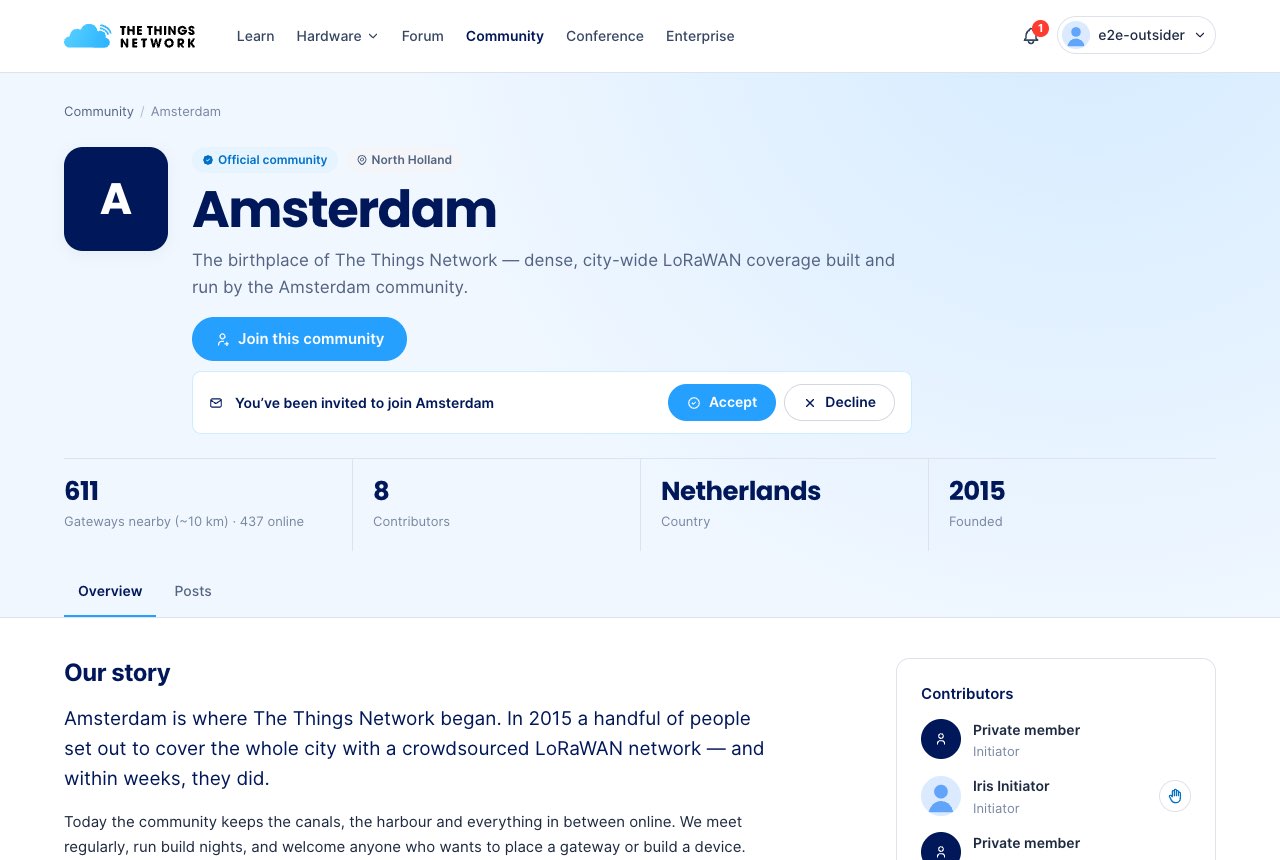
A community admin can invite you by your username. You get a notification, and the community page shows the invitation with Accept and Decline.
As a member
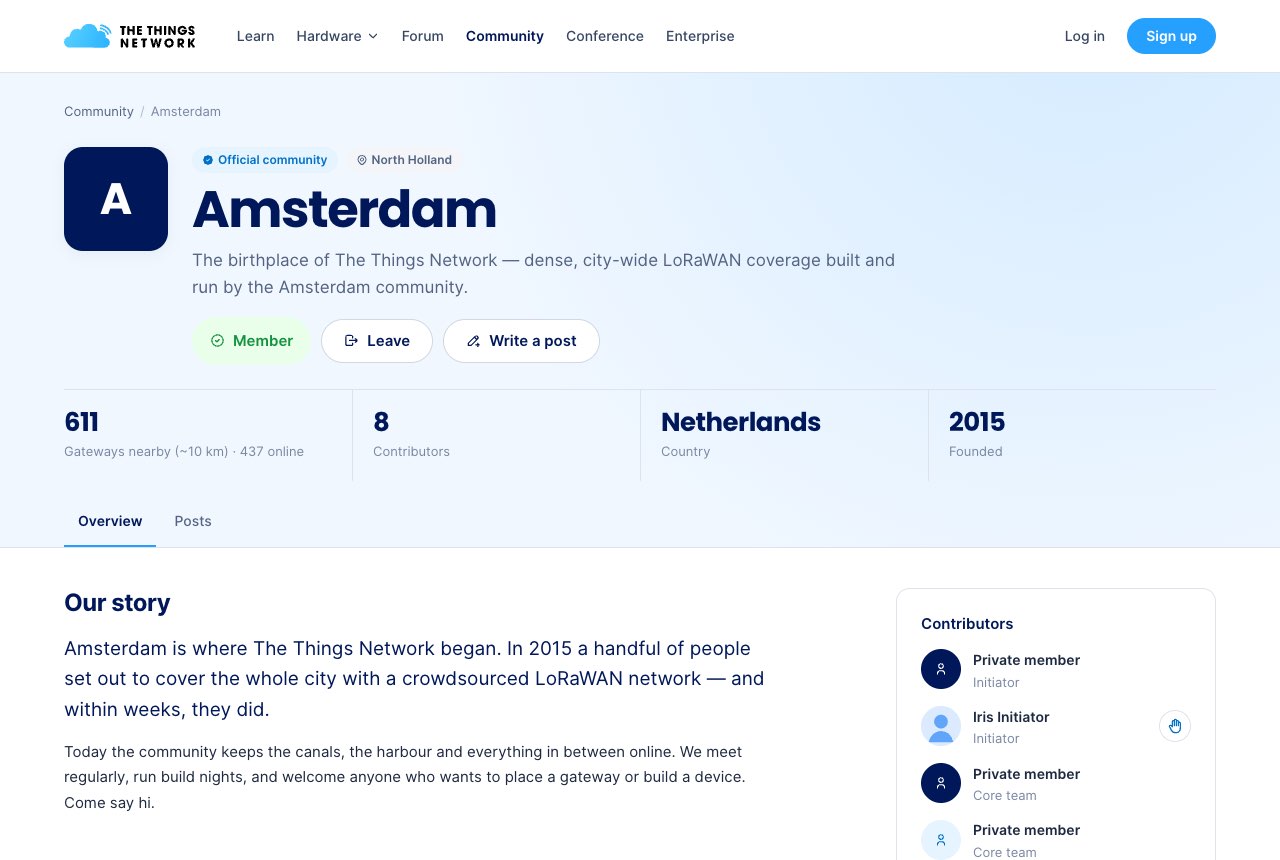
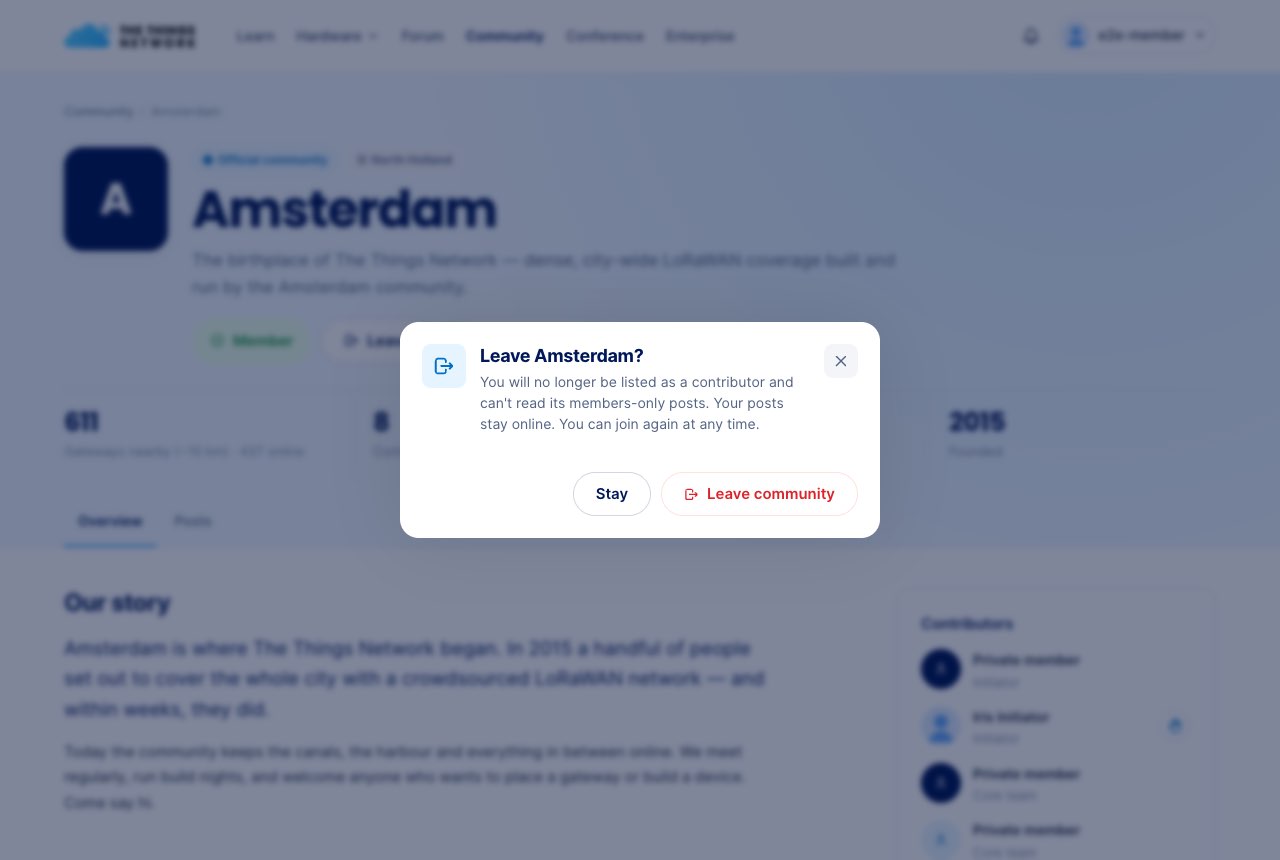
As a member you see a green Member badge, a Leave button and Write a post. Leave asks you to confirm first. After leaving, your posts stay online and you can join again at any time.
Write a post
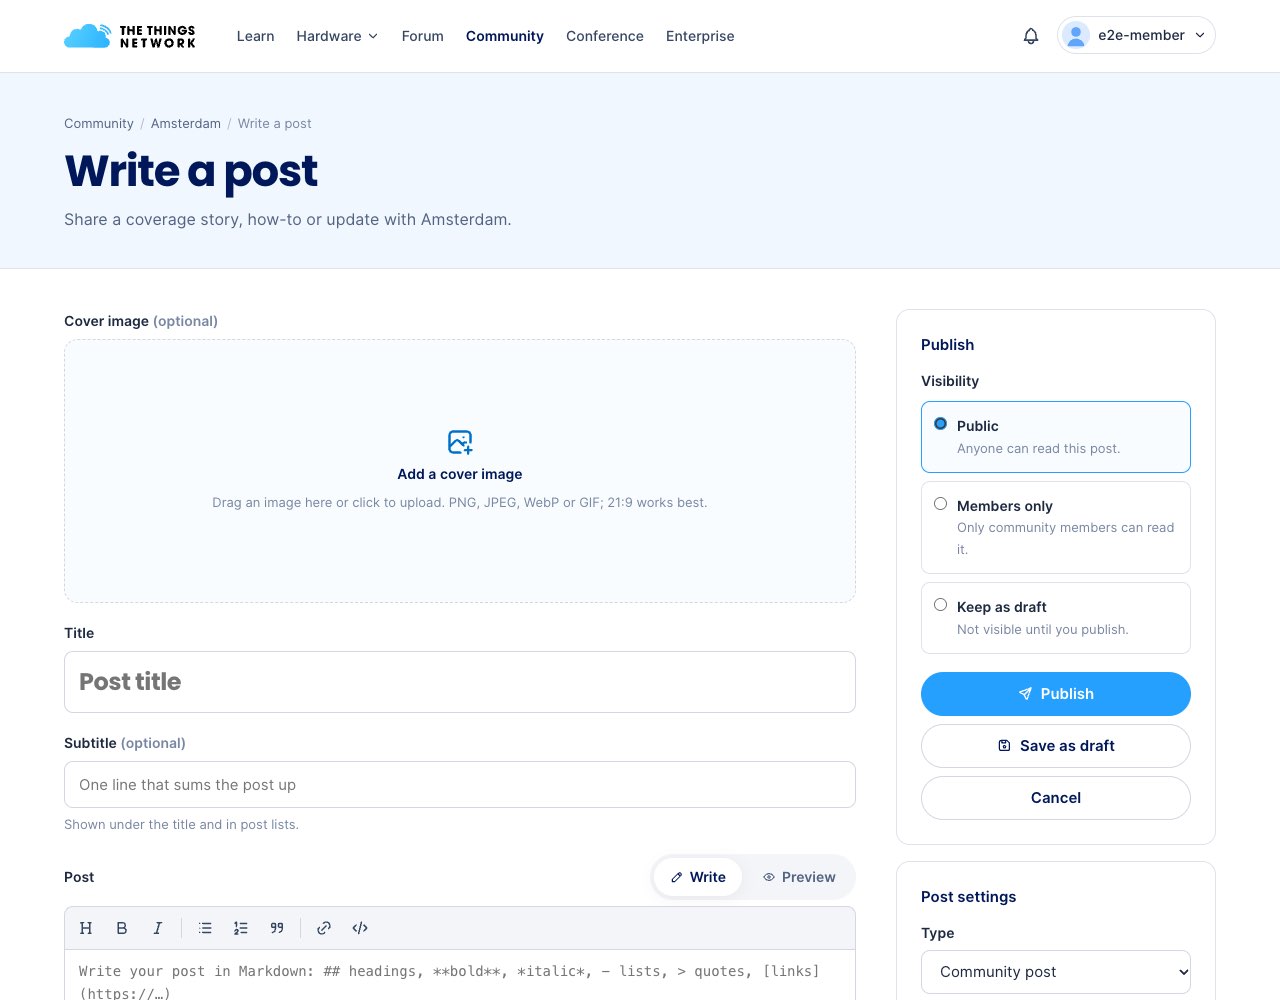
- On the community page, click Write a post.
- Optionally add a cover image (PNG, JPEG, WebP or GIF; a 21:9 image works best).
- Enter a title, an optional subtitle, and the text. The text uses Markdown:
## heading,**bold**, lists, quotes and links. Use Preview to check it. - Choose who can read it: Public, Members only, or Keep as draft (only you can see it).
- Click Publish or Save as draft.
You can edit or delete your own posts later from the post page. Community admins can unpublish any post in their community. Platform admins write posts only in communities they are a member of.
Report an inactive initiator
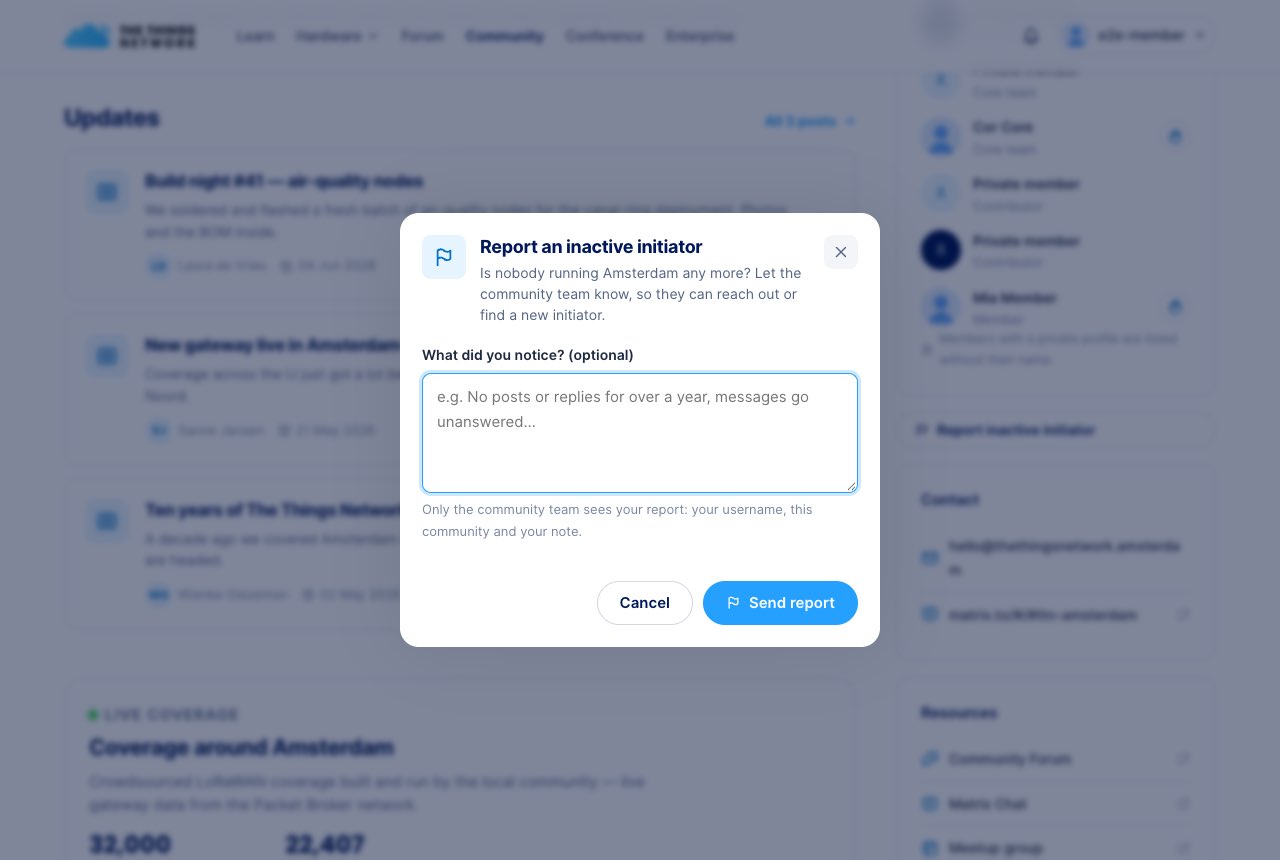
If the initiator of your community no longer responds, use Report inactive initiator on the community page. Describe what you noticed (optional). The Things Network team reviews reports and can reach out or reassign the community. You can report a community once while a report is open (and at most once every 30 days).
6Profile, messages and settings
Your public profile
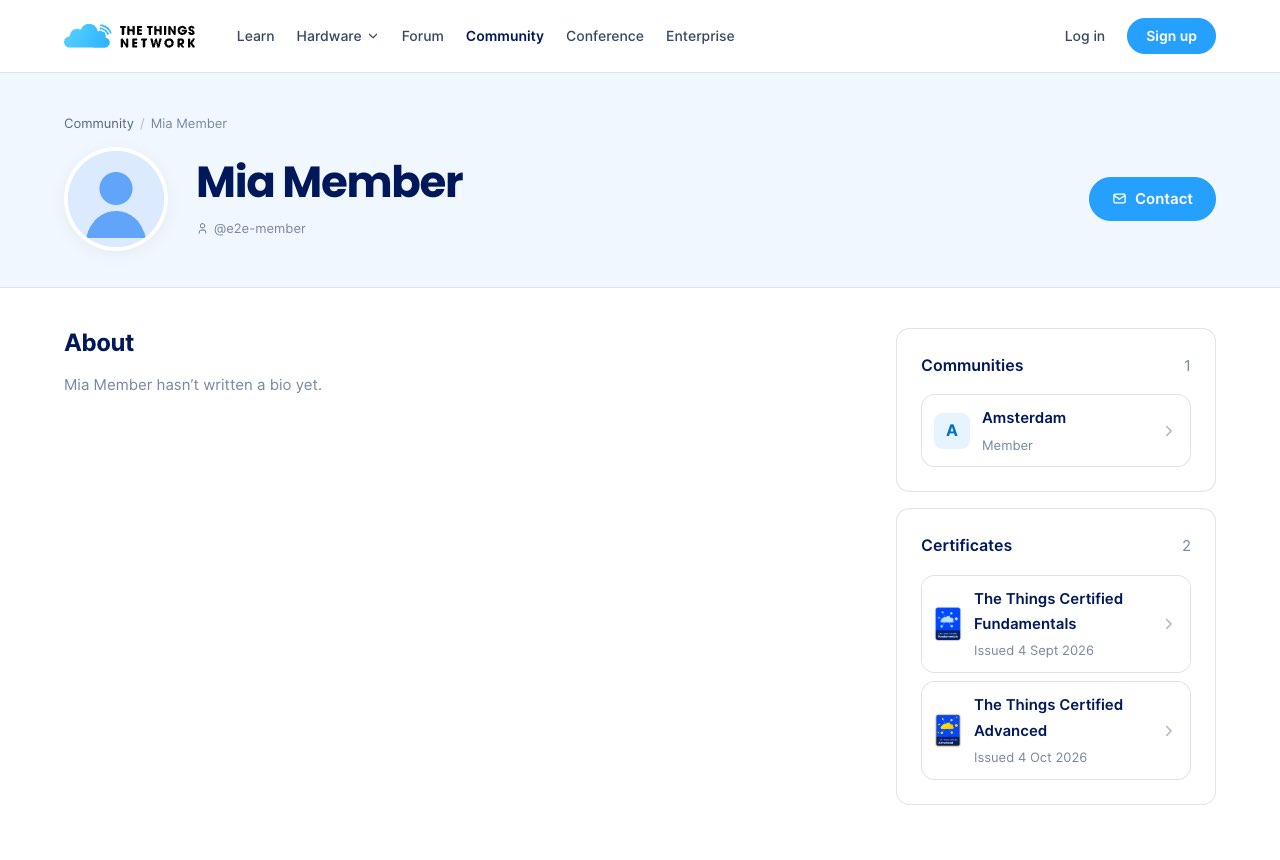
Your profile lives at thethingsnetwork.org/u/your-username. It shows your name, tagline, bio, location, links, the communities you are in (if you allow it) and the certificates you earned. Other members see a Contact button if you accept messages.
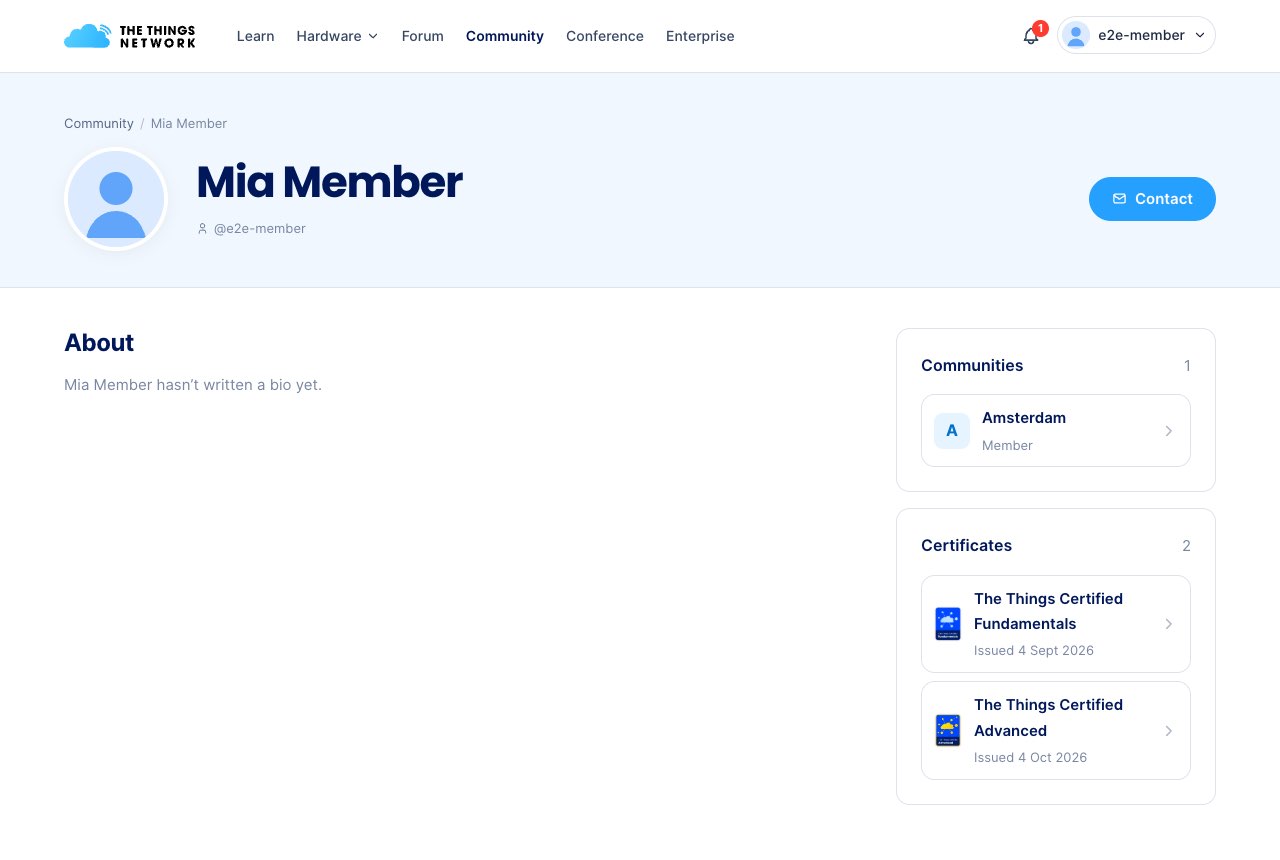
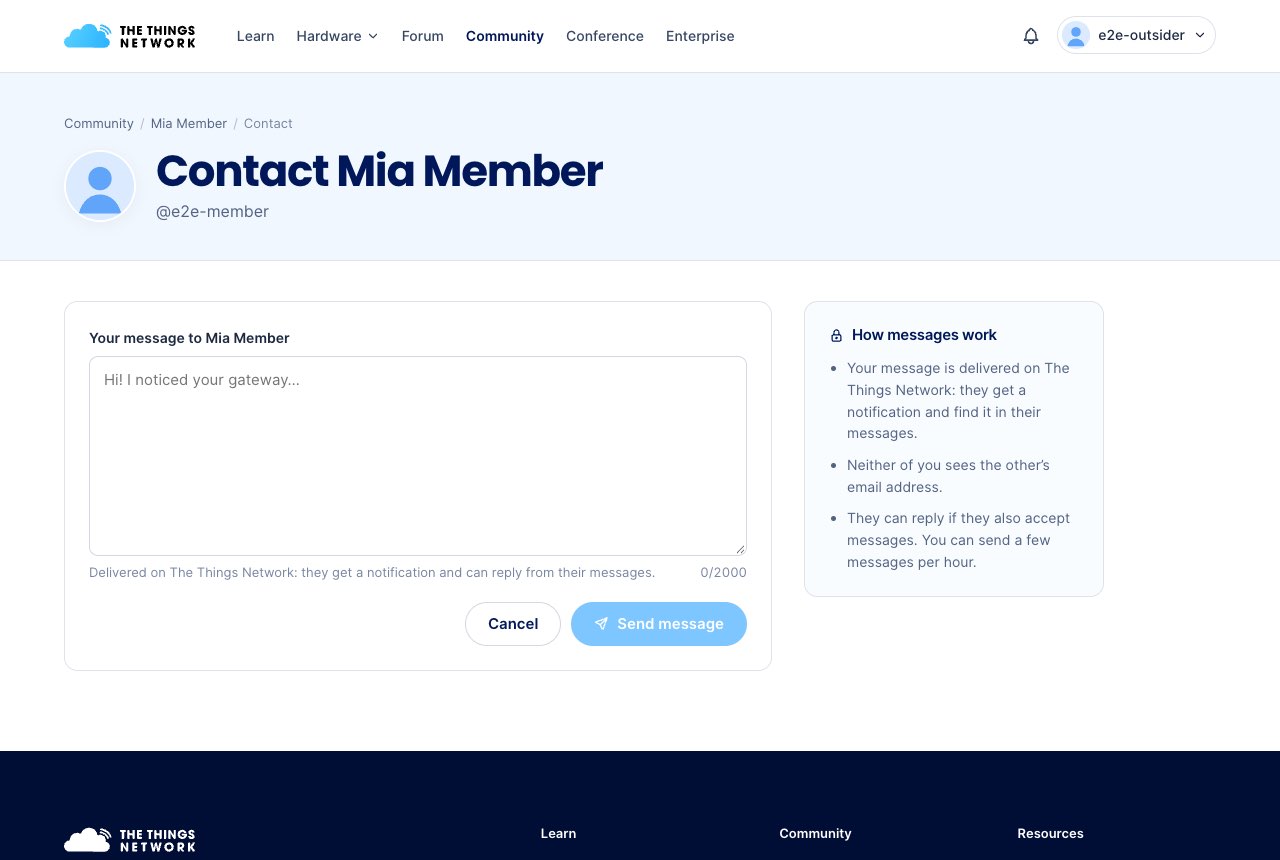
Send a message to a member
- Open the member’s profile and click Contact.
- Write your message and click Send message.
- The member gets a notification and finds the message in their inbox. They can reply if you accept messages too.
Neither of you sees the other’s e-mail address.
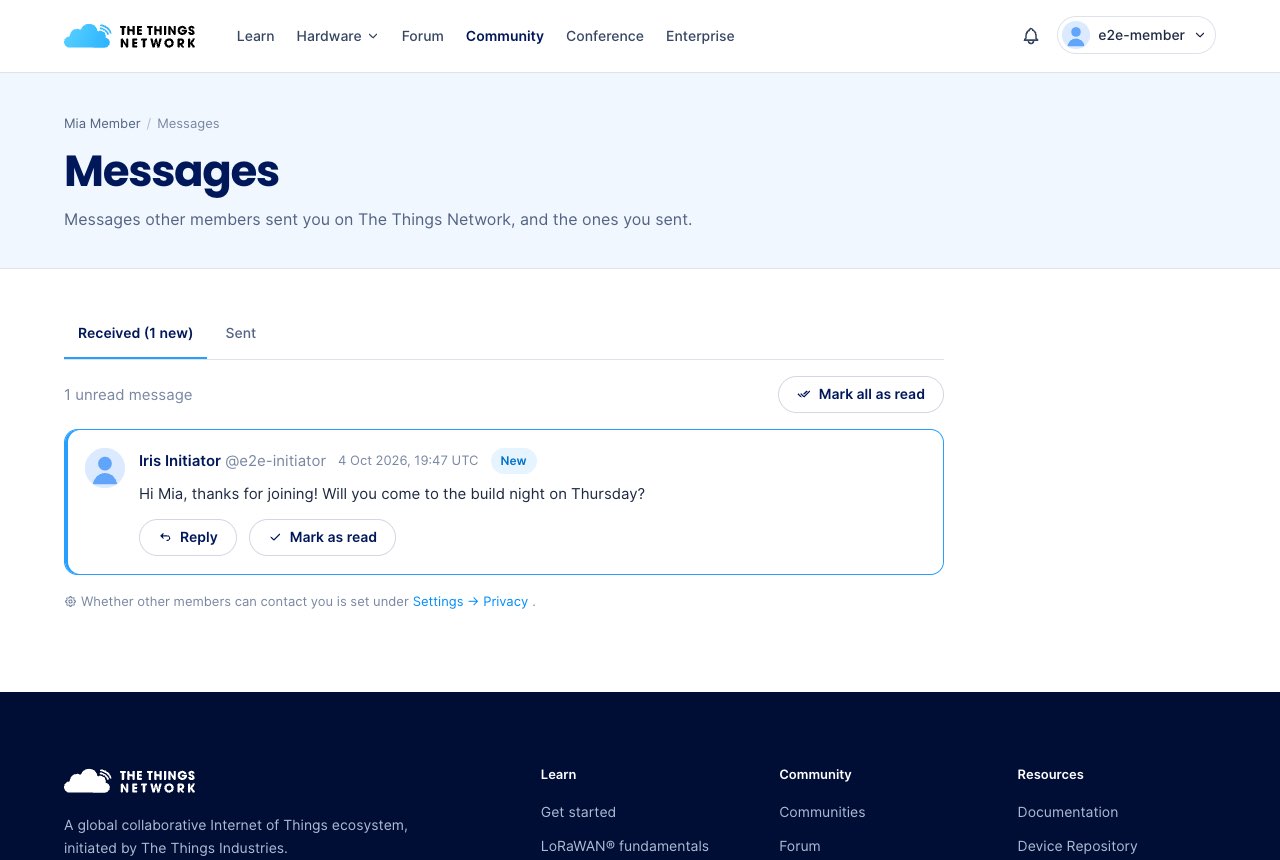
Your inbox
Go to Messages from a message notification or your settings. Received shows messages to you (new ones are marked), Sent shows what you sent. Use Mark as read or Mark all as read.
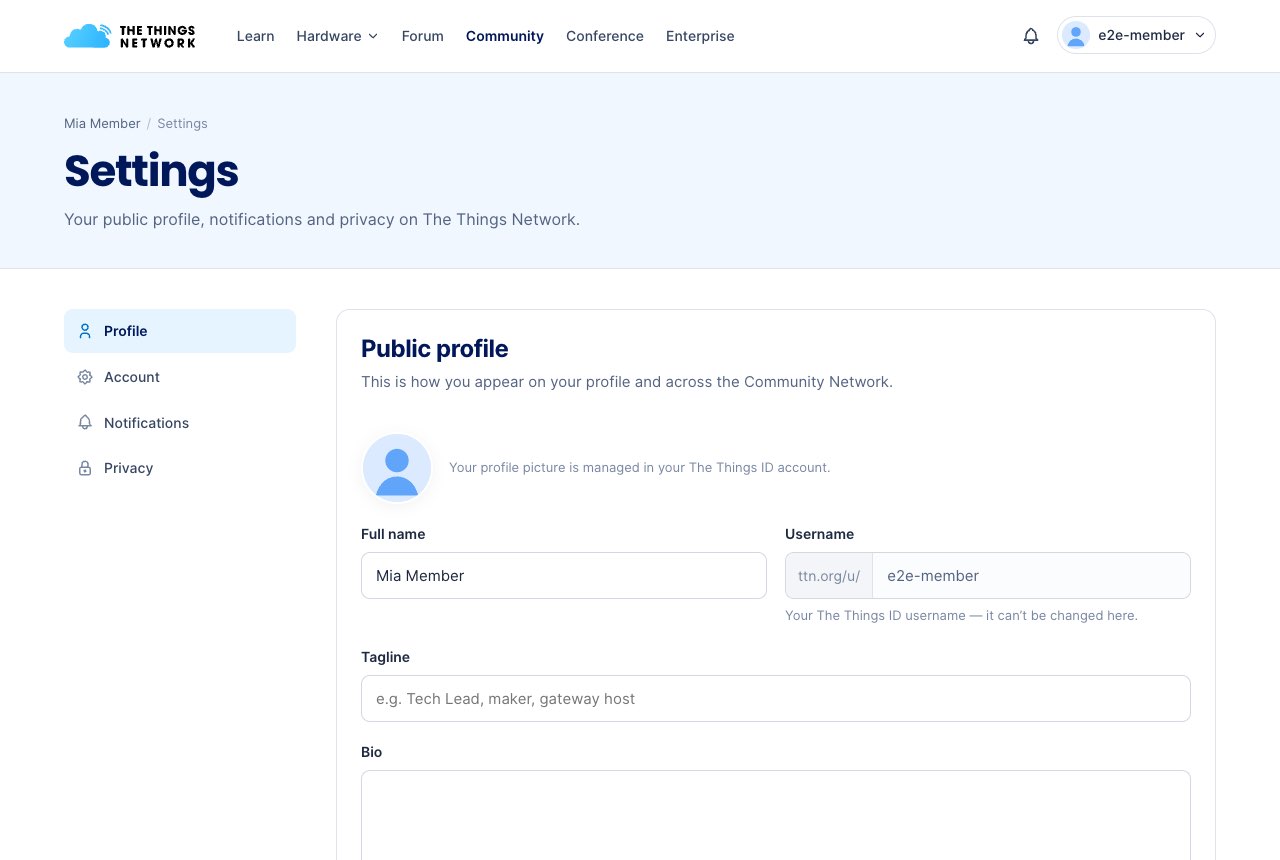
Settings
Open Settings from the account menu. There are four sections.
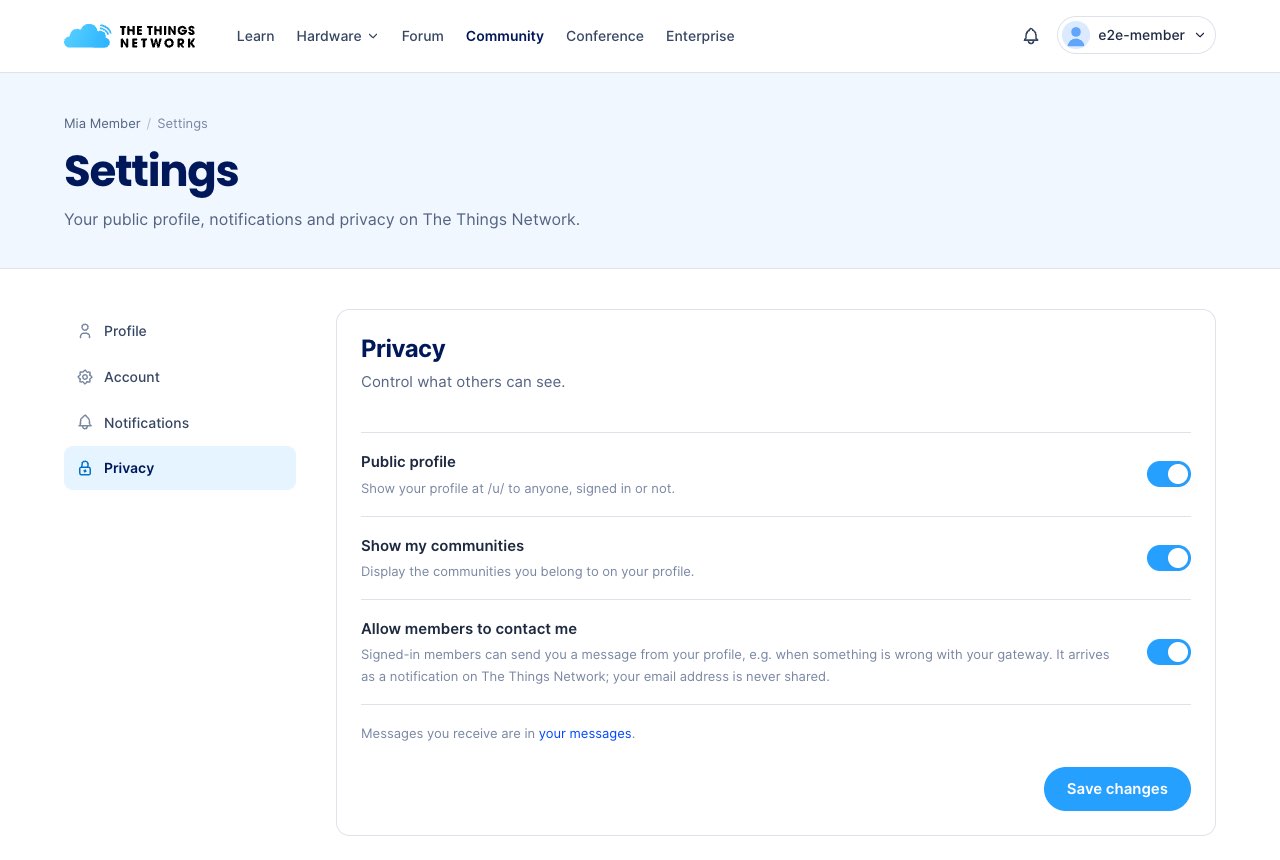
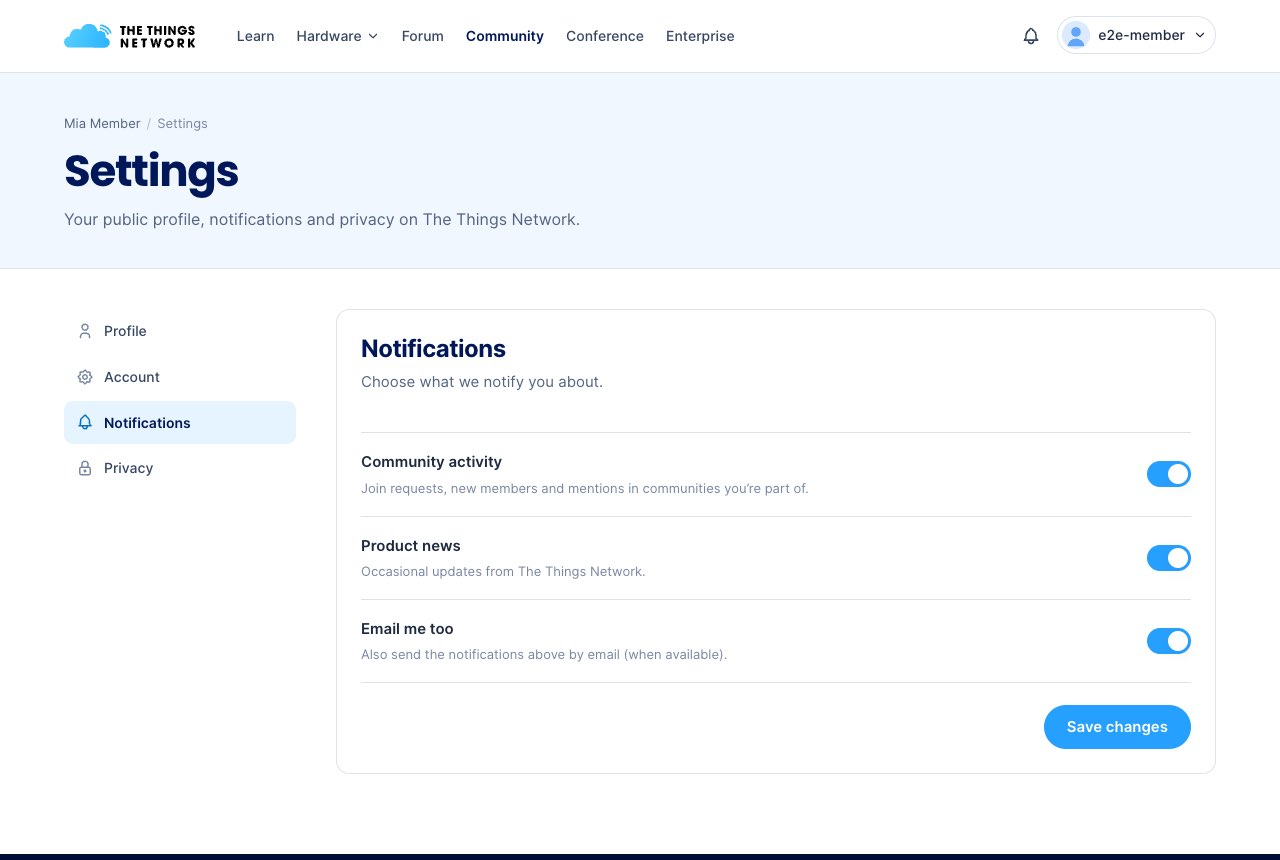
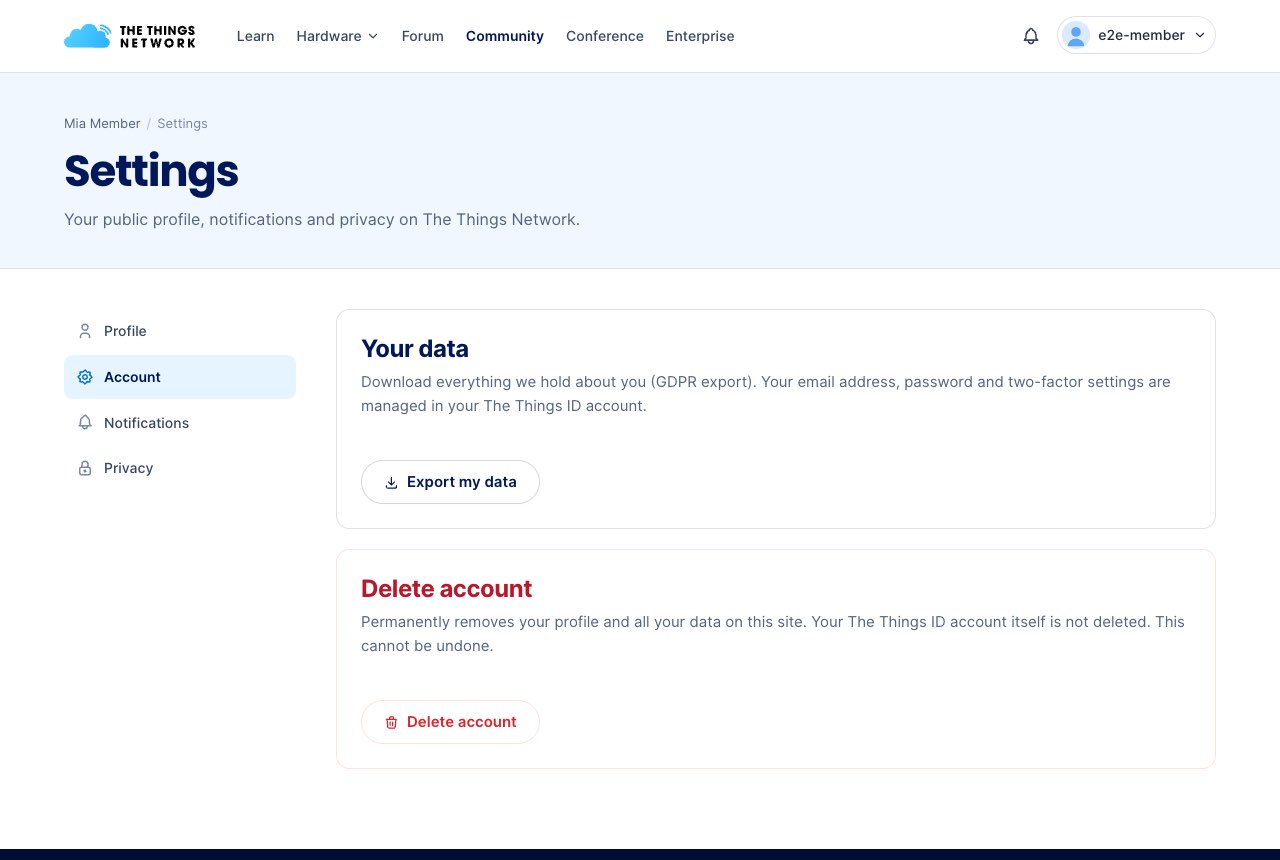
Deleting your account here removes your data from thethingsnetwork.org. Your The Things ID itself (used for the forum and The Things Stack) is not deleted; that is managed by The Things ID.
Private profile? Visitors and other members then can’t open your profile, and your real name is never shown on a public certificate page: your username is shown instead.
7Certification
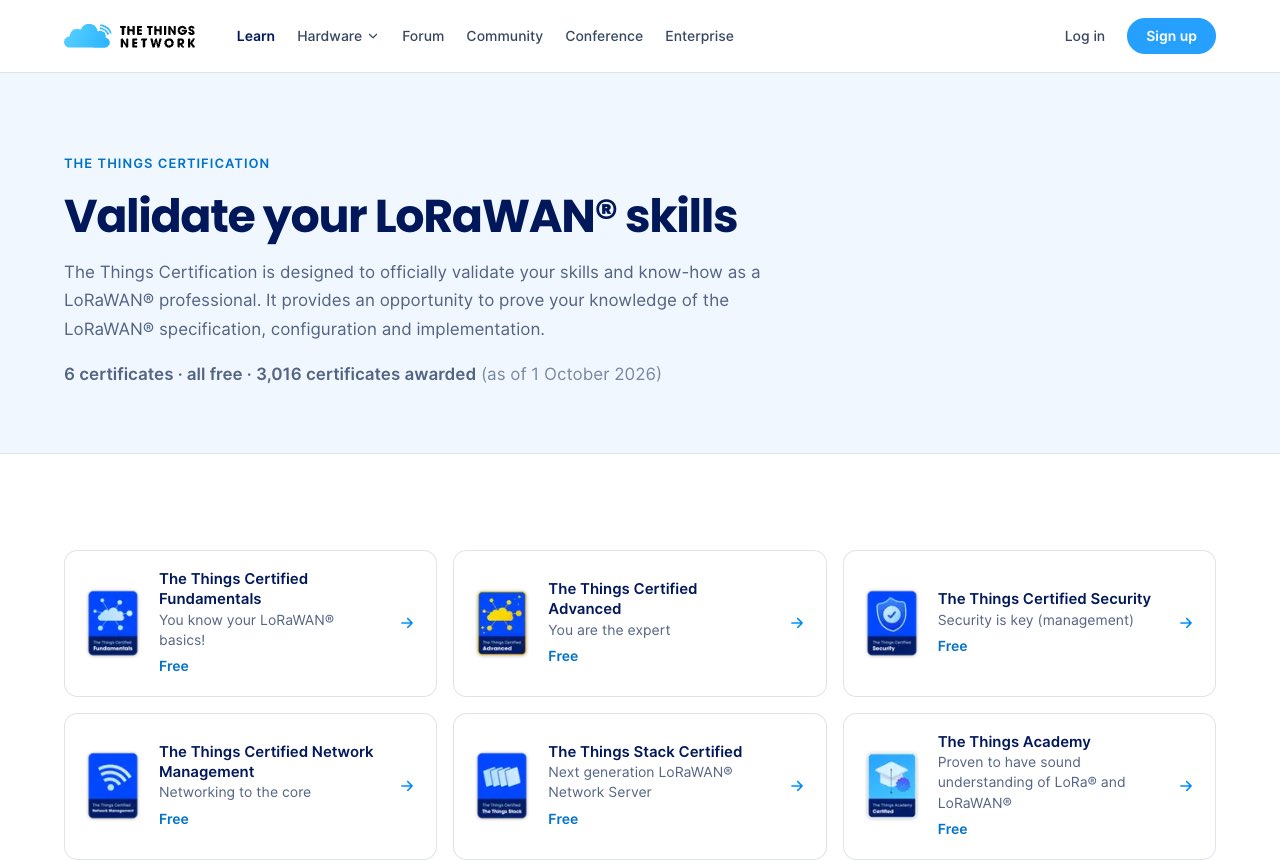
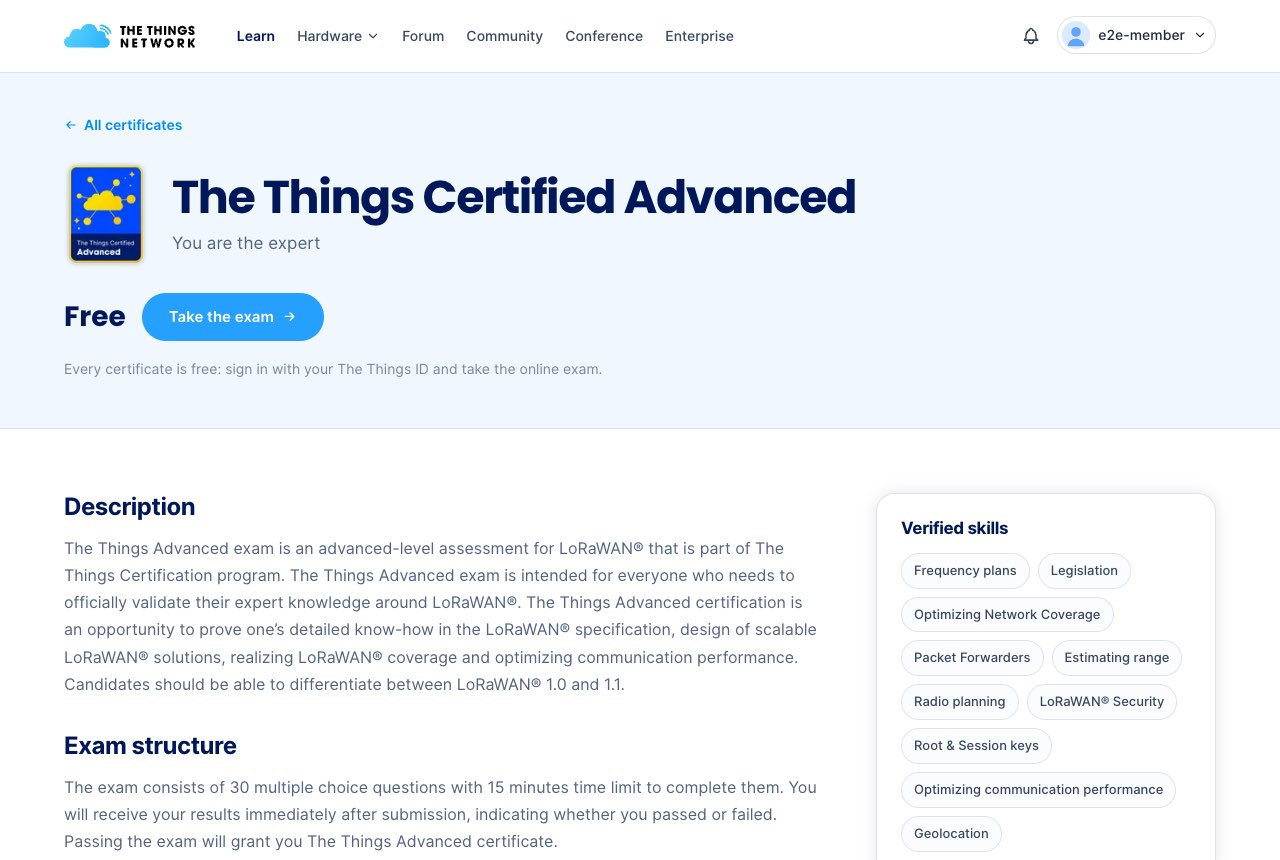
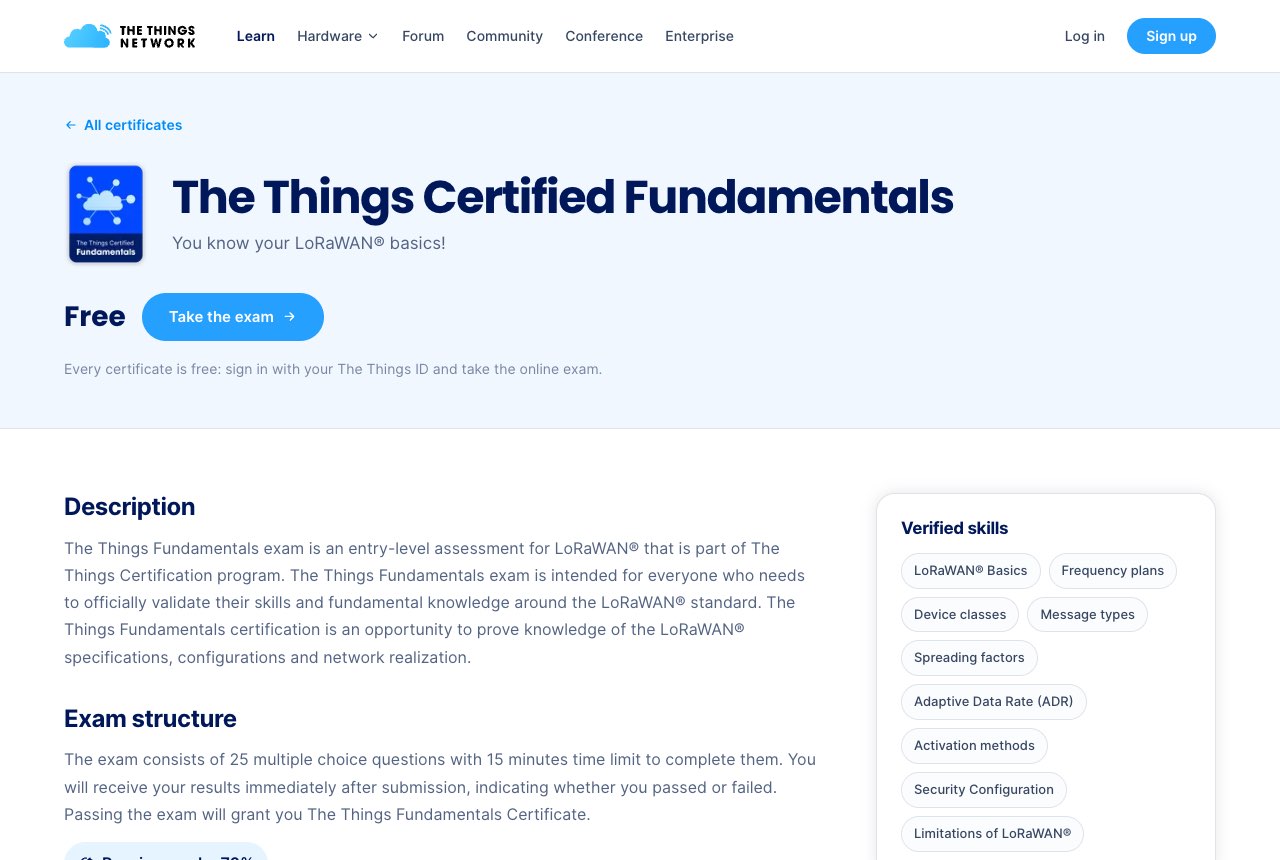
The Things Certification lets you prove your LoRaWAN skills. All certificates are free. Use Certification in the footer (under Learn), or open /achievements.
Take an exam
- Open a certificate and read the description, the exam structure and the verified skills.
- Sign in and click Take this exam.
- You go to the exam provider (ClassMarker) to take the exam: multiple choice questions with a time limit.
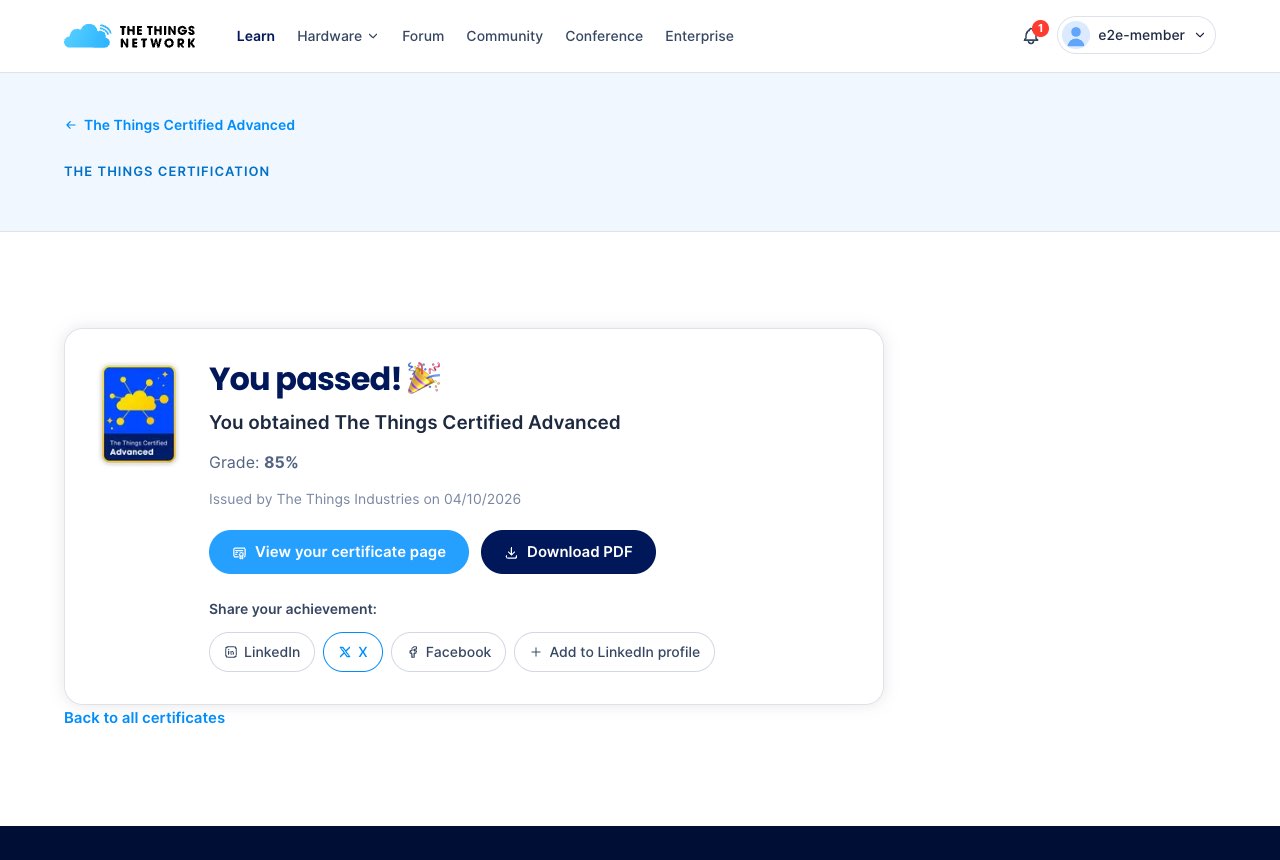
- When you finish, you come back to the site and see your result. If you passed, you get a certificate with its own public page, a PDF to download, and buttons to share it on LinkedIn, X or Facebook.
Public certificate pages
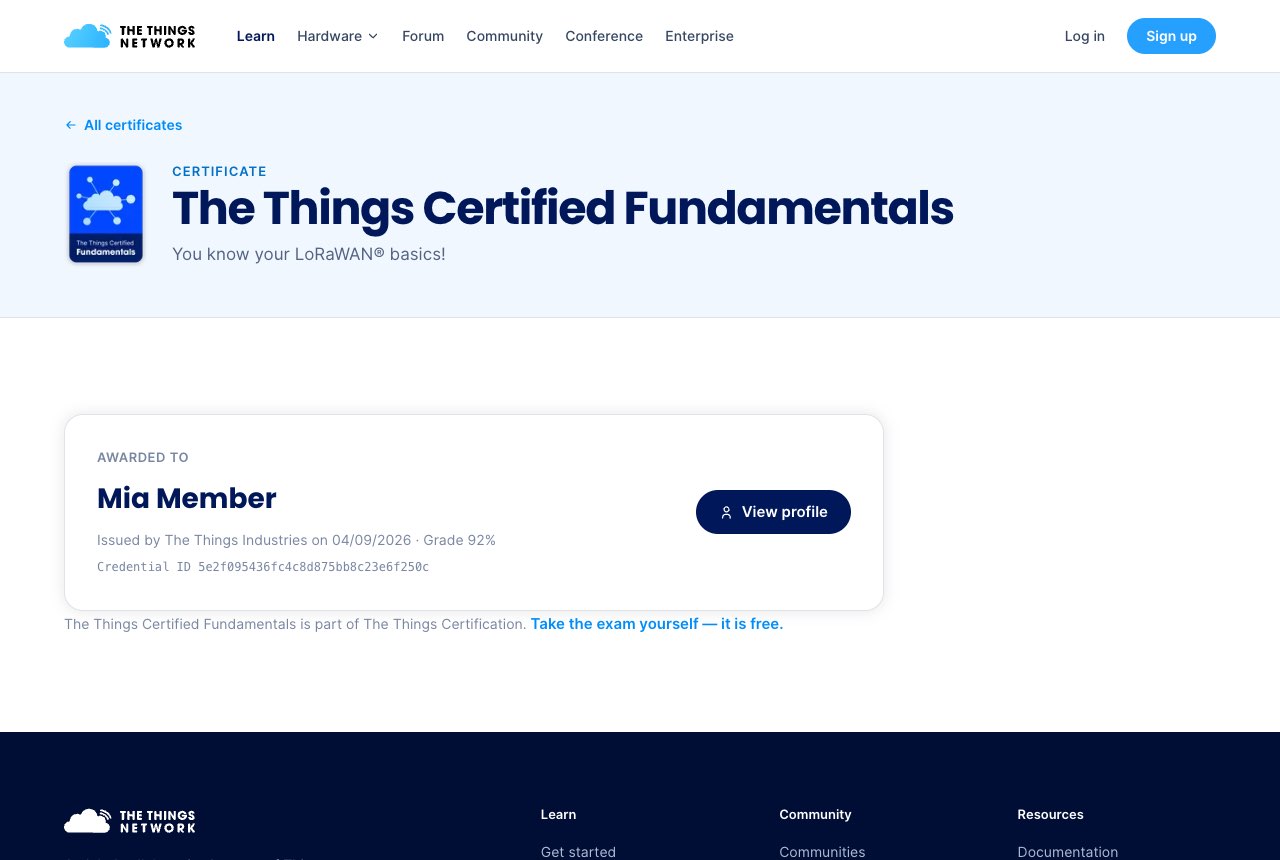
Every certificate you earn has a public page that you can share, for example on your CV. It shows the certificate, your name (or only your username if your profile is private) and the date. Your certificates are also listed on your profile.
Exam starts are limited to 20 per hour per member.
8Starting a community
No community in your area yet? Become its initiator. Go to Community → Start a community.
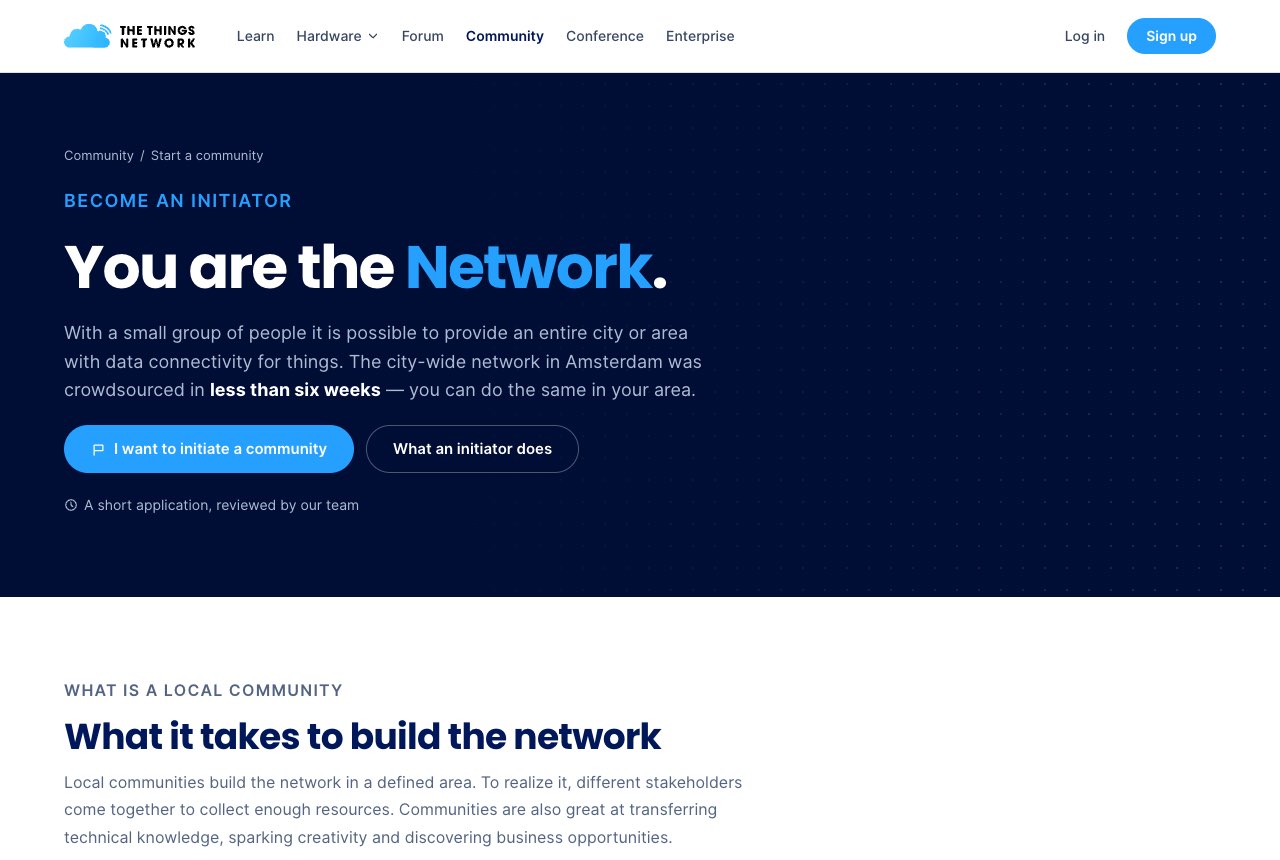
The application
- Click I want to initiate a community and sign in.
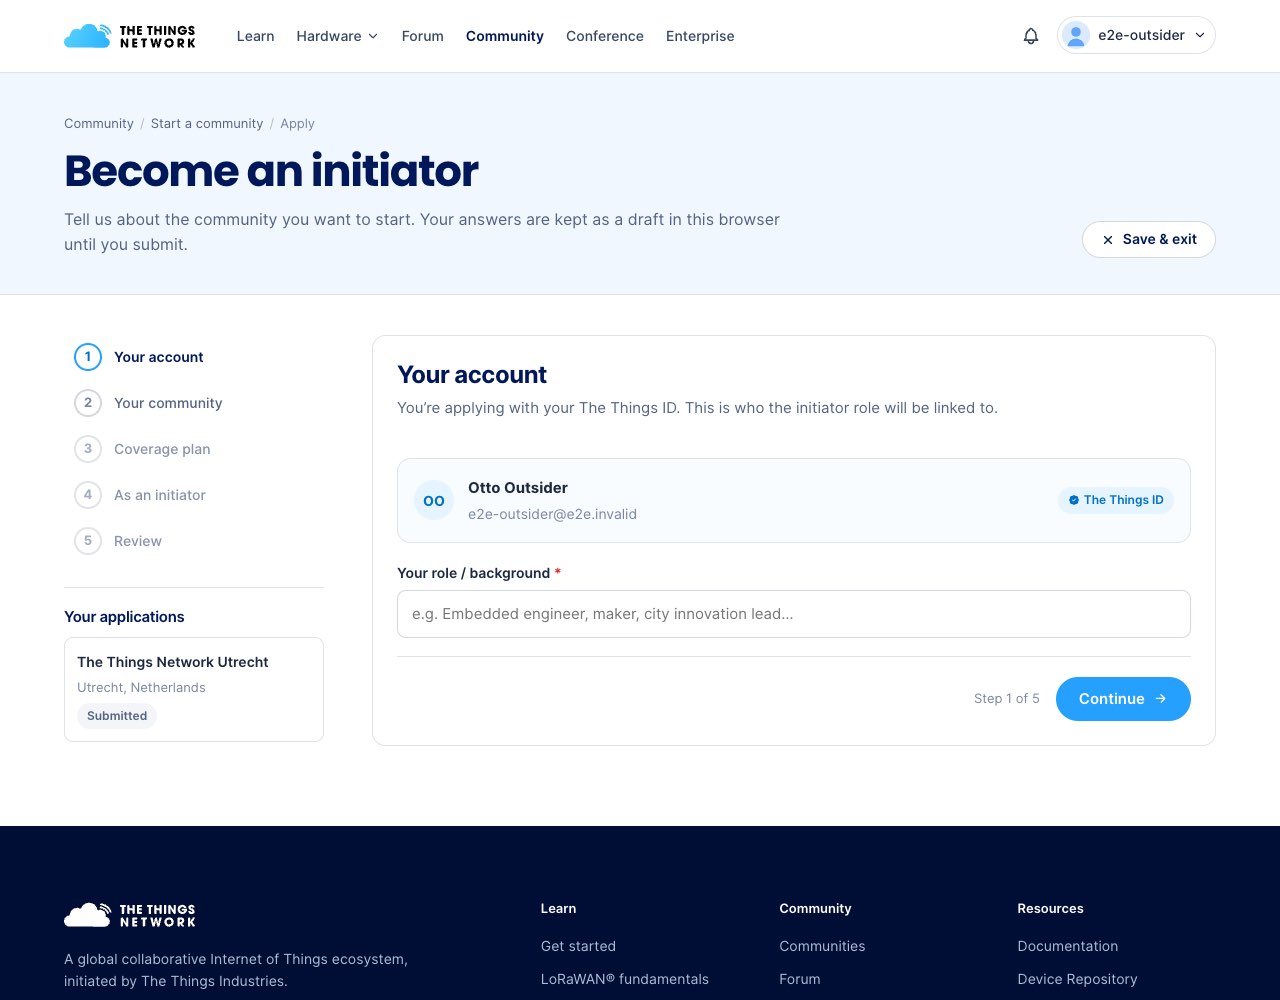
- Fill in the five steps: Your account (your role or background), Your community (name, city, country), Coverage plan (gateways online and planned), As an initiator (your vision, resources and commitments), and Review.
- Submit. Your answers are kept as a draft in your browser until then, and Save & exit lets you continue later.
- The Things Network team reviews your application. You get a notification when it is approved or rejected. When approved, the community page is created and you are its initiator.
Your applications and their status are listed on the left of the form.
9Running a community
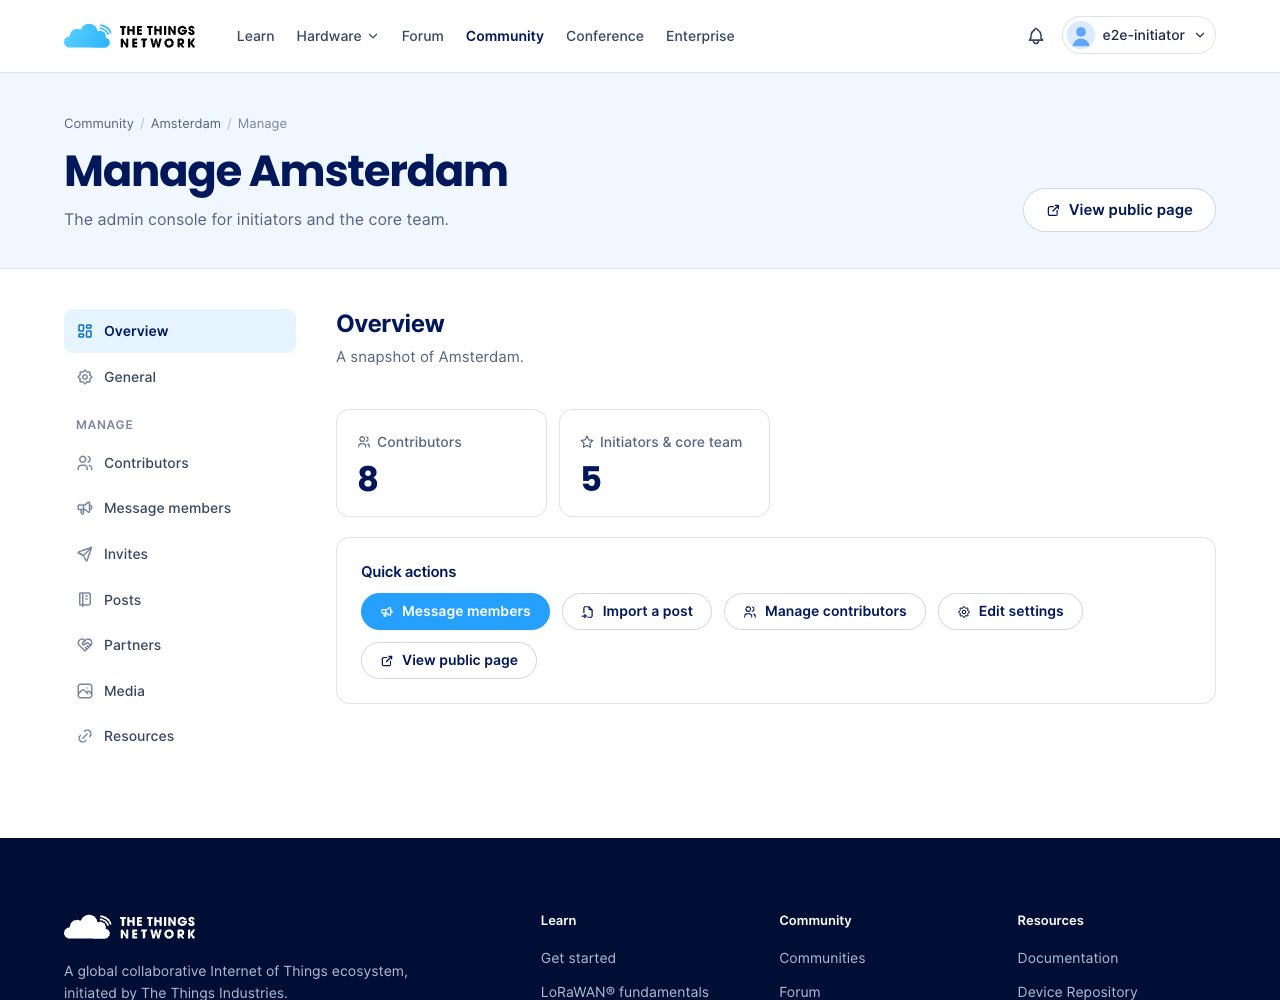
Initiators and core team members see two extra buttons on their community page: Manage opens the admin console, Invite invites a member by username.
Invite someone
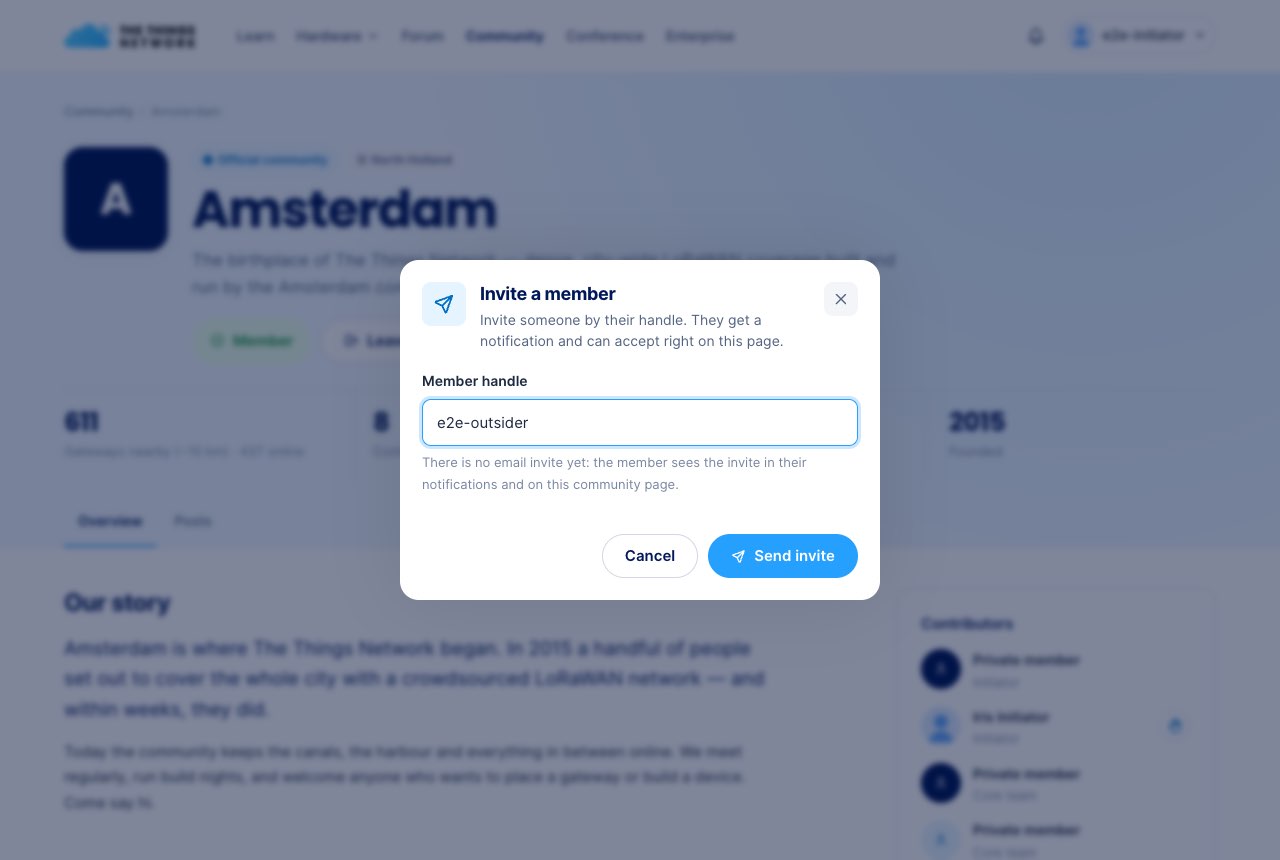
- Click Invite and enter the member’s username (their The Things ID handle).
- Click Send invite. They get a notification and can accept or decline on the community page.
There is no e-mail invite: the person needs an account on the site. Pending invitations are listed in the console under Invites, where you can withdraw them.
The admin console
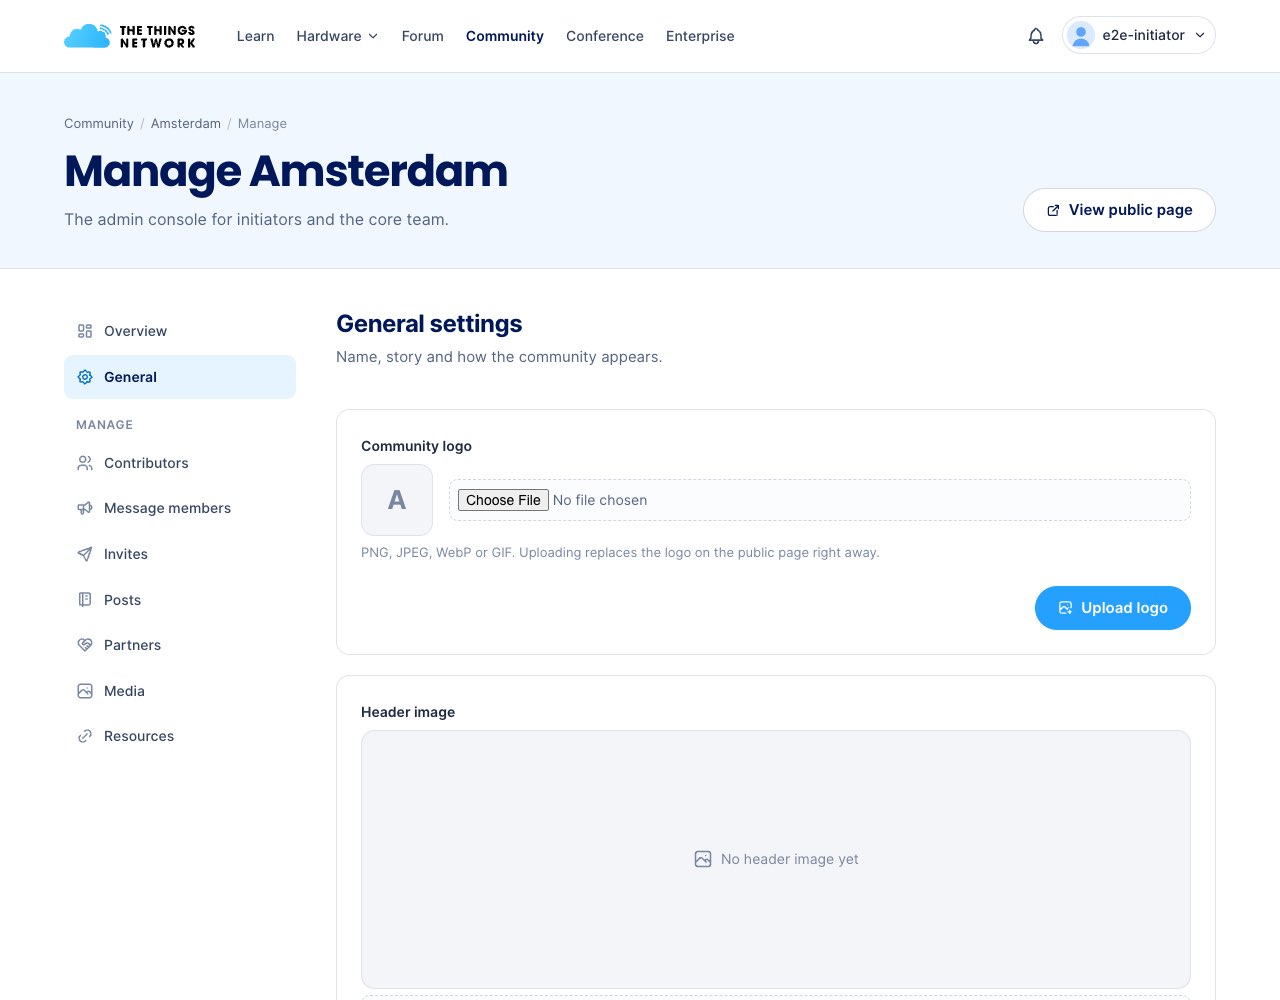
Click Manage. The console has these sections:
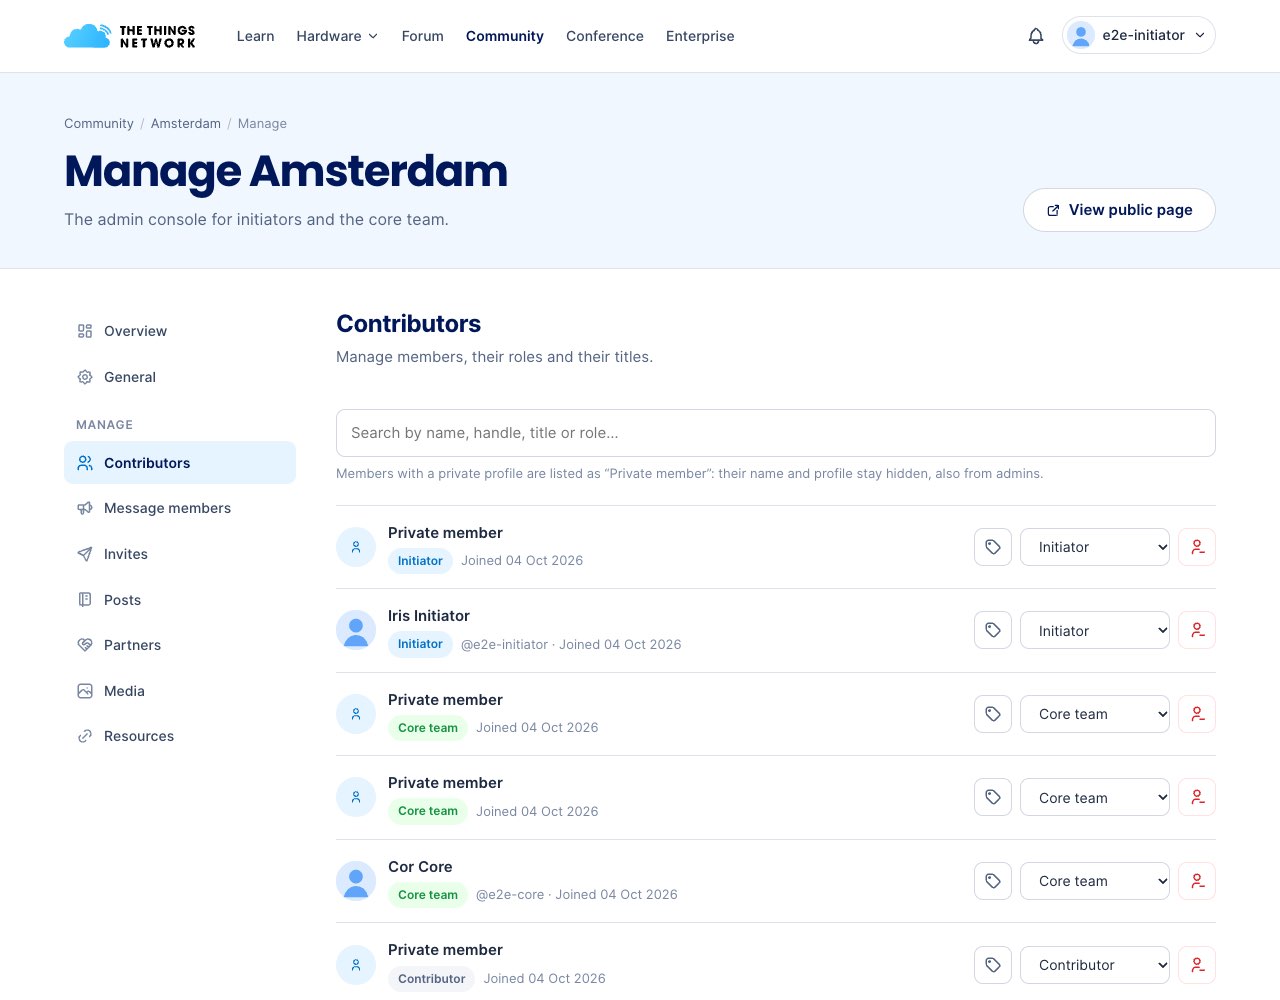
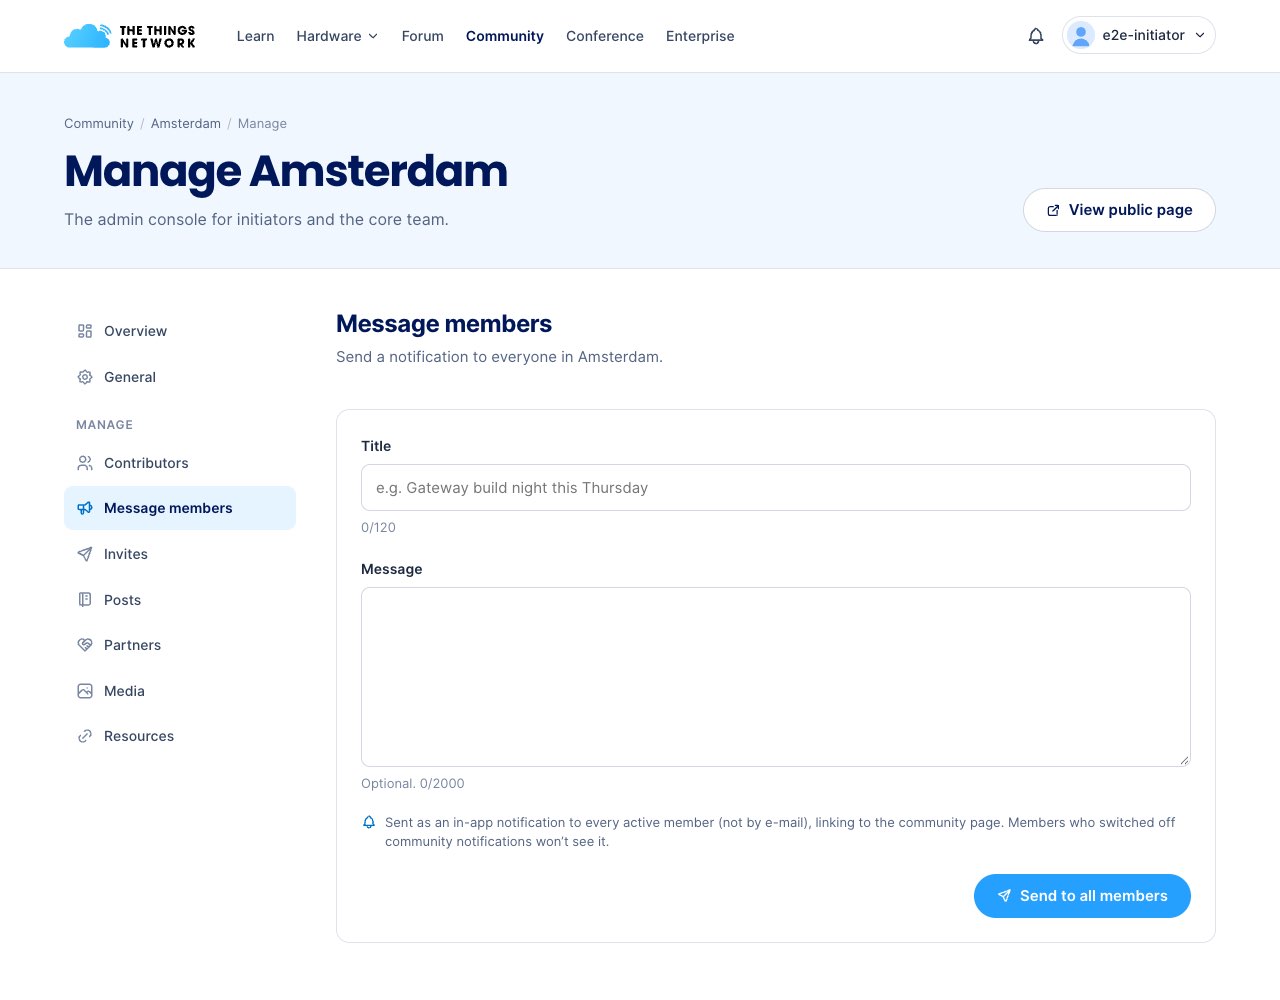
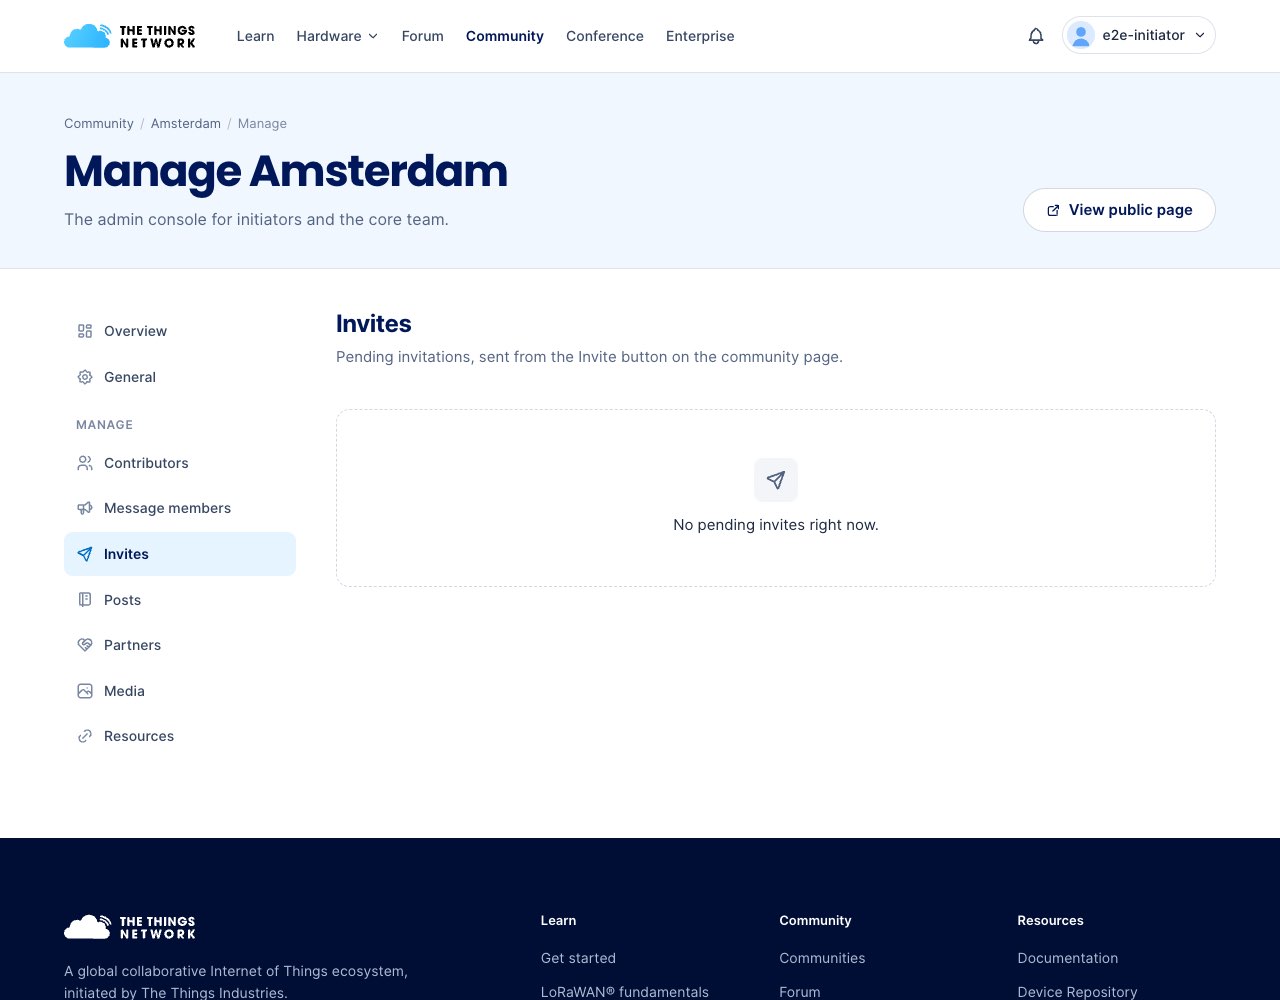
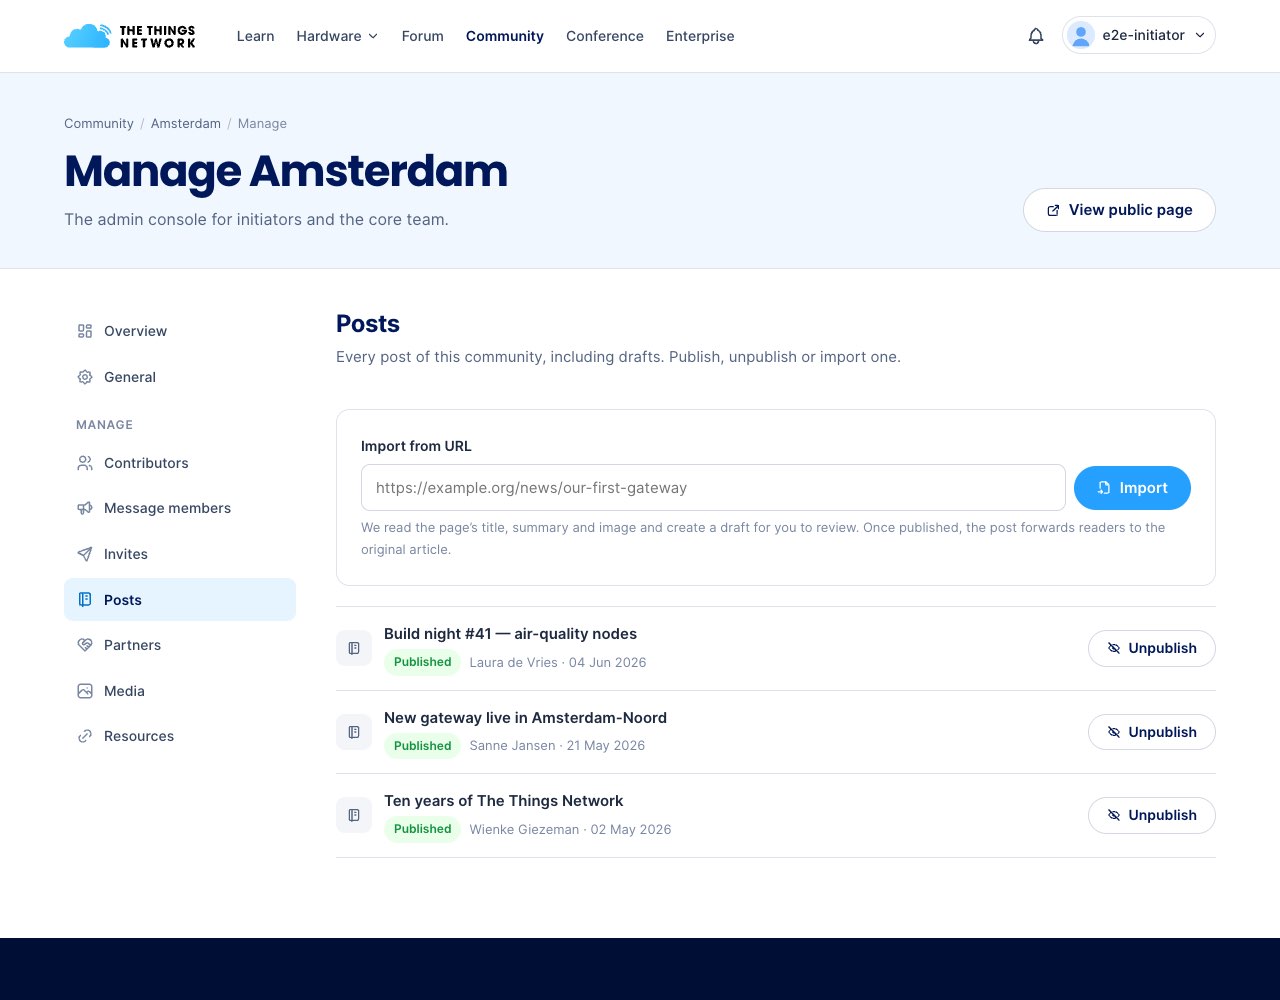
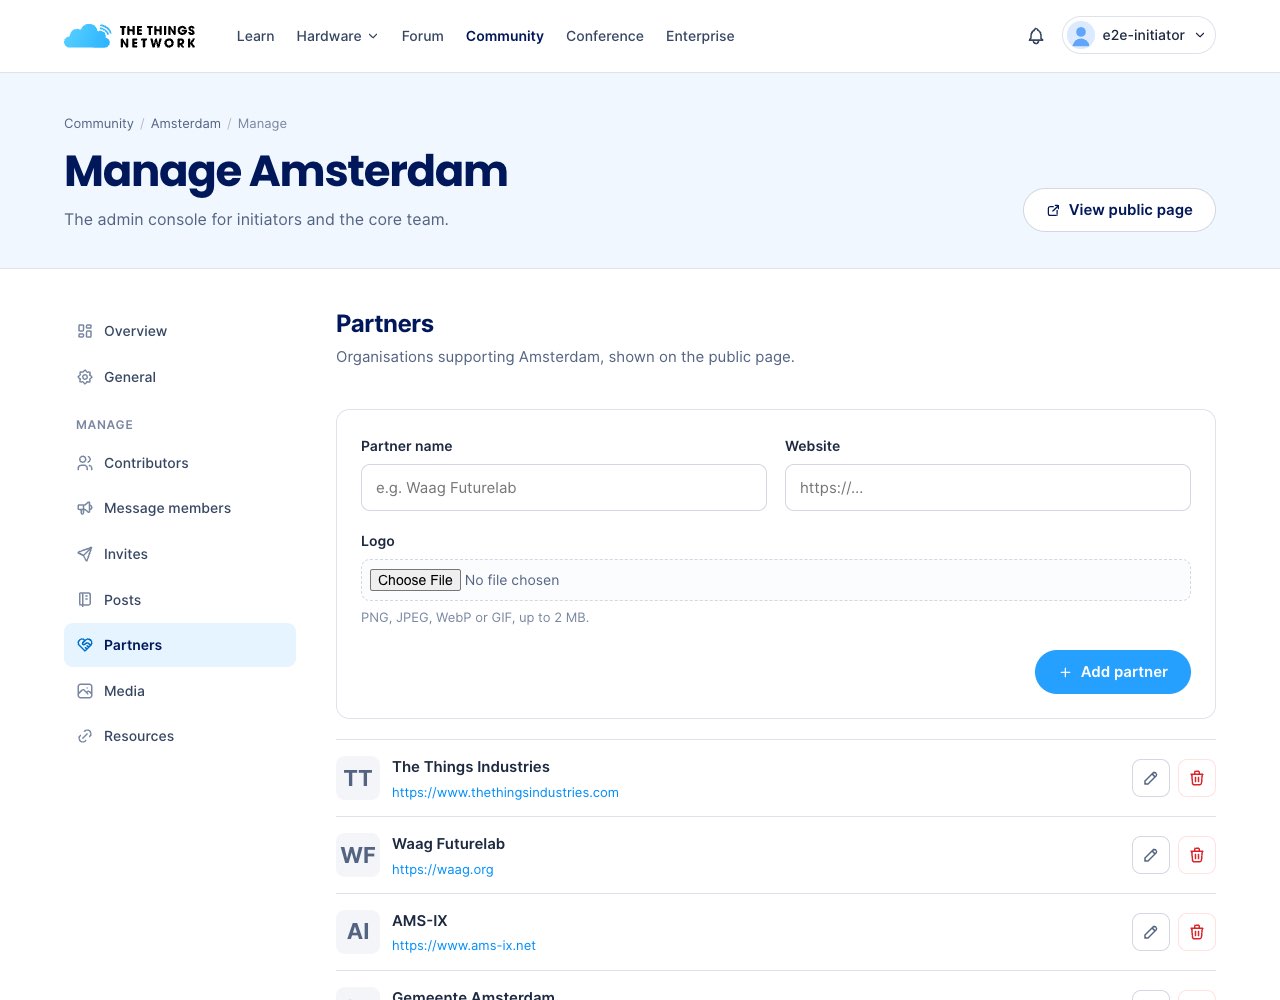
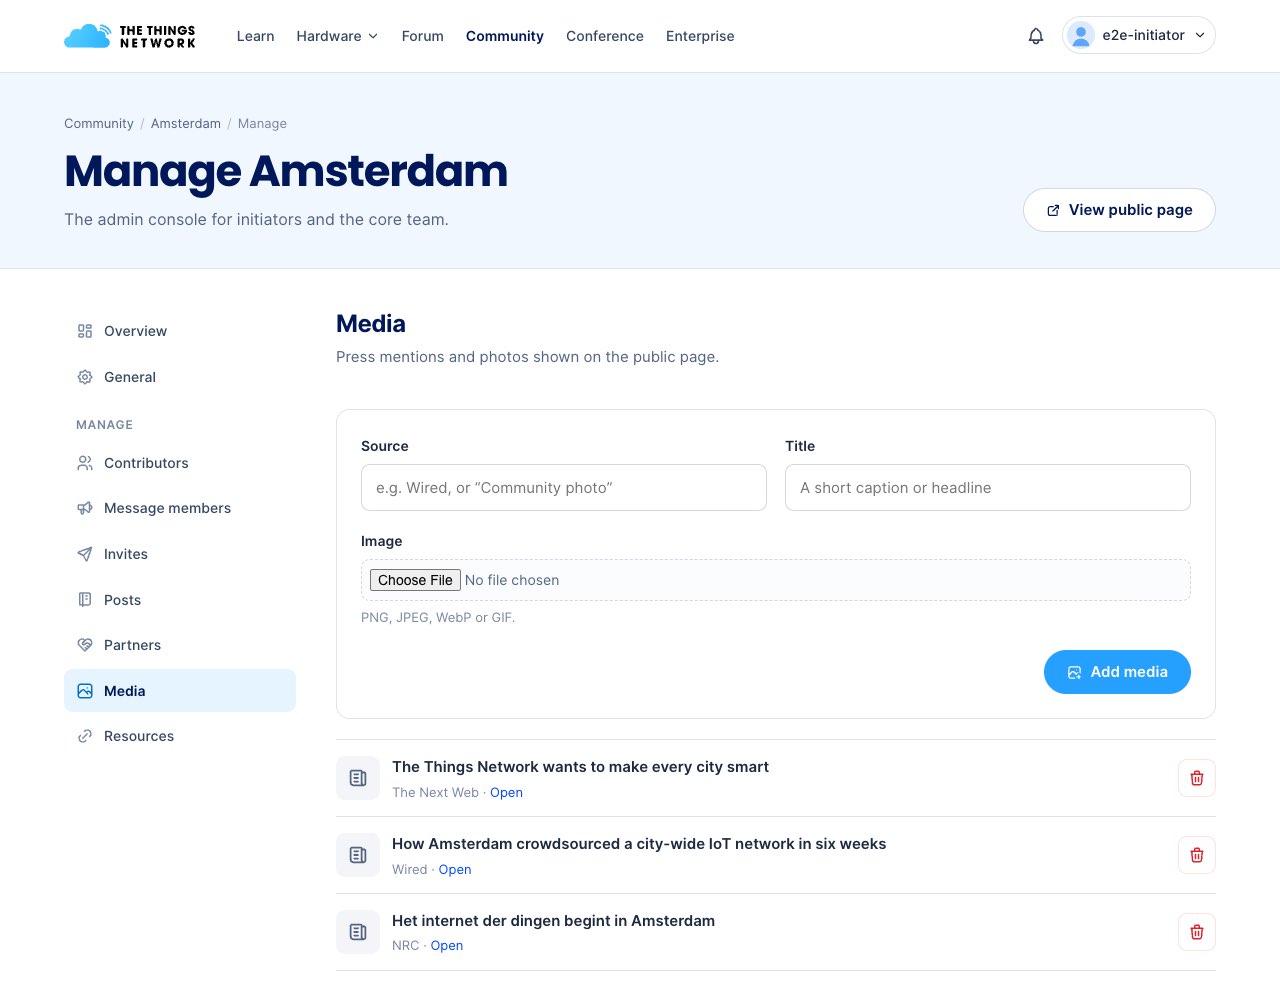
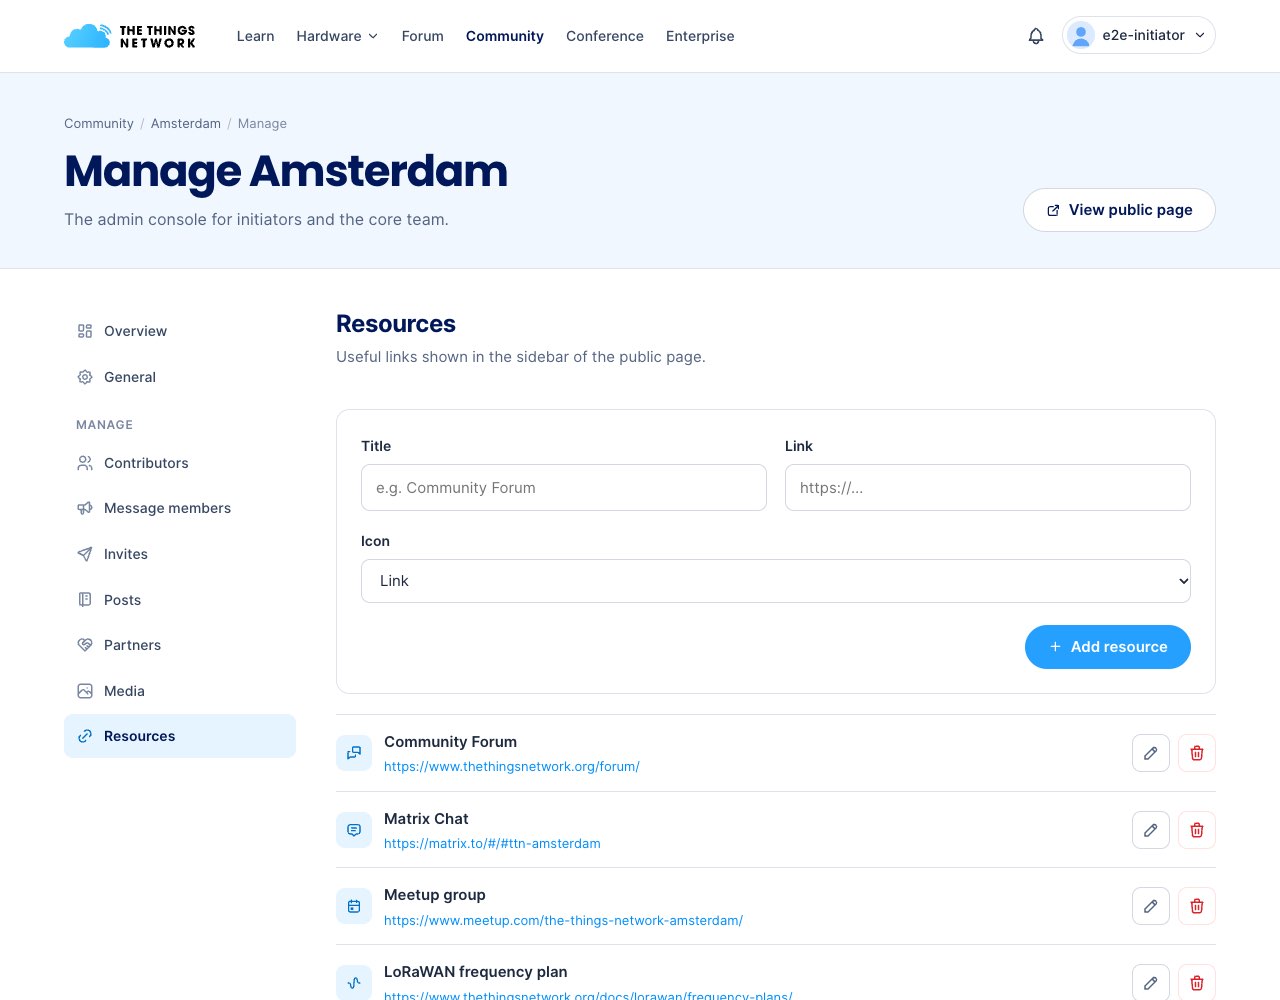
Roles inside a community. The initiator founded the community. Core team members are co-admins with the same management rights. Contributors are ordinary members. Removing someone takes them out of the community; they can’t rejoin on their own while removed.
10Writing articles (moderators)
Moderators publish global updates (articles) and country updates. The account menu has an extra item: Write an article.
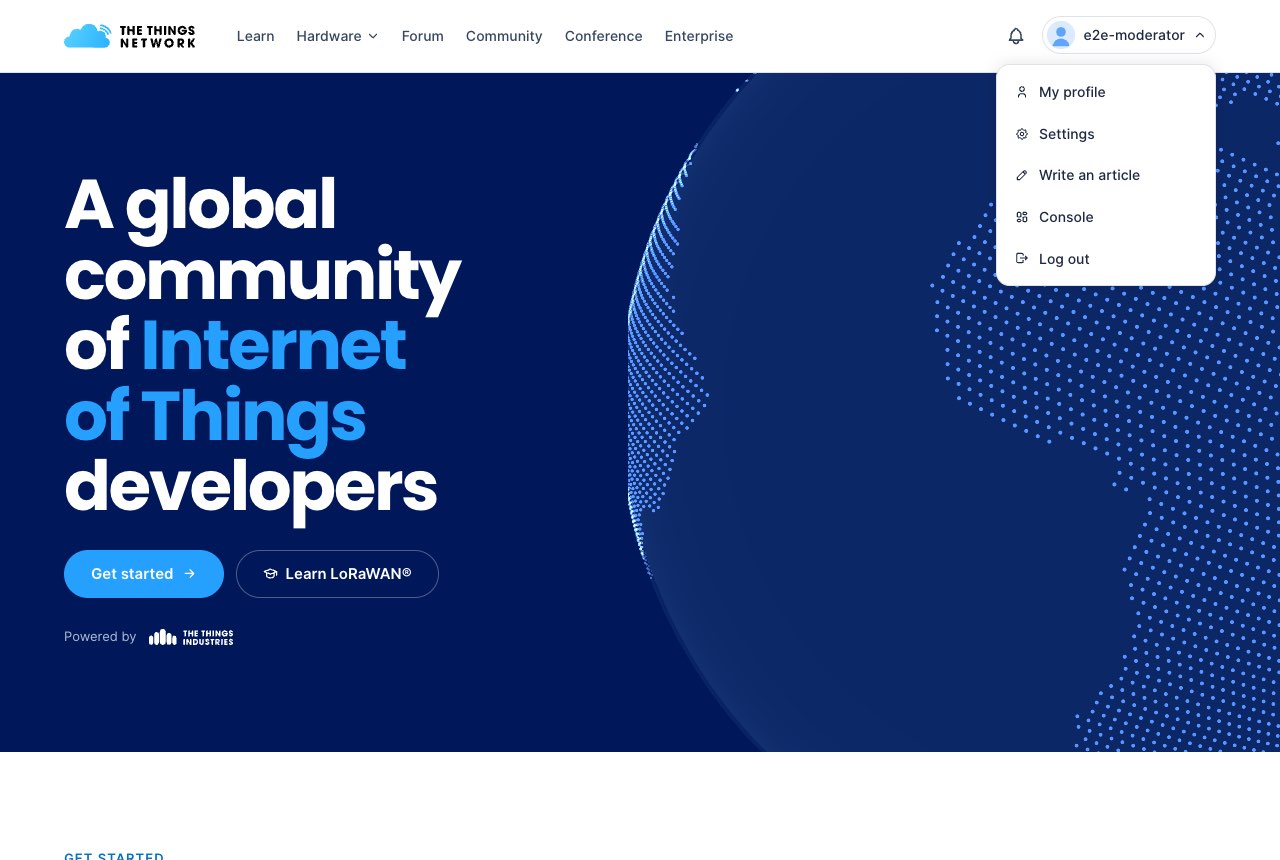
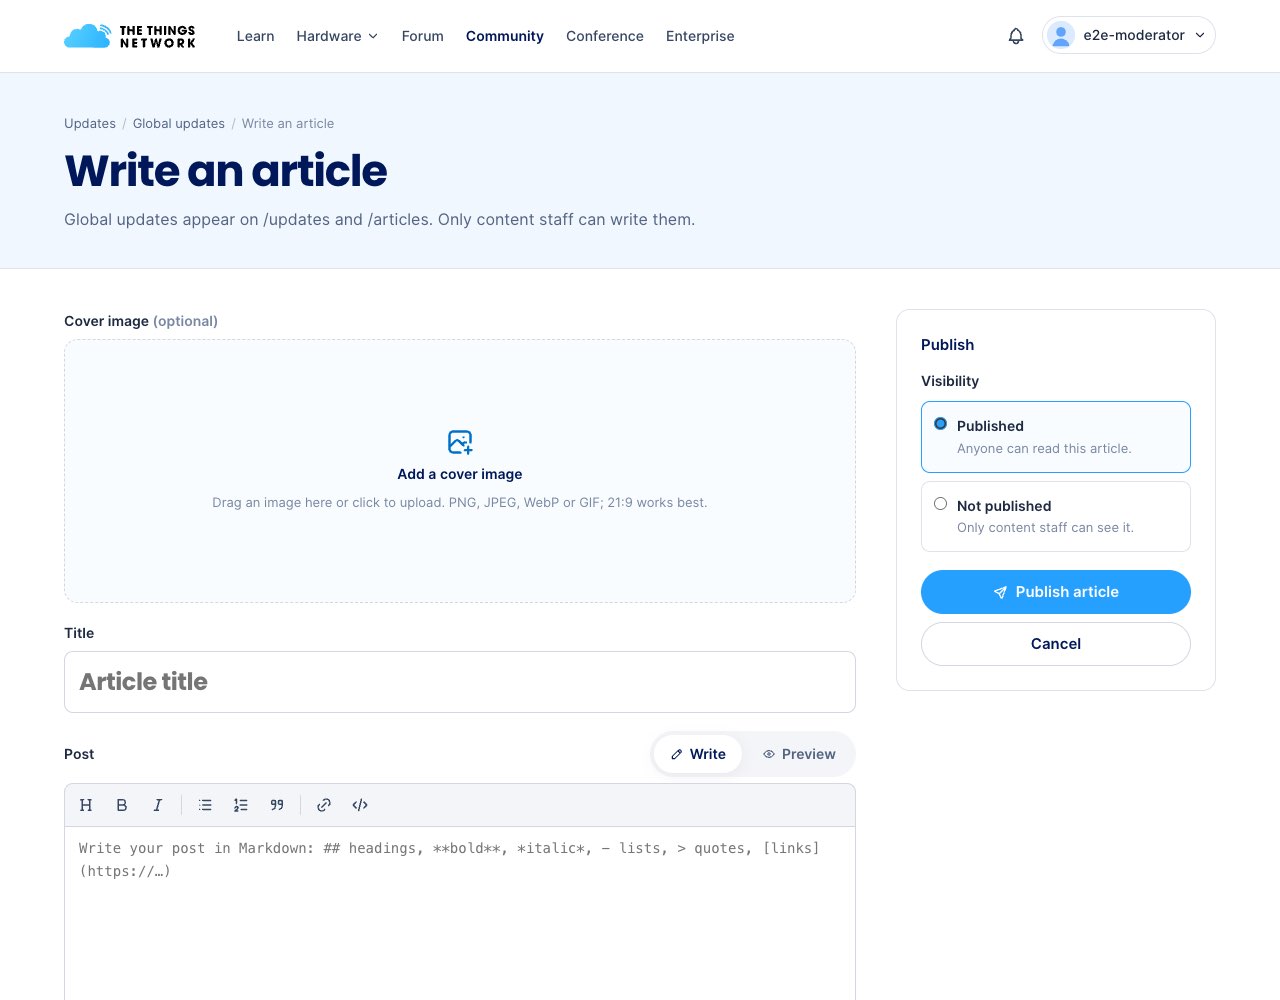
- Choose Write an article.
- Add an optional cover image, a title and the text in Markdown.
- Choose Published or Not published, then click Publish article.
- To change an article later, open it and choose Edit.
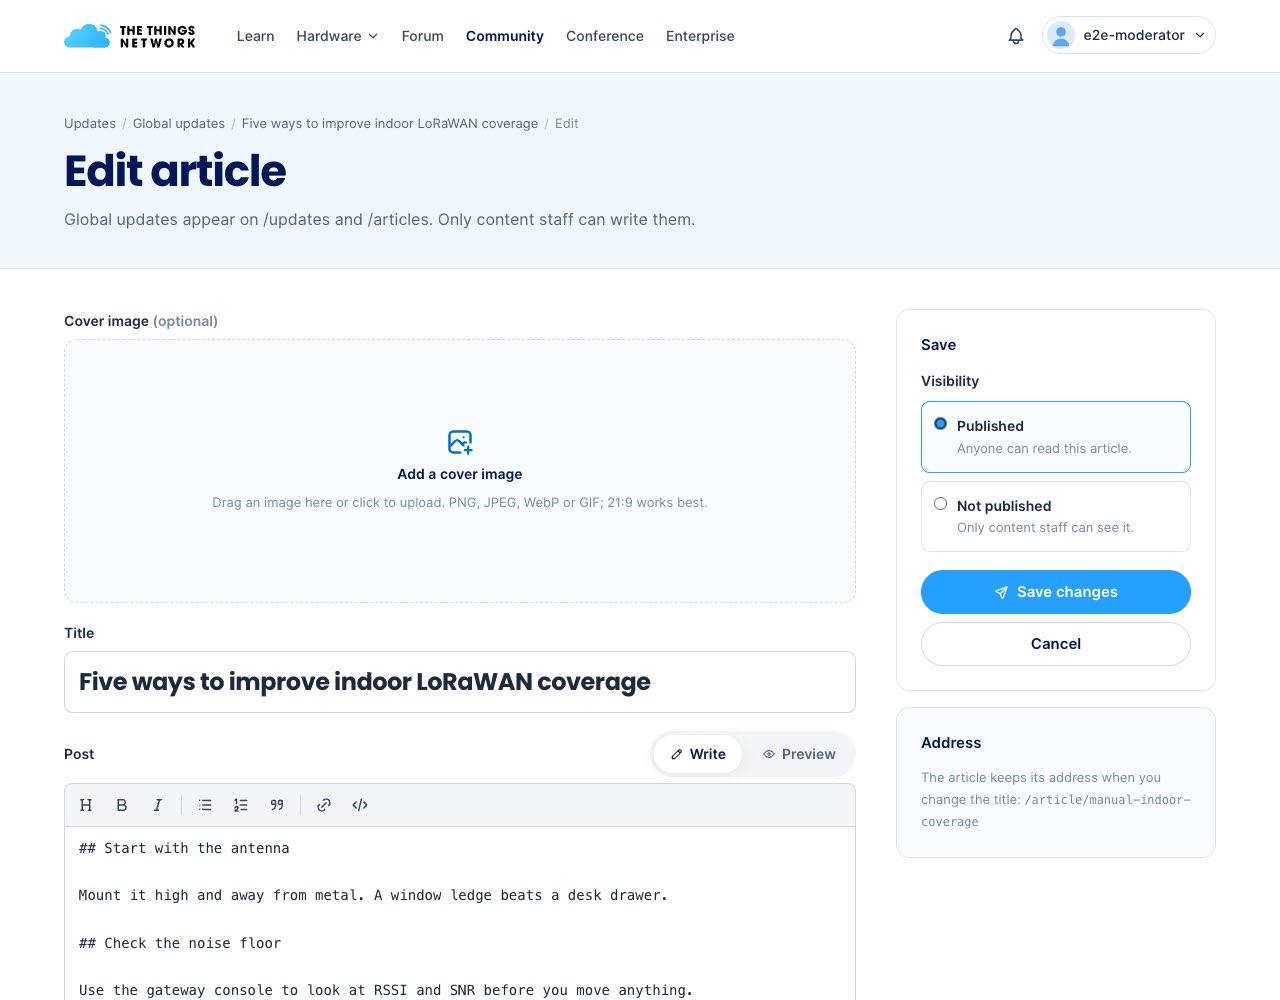
Articles migrated from the old site keep their original layout. If you edit one, it is shown as plain Markdown from then on, and images, tables or videos from the original may be lost. The edit page warns you about this.
11Platform administration
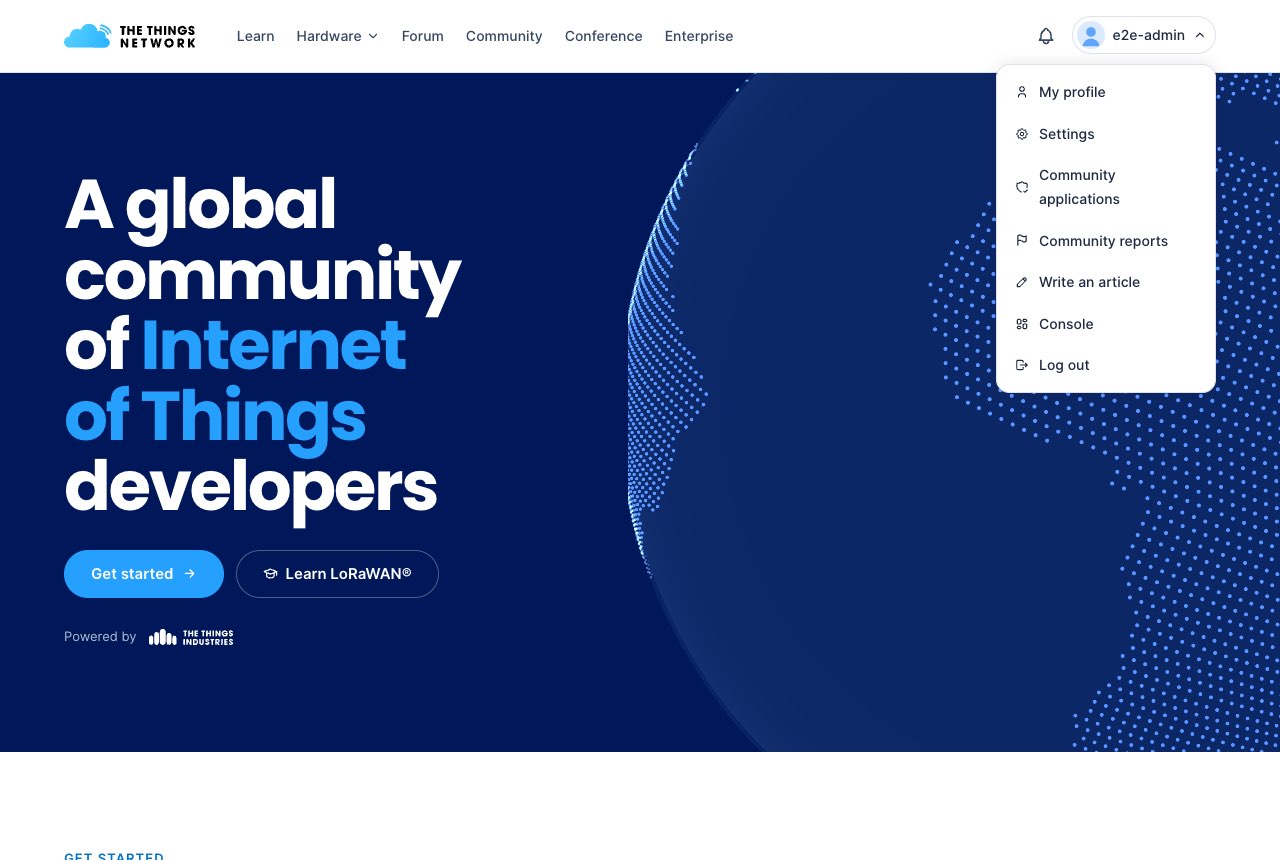
Platform admins have three extra items in the account menu: Community applications, Community reports and Write an article. They can also open the admin console of every community.
Review community applications
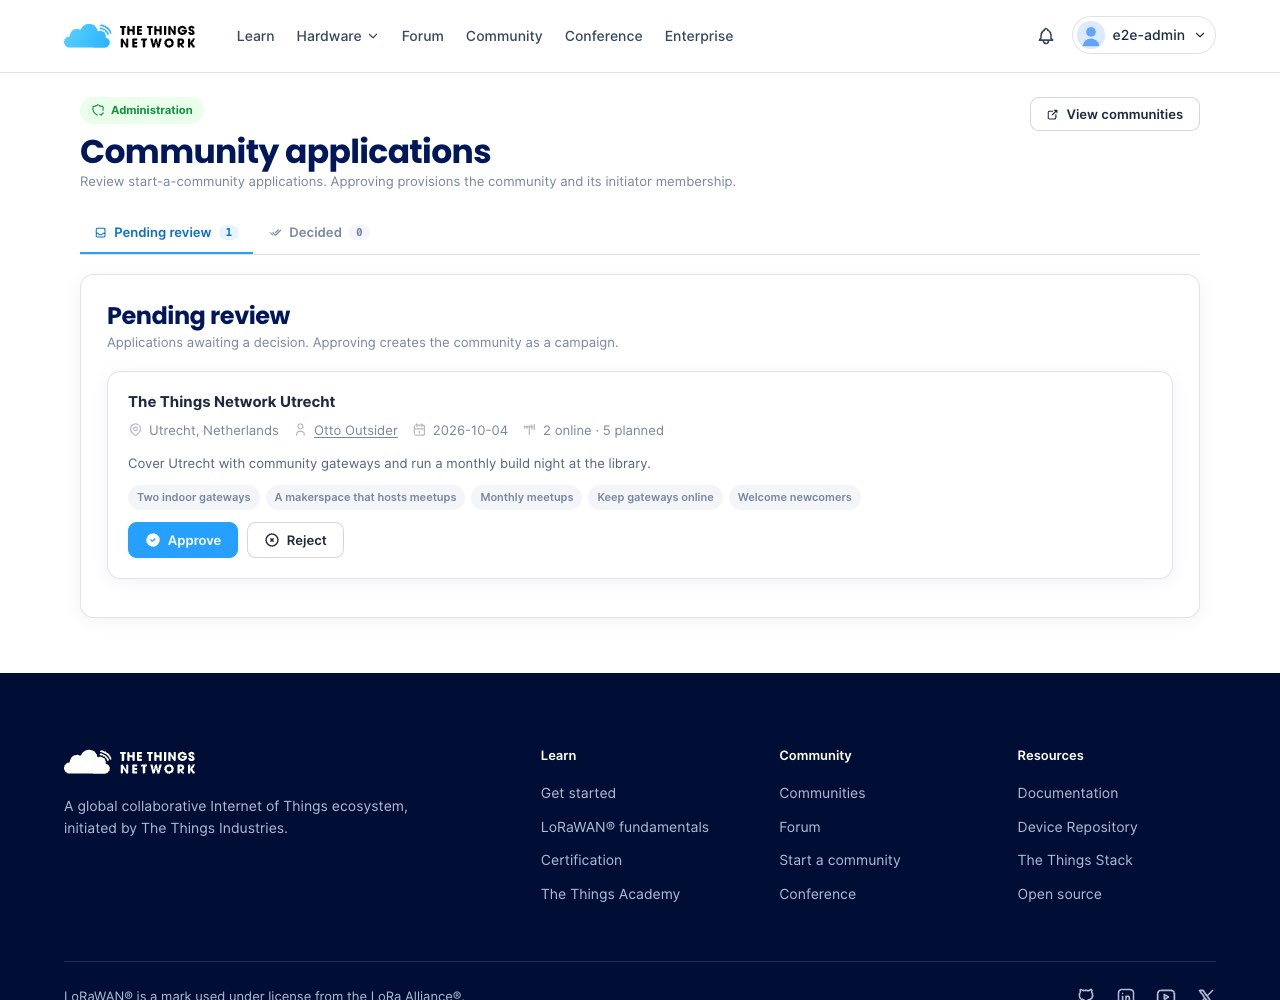
- Open Community applications. Pending review lists new applications; Decided lists earlier decisions.
- Read the application: the community name and place, the applicant, the coverage plan, vision, resources and commitments.
- Click Approve to create the community with the applicant as its initiator, or Reject. The applicant gets a notification either way.
Handle reports
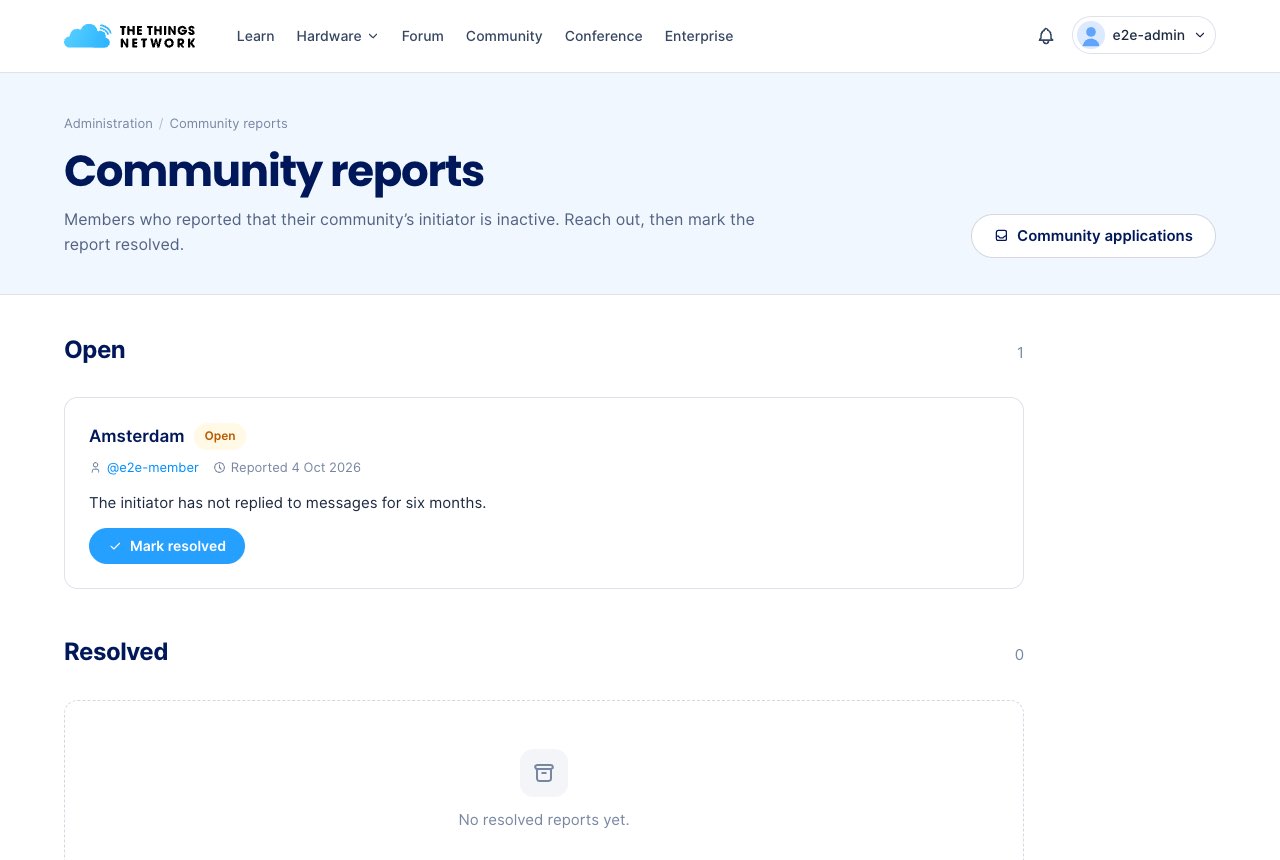
Open Community reports to see reports about inactive initiators: the community, who reported it and their message. Reach out to the community, then click Mark resolved.
12Tools
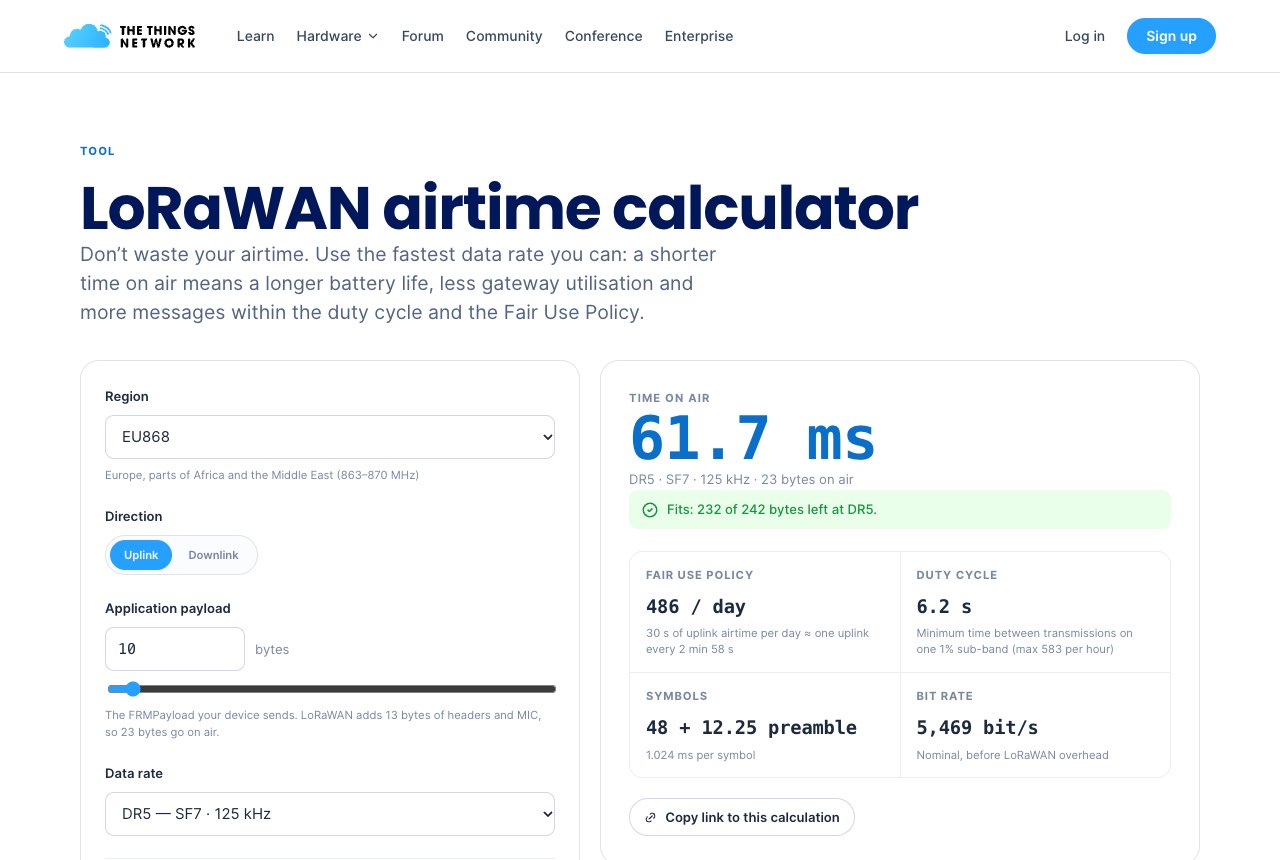
LoRaWAN airtime calculator
Calculate how long a message is on air for a region, direction, data rate and payload size. It shows the time on air, the duty-cycle wait, and how many messages fit in the Fair Use Policy (30 seconds of uplink airtime and 10 downlinks per device per day). The settings are kept in the page address, so you can share a calculation by copying its link.
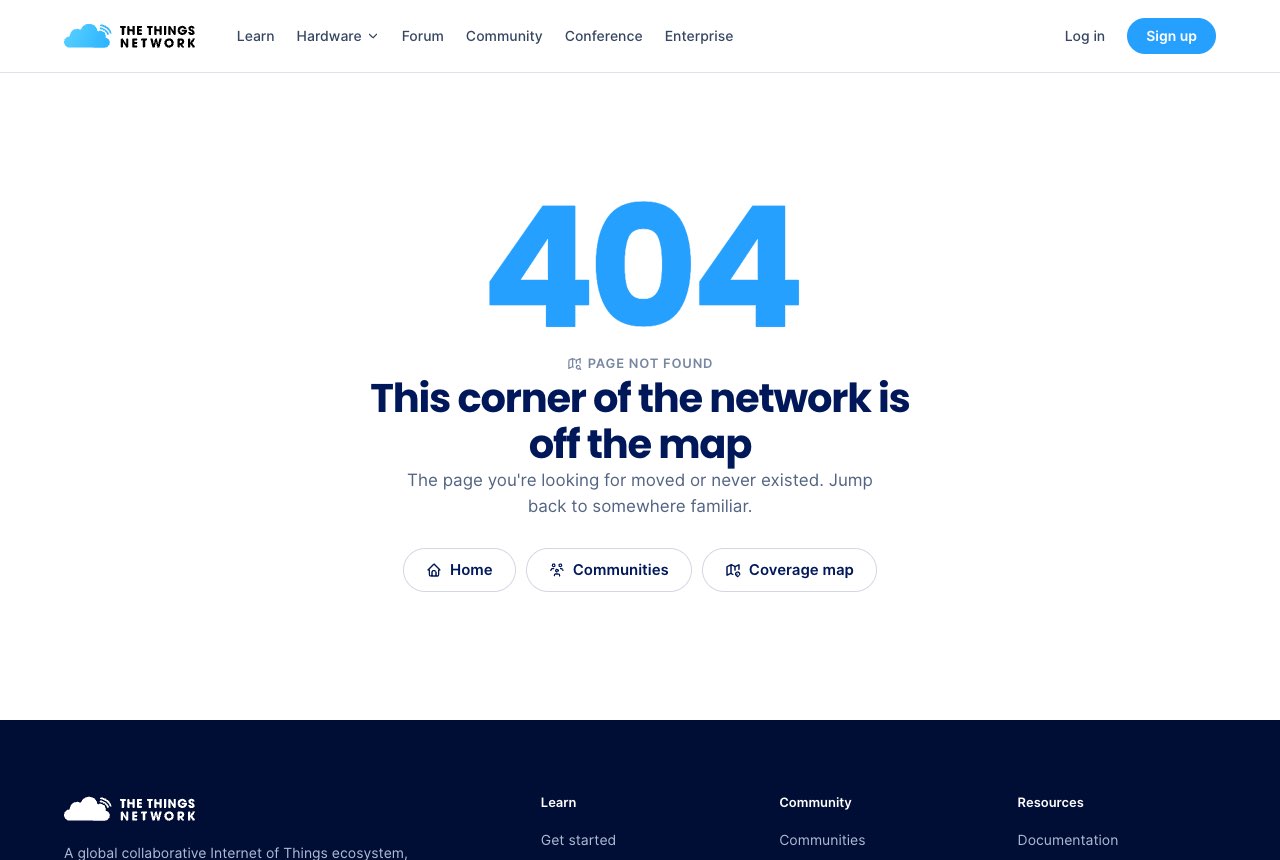
Page not found
Pages that don’t exist, or that you are not allowed to see (for example someone else’s settings or a community console you don’t manage), show “Page not found” with links back to the homepage, the communities and the map.
13Limits and good to know
To keep the site free of spam, some actions have limits. If you reach one, the site tells you so and when you can try again.
| Action | Limit |
|---|---|
| Sending messages to members | 5 per hour, and one message to the same person per 10 minutes |
| Writing posts | 20 per hour |
| Messaging all community members (admins) | 5 per community per day |
| Reporting an inactive initiator | 3 reports per day, one per community while it is open or within 30 days |
| Applying to start a community | 5 applications per day |
| Starting a certification exam | 20 per hour |
| Inviting someone who declined | Not again within 30 days |
- Your username
- Comes from The Things ID and can’t be changed on this site. Profile addresses are case-sensitive:
/u/MiaMemberand/u/miamemberare different people. - Notifications are shown on the site. E-mail delivery depends on your notification settings.
- Old links
- Links from the previous version of the site keep working; old addresses redirect to the new page.
14About the screenshots
The screenshots in this guide show example accounts and example content. What you see on the site depends on your role and on the community you look at.
Questions or ideas about the website? Ask on the forum.