
Outdated: this section documents The Things Network V2, which is no longer maintained. See the documentation for The Things Stack V3, or browse the V2 docs index.
Installation instructions for GIT client on OSX
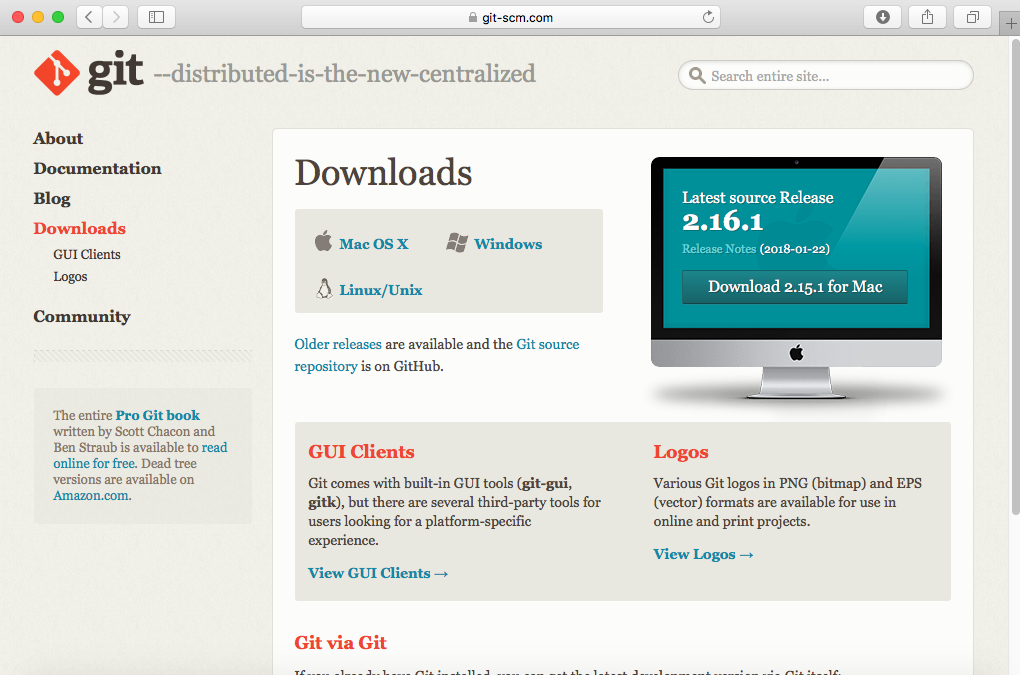
- Go to https://git-scm.com/downloads and download the OSX installer.
- Open the dmg file in the downloads
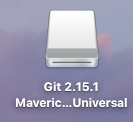
- Double click on the newly opened Git 2.XX.X … Universal icon
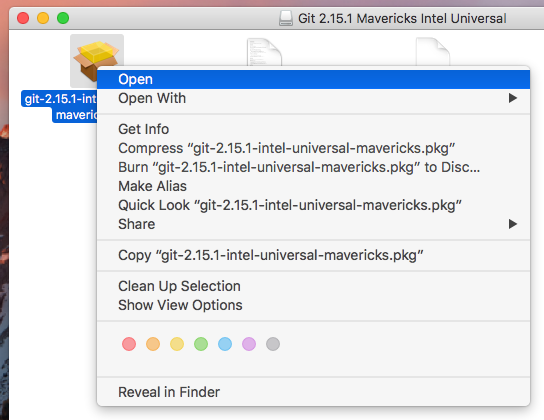
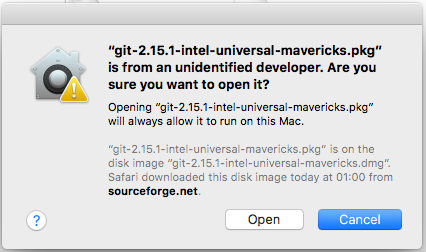
- Control click git-2.xx.. and select open from the menu
- Select ‘Open’ when asked if you are sure
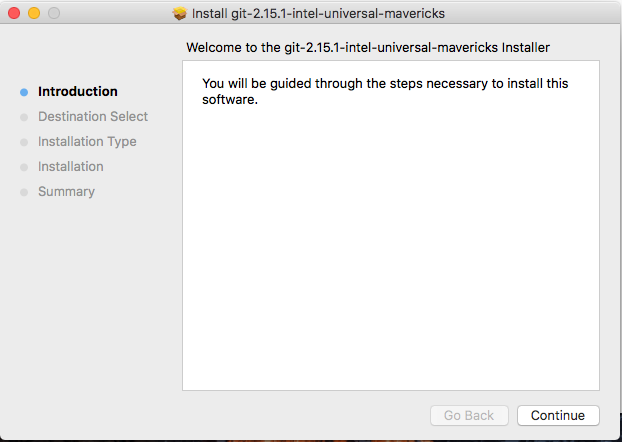
- In the next screen select “Continue”
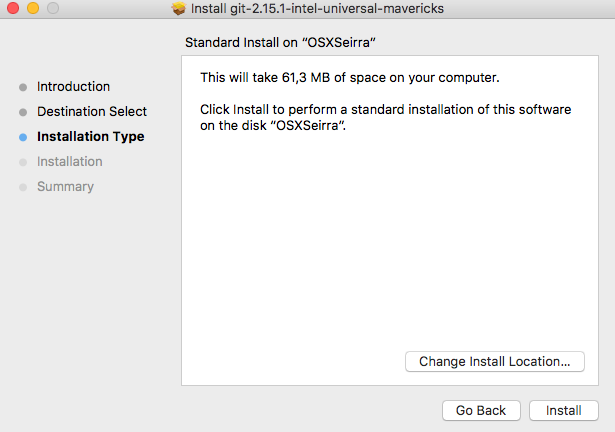
- Select “Install”
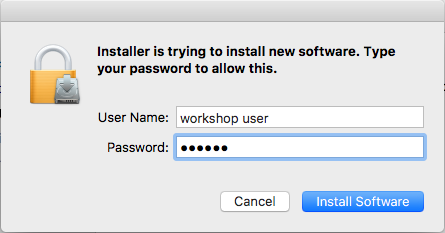
- Provide your password to proceed with the installation
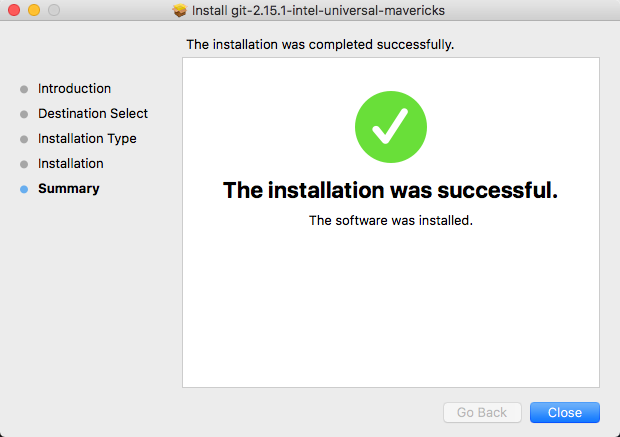
- Once the “The installation was successful.” screen appears, close the installer.
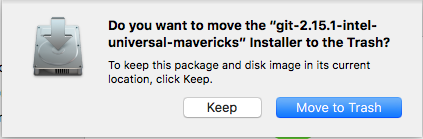
- “Keep” the installer for now.
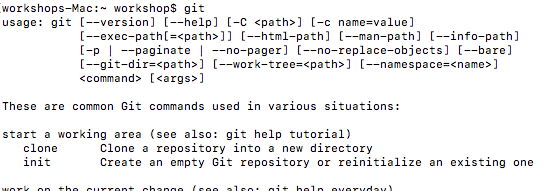
- Open the “Terminal” and run “git” (no quotes)
- If you get a message and only if you get that message ‘The “git” command requires the command line developer tools’ run sudo mv /usr/bin/git /usr/bin/git-system
- You successfully installed GIT